Showing posts with label Colette Patterns. Show all posts

Thursday, 23 July 2015

Aurora & Veronika

Do you ever find that when you're working on a project serendipity comes along and makes the result far better than you imagined? That definitely happened here - I was making a skirt, and pondering whether I actually had anything in my wardrobe to wear with it, when it dawned on me that I had a good fabric and pattern already in my stash to create a solution to that problem. Enter my versions of the Megan Nielsen Veronika skirt and Seamwork Aurora top...


One of my problems when it comes to separates is that nothing ever seems to go together, but hopefully in this case that won't be an issue because I know that these two were made for each other. I'll probably still keep an eye out for top-appropriate fabric that matches the other colours in the skirt though, after all it's always nice to have options, isn't it?

So, on to the individual patterns themselves....


As soon as Megan Nielsen generously released the free Veronika skirt pattern, I knew that I'd be making one. I'd been meaning to draft my own circle skirt pattern for a while, but had never quite got round to tackling the maths. The Veronika pattern means that I don't have to do that anymore! It's a basic circle skirt with two waistband widths and the option for cute scalloped pockets.

For this version, I used the narrower waistband and left off the pockets (which seemed sensible with this large-scale print), but they'll definitely be added to a future Veronika which is sitting in my mind waiting to become a reality.


As you'd expect for a circle skirt, this was a nice easy project and only took a couple of hours to do most of the sewing. As is always the case, the worst part was giving the nearly-finished skirt enough time to hang before hemming. So frustrating when you want to wear your new creation!

The fabric is from the Riley Blake Floribella collection, and I managed to pick it up for a bargain price from the Village Haberdashery sale section (as I'm writing this, they only seem to have a bolt end left - unsurprising given how much of a bargain it was!). When it arrived, I was slightly surprised by the scale of the print as I'd just imagined it would be smaller than this for some reason, but I actually love how it looks in this skirt.


The top is the Aurora pattern from June's issue of Seamwork. It's a simple vest top with added pretty details of gathering at the front and a pleat at the back (which I now reaslise I failed to get any close-ups of) where the separate yoke meets the main sections of the top. I really liked the pattern when it was released and added it to my mental list (which is rather long!) of things I want to sew.


Then when I was sewing the skirt, I realised that the fabric I had left over from making my tea-cup print Astoria was actually a pretty perfect colour match for this skirt and I had more than enough to get an Aurora out of it. As I said when I was talking about my Astoria, the fabric isn't the best quality in the world but it's worked out OK here.

As you'd expect with any Colette/Seamwork pattern, the instructions are thorough and really clear. The top comes together really quickly - I'd say their 2 hour estimate is about right and I'm not particularly speedy.


When I was sewing the top, I wasn't entirely won over by the finish it produces. Basically, you start by hemming the front neckline and the armhole sections of the front and back, then make the yoke (which is self lined), and then attach the yoke to the front and back. That means that the seams are right at the edge of the garment, whereas I'm more used to sewing the seams first and then enclosing them with the hem, and I think that looks neater. It didn't bother me at all when I was wearing it though and, let's face it, how many people are really going to study the inside of my top?! So it might not be my favourite finish, but it wouldn't stop me making another Aurora.


I really like my versions of the Aurora and Veronika together. And considering that Veronika is a free pattern, Seamwork patterns are fairly cheap, the floral fabric was a bargain and the jersey was left over from another project, I think this is a fairly thrifty outfit! I'll definitely be making both again - I already have some lovely drapey denim for a Veronika, and Aurora is a great basic-but-not-boring top so will always come in useful. And on that note, I'll leave you with a twirling shot, because surely all blog posts involving circle skirts have to feature twirling somewhere, don't they?!


Wednesday, 10 June 2015

Astoria, online fabric shopping & block printing

After the success of my first version of the Seamwork Astoria sweater, I knew I wanted to make a couple more. The style works really well with my many full-skirted dresses and having layering options means that I'll get even more wear out of my lovely dresses than I already do. Combine that with the fact that the Astoria is a really simple and quick pattern to make, and really making more was just sensible!


This first one is made using some really lovely cream flecked cotton fleece from Guthrie & Ghani. It really is great fabric, super soft, nice to work with and perfect for the Astoria. They have it in a few different colours, and I'm slightly gutted that the navy is now out of stock but I'm definitely tempted by both the turquoise and the fuchsia.


This version is cosy enough that I know it'll be great for next autumn/winter, but at the same time it was also perfect for throwing on over my blue roses Emery dress (one of my favourites) on a sunny but very windy (hence the state of my hair) afternoon on the beach. On that note, excuse the wrinkles in the sweater - my dress was a bit ruckled up underneath and I didn't realise until after we'd taken the photos.


I'm really pleased with this Astoria. As it's a neutral colour, it'll go with pretty much everything. Now, onto my next version....

I buy most of my fabric online, and usually that's fine, but I wasn't so impressed when this jersey arrived. I bought it from UK Fabrics Online, who describe it as turquoise heavy jersey. I was a bit dubious about the colour when I ordered it, because it didn't look anything like what I would think of as turquoise but I went ahead and bought it anyway because it was a good price I wanted to use it for a bit of an experiment.


The colour of the fabric in the photo above is pretty accurate, and I don't think it's either turquoise or the colour shown on the website. I also wouldn't describe the fabric as heavy jersey, I'd say it's medium weight at best.

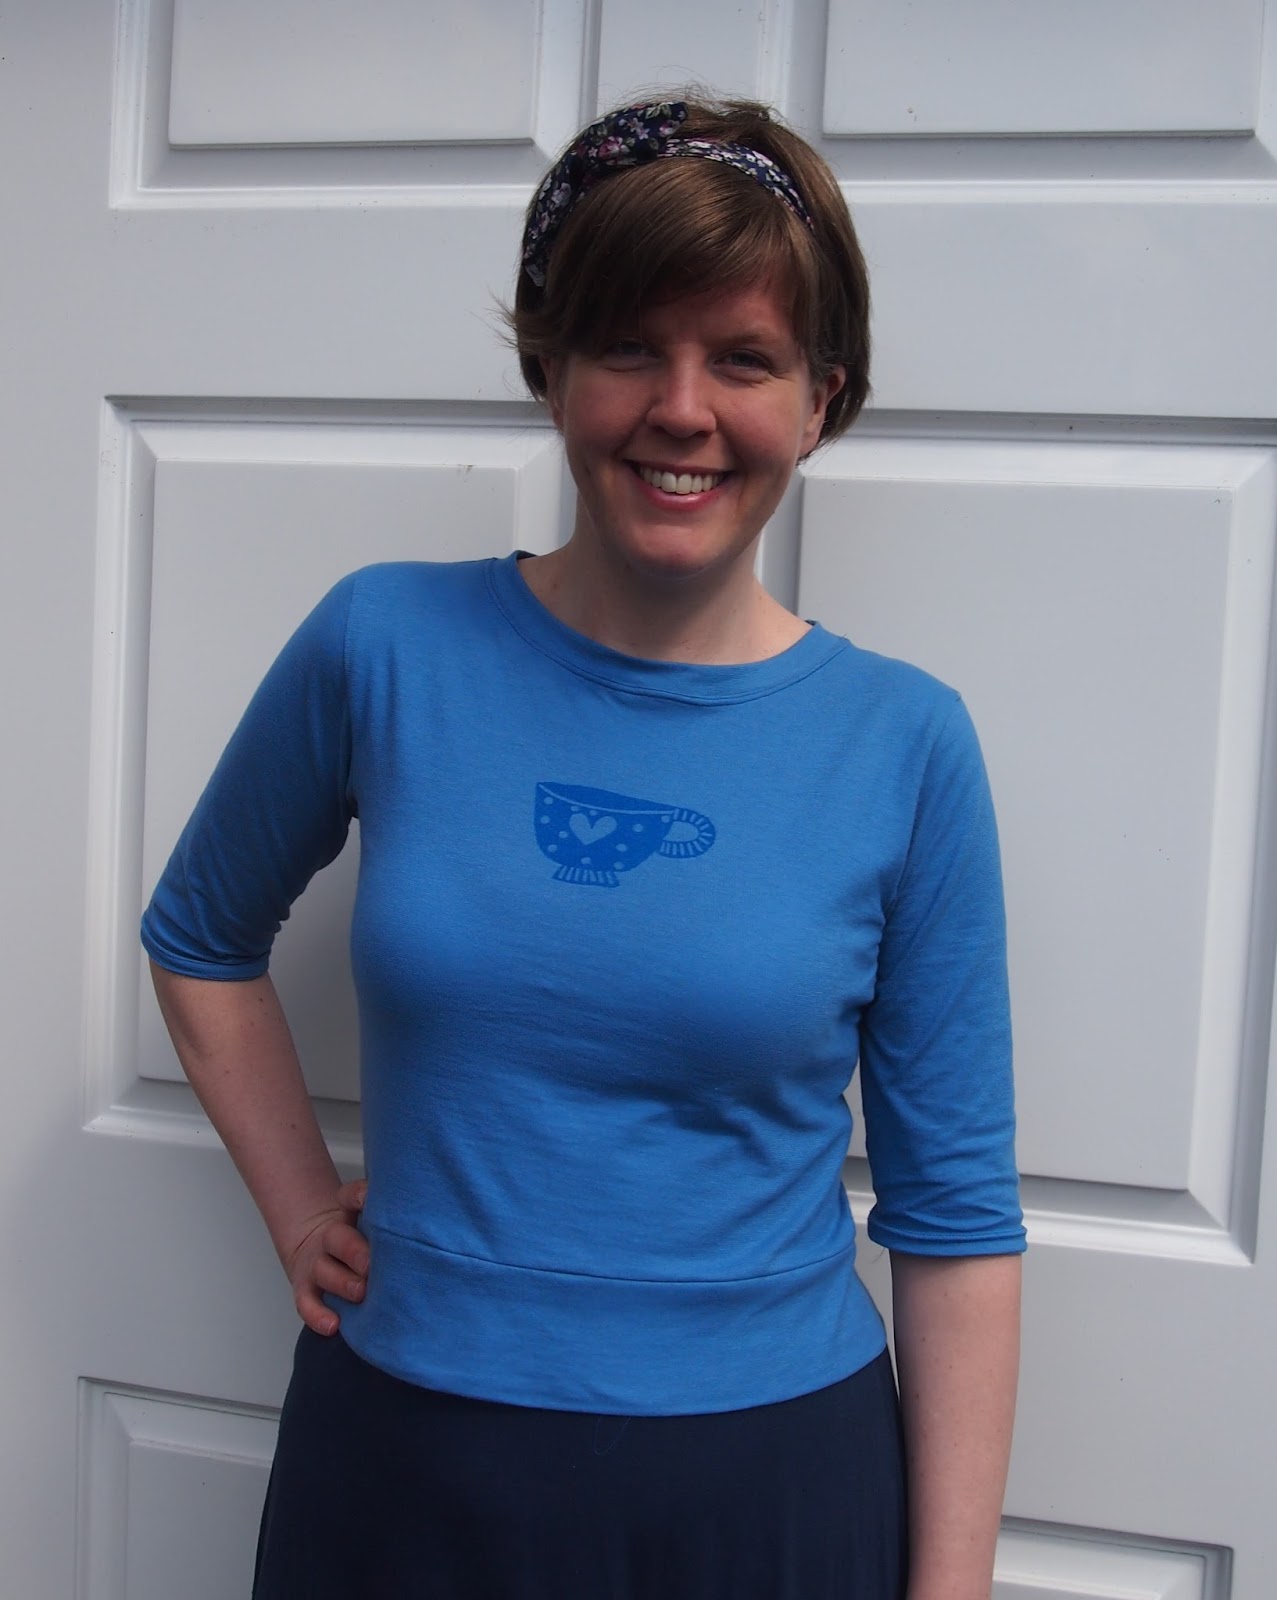
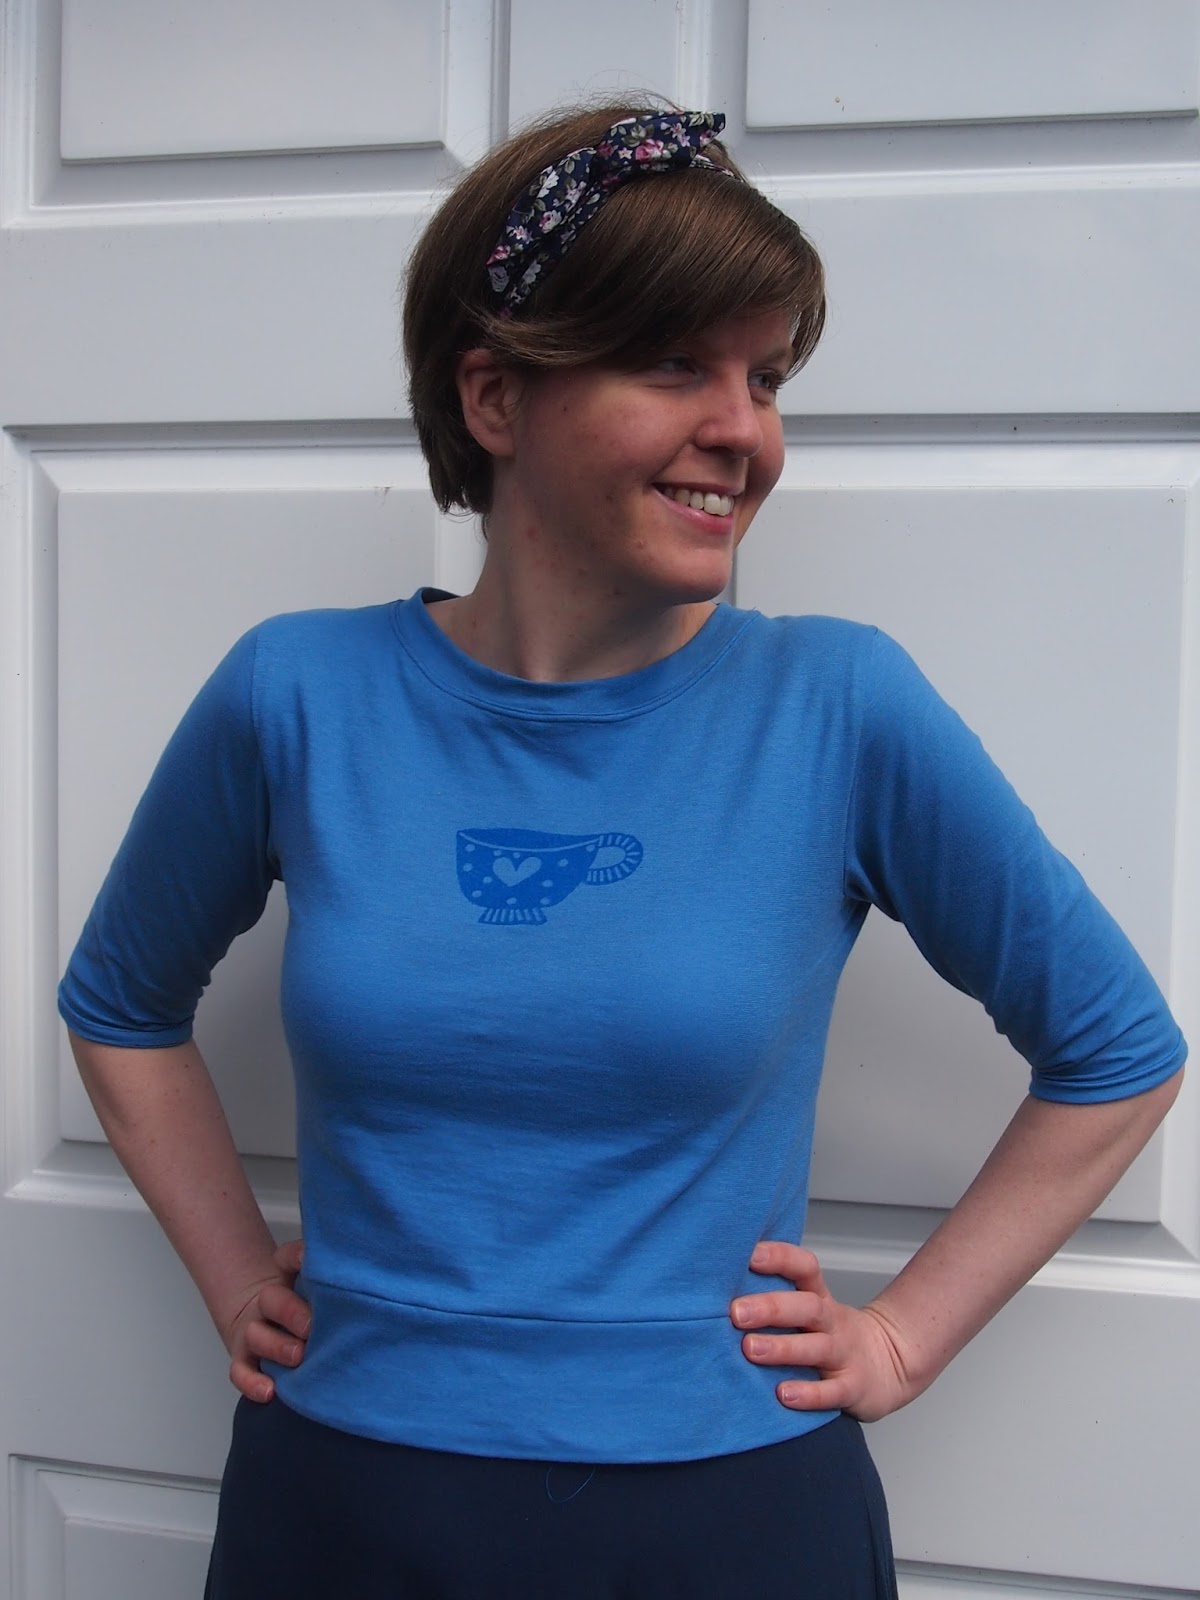
On the bright side, given my gravitation towards all things blue, it's still a colour I like and it's a decent fabric, even if it's a lighter weight than I thought it would be, so I went ahead and used it anyway - it just means that this Astoria is much more of a t-shirt than a sweater. Still perfectly wearable though!


By now you may have guessed that my experiment with this Astoria was giving block printing a go. Have you ever tried it?

I bought the tea cup block from The Arty Crafty Place when Outlaw craft fair came to Bristol at the start of May. They were demonstrating block printing and selling starter packs - it looked fun and I thought it would be a good way to make garments even more unique. I did a couple of practice prints on scrap fabric to get the hang of how much paint to use, and then decided to go very basic and just use one single tea cup print on my first "real" attempt.


I love how it turned out and I think the one single tea cup is really effective on a top like this. This won't be the last you'll be seeing of this tea cup print though - I've got definite plans to use it to create my own border print round the hem of a skirt/dress which I hope will work out as well as it does in my head!


So there we have it - two nice new tops for my wardrobe! I realise now that I've mainly been waffling on about fabric and printing and barely mentioned the actual sewing, but that's because the Astoria is so simple that there's not a lot to say about the construction (and what there is to say, I said last time). The cream version in particular will be a great basic piece for me and I suspect that they won't be the last Astorias that I make! What are your go-to wardrobe staple patterns?

Wednesday, 29 April 2015

Seamwork Astoria Sweater

My sewing machine has been quieter than usual recently because I've been engrossed in my current knitting and crochet projects, but I did also find time to sew this quick little project last week. It's the Astoria sweater, which is one of the patterns included in this month's issue of Seamwork from Colette Patterns.


I subscribed to Seamwork from the first issue, so have a little collection of patterns building up ready to sew now, but the Astoria is the first one that I've actually made. The cropped style instantly appealed to me because it's a great length for wearing with my many fit and flare dresses (yes, I'm looking like a bit of a Colette fan girl in these photos and wearing it with my Moneta), and a little sweater is a very welcome addition to a pretty dress on spring days like the one in these photos which look lovely and sunny but still aren't exactly warm.


The other thing that drew me to the pattern was that the blue sample in the pattern photos reminded me of the warm jersey I used for my latest Bronte top, and I remembered that I still had a fairly sizeable chunk of it left. Thankfully for me, there was just enough there to make the shorter sleeved version of Astoria - yay for "free" fabric!


I made a medium at the bust, grading out to a large at the waist. I compared the length with the pattern pieces I altered from my second Enid sweater, and on the basis of that I also added an inch to the length for the Astoria. The length is now just right for me, and I'm pleased with the fit in general.


The Seamwork patterns are all designed to be fairly quick projects to create staple wardrobe pieces, and the Astoria definitely fits into that category for me. I think I might need a whole rainbow of them to go with various dresses and skirts.

The pattern is rated as taking one hour and, if you exclude the time taping together the PDF and cutting the fabric, that was fairly accurate I think. Everything goes together nicely and the instructions are thorough and clear so there's nothing to cause any problems here. Another reason to make more of them!


Have you sewn any Seamwork patterns? I'm definitely keen to make a Bristol skirt - it looks so comfy and, as an added bonus, it's named after my home town so it must be good!


Monday, 6 April 2015

Colette Moneta Dress

I don't know about you, but personally I think that weekends like Easter, which generally revolve around large amounts of not-especially-healthy food, are best enjoyed wearing clothes of the secret pyjama variety. Luckily for me, I finished this dress, my first Colette Moneta, just in time for this year's chocolate feast!


I've been meaning to make a Moneta since the pattern was first released, and I'm really glad that I finally got around to it. It was a great, and fairly speedy, project to make and the finished dress is so lovely and comfy to wear. 

As many people have said before me, the pattern is really well drafted and the instructions are excellent. When I first started sewing with knits, I thought I'd play it safe and stick to t-shirts before I branched out into dresses, but I think that I should have given Moneta a go before. The instructions are so detailed that I think it'd be totally achievable for a knit newbie - and a dress does seem more impressive than a t-shirt doesn't it?


I sewed the dress up exactly according to the instructions and everything worked nicely. I've read some people saying that they don't like the fact that the neckline is just turned under and stitched, but I think it's fine and I always think that anything stitched with a twin needle looks quite professional anyway. I might try following one of the methods in the recent Colette tutorial on binding knit edges for a future Moneta (you know there'll be more of them!) though, just for a bit of variation if nothing else.


The only part of the sewing process that I had any trouble with was gathering the skirt, and that was just because it was physically difficult to get my clear elastic to stretch far enough rather than being anything to do with the actual sewing. I did manage it though, and it got easier as I went round the skirt, so it wouldn't be anything to put me off making another Moneta. 


In terms of size, I used a medium at the bust and graded out to a large at the waist and hips. I also added 1.5 inches to the bodice length (a standard adjustment for me), and another 1.5 inches to the skirt - which has left it just slightly above knee length on me (I'm about 5 ft 9"). 

I'm pretty happy with the fit. It did initially gape slightly at the front neckline, but I think I might have just stretched it slightly when I was top-stitching the neckline down because a good steam seems to have made a big difference. Steaming also made a massive improvement to the hem - it was really wavy when I'd just sewn it, but it's nice and neat now.


I should probably have apologised before now for the fabric and the fact that all the tiny dots may be doing weird things to your eyes. Everything looks fine on my computer screen at the moment, but if the photos are slightly smaller the pattern does stop looking like dots and starts just looking like one big distorted mess. So sorry if that's what you're seeing!

The fabric is a cotton and spandex jersey from my fabrics. I got it when it was half price and they don't seem to have any now, but they do have lots of other pretty spotty jerseys. As I'd got the jersey for a good price, I was happy to use this as a test version because I knew I wouldn't be heartbroken if it didn't work out quite right. Luckily for me, that's not a problem I have to worry about, and I'm really happy with my Moneta.


I'll leave you with this picture of me trying, and failing, to look all nonchalant and model-like whilst sitting on a gate. In reality, I was really just desperately trying not to fall off backwards. One of these days I'll get better at posing for photos....

I'm now off to enjoy the tail end of my long weekend with chocolate and plotting of future Monetas. I hope you've had a Happy Easter!

Friday, 2 May 2014

Colette Anise

I should probably start by saying that I apologise in advance if this post is a bit overly enthusiastic and full of photos, but this project is the creation that I'm prodest of to date. I give you my version of the Colette Patterns Anise jacket...


I decided a few months ago that I wanted to try to make myself a jacket, mainly because I'd been looking at the Boden catalogue and was inspired by all the nice coloured and patterned jackets in there. I then spent a couple of weeks wondering whether my sewing skills were up to making a jacket yet, and debating between which pattern I wanted to make. I changed my mind a few times, but I kept coming back to the Anise - I really like the collar, and I thought the short length would be good with all my skirts and dresses, so I took the plunge and went for it.


As well as the pattern, I bought the Anise Companion and I think that was definitely a good move. Like all Colette patterns, the instructions and and diagrams that come with the pattern itself are great, but the Companion and all its photos were a great reassurance and helping hand with the slightly more complicated steps (mainly welt pockets - not nearly as scary as I thought they might be!). I'd definitely recommend the Companion to anyone thinking of sewing the Anise who isn't familiar with all of the techniques already.

I also liked the fact that the Companion was divided into 8 separate sewing days, which made everything seem more manageable - there are quite a lot of steps that go into making the jacket so it was nice to be able to cross them off the list section by section and feel like I was making good progress. I decided at the start that I'd take the project slow and steady and not rush it, and save working on the jacket for times when I could concentrate on it properly, so I also made up a couple of more simple projects along the way for when I wanted some sewing that I didn't need to think about so much.


I'll be honest and tell you that it wasn't all plain sailing - with the outer fabric, lining, underlining and interfacing, cutting out all the pieces took ages (although it may have seemed to take longer than it actually did because I told myself I WAS going to cut it all out in one evening, maybe if I'd stopped when I got tired and carried on the next day it would have been better!), and I found attaching the collar a bit fiddly and actually ended up handstitching a small part of that (but I can't remember why now because it was a while ago I did that - should keep notes during long projects!). There may also have been an incident (entirely down to my stupidity!) where I started stitching one of the buttonholes the wrong way and then had a fight on my hands to pick the stitches out of the linen! Overall though, everything went together really nicely and I didn't feel out of my depth, even though I don't have a massive amount of sewing experience.

I made a straight size 10 without making any alterations at all, and I'm pleased with how the fit turned out. My measurements put me somewhere between a 10 and a 12, and if I'd been making this as a winter jacket, think I would probably have gone for making the 12 instead to allow space for extra layers, but I think the fit has turned out just right for a summer jacket. 


I made the jacket using a lovely jade coloured linen that I got from Calico Laine. I was originally going to make the jacket in a patterned fabric, a la Boden, but then decided that I would get more use out of a plain coloured jacket, and that if I was going to spend all the time making a jacket then it would make sense to make something that I would wear a lot. I'd usually go for blue over green, but this is a lovely shade and goes with lots of my wardrobe so I think I made a good choice. And as you can see above, I used some fun patterned fabric for the lining.


My lining is a lovely Liberty lawn that I got for a bargain price on ebay ages ago. It had been sitting around being neglected for a while because I wasn't sure what to make with it, I love the print but it didn't seem right for tops or dresses, or at least not right for me, but I love it as a jacket lining. Cotton lawn isn't one of the recommended lining fabrics, and I'm not sure if it would be a good idea for a jacket that you'd be wearing with layers underneath, but I think it works well here as I'll mainly be wearing it with short-sleeved or sleeveless summery clothes. It's worked fine so far anyway! And it's pretty!


A little detail shot for you! I'm really pleased with how the welt pockets turned out - cutting into the middle of the jacket fronts was slightly scary, but with the Companion by my side it wasn't complicated, and it all turned out fine. 

The Companion has instructions for making bound buttonholes, but I decided to stick to normal buttonholes this time. I think they work fine with the linen, and I already had quite a lot of new techniques that I was trying for the first time in this project, so I thought I'd save bound buttonholes as something new to try another time! My buttons are self-cover buttons covered with some cotton that has been in my stash for a while. 


Overall, as you can probably tell, I'm really happy with this one! I enjoyed the process of making my Anise - it did take longer than whipping up a simple dress, but I got a great sense of satisfaction when I finished each stage, and especially when I finished the whole thing. I know it'll be a great wardrobe staple, and I'm looking forward to showing it off when the dismal weather we're currently "enjoying" goes away!

Monday, 11 November 2013

Sleeveless Colette Laurel Dress

In my life outside of sewing, knitting and general creating, I work as a freelance translator. Most of the time that keeps me nice and busy, but sometimes it means I end up with a random day when I have no work. When I first went freelance this tended to result in the onset of panic that I would never get any more work again and would end up penniless and running home to my parents, but now I'm more confident that won't happen so when I'm being sensible I see it as a chance to catch up on boring admin, but more often than not it turns into bonus creative time! The Friday just gone was one of those days, and I used it to sew up a new dress which cost me almost nothing, yay! It's a sleeveless version of the Colette Laurel dress...


I made version 2, with the cute little front pockets, but missed off the sleeves. This was partly because I realised I had just enough of the pretty needlecord fabric left from the Hollyburn skirt which I made earlier this year to squeeze out a sleeveless version of the dress, and partly because I quite like layering sleeveless pinafore-type dresses with long-sleeved tops/jumpers in the autumn and winter anyway, so I knew it would definitely be worn a lot.


To finish the armholes and the neckline, I followed the suggestion for the sleeveless dress from the Laurel extras booklet and used bias tape to create a facing, which I machine stitched to the outside and then flipped over and hand stitched to the inside. It's not especially invisible hand stitching from the inside but you can't see a thing on the outside so it's all good in my book!


I used the same size 12 as I used for both of my Laurel tops (here and here), and then graded out to a 14 for my lovely pear-shaped hips, but as it turned out I didn't need to do that and I ended up taking some width back out of the side seams and using a slightly larger seam allowance down the centre back. If I make another dress (which is quite likely at some point in the future) I think a straight size 12 would work fine. I added a couple of inches to the length so that I could wear it with tights as well as leggings - the hemline still falls well above my knee but for some reason it looks longer in the photos!

I used a regular zipper instead of an invisible one, purely because my local shop didn't have an invisible zipper in the right length and colour combination and I wanted to buy something there and then so I could get it finished all in one day. Me, impatient?! Never! I think it works fine with this dress and material combination.


Overall, for a dress that cost me a grand total of £1.70 for new supplies (the binding and the zip), I think this is a pretty good day's work - it's a great casual dress, and nice and cosy when layered with a long-sleeved top, and really comfortable so perfect for wandering around enjoying all the beautiful colours of the autumn leaves!


Linking up to:

Sunday, 6 October 2013

Autumnal Colette Laurel Blouse

Here's my latest completed dressmaking project - my second version of the Laurel blouse from Colette Patterns...


After completing my first Colette Laurel top, I was really pleased but then in the bad weather that quickly followed it it felt like it was more a top for spring so I fancied making a slightly more autumnal version. I then remembered that I had a decent-sized piece of this pretty floral fabric that had been sitting in my stash waiting for the right project for a good few months...


When I bought it on ebay, it was advertised as 3 metres of brushed cotton - it was more like a metre and a half and it's not brushed cotton (I'm not 100% sure of what fabric it actually is, it's cotton of some sort but not brushed), but I liked it and I only paid a couple of pounds so I wasn't too worried, and now I'm even less worried because it's turned into a lovely new top!


Excuse the messy hair (it was windy!) and the fact that I seem to have left a big crease down the front of the top when I was ironing - I totally didn't notice that when I was wearing it and nobody felt the need to point it out to me!

I found the top fairly easy to stitch up first time around, and this time was just the same apart from some slight fabric fraying issues at times. I know I'll get a  lot of wear out of this top and I think I did a pretty good job on it - my sister didn't realise I'd made it myself until I said that I needed to take some pictures of it for this post, and she wouldn't be backwards in telling me something didn't look right! Always best to be (tactfully) honest about things like that!


I'm now impatiently waiting for a new sewing pattern to arrive in the post and keeping my hands busy with some simple crochet (which hopefully might be featuring here soon) in the meantime!

Sunday, 8 September 2013

Colette Laurel Top

Here's my latest finished project - a Colette Laurel top.


Having made two skirts already, I thought it was time I tried to make something for my top half. I think part of me had been putting this off because I was a bit scared about the fact that a top involves much more need for fitting than a twirly skirt, and when I was on my dressmaking course, this seemed to lead to quite a lot of problems for my fellow students. With this in mind, I decided to abandon my usual need to have things finished quickly and make a muslin out of an old sheet to check everything was OK. I cut a 12 and (luckily!) it all seemed to fit fine without any alterations so I set to work on the "proper" version of the top.


Sadly I think the muslin may have fit me a little better than my finished version but I think it fits fine still so it's all good! The instructions were really good for a beginner like me, so it was no trouble to sew it all together and I got through all the steps reasonably quickly. 


The fabric is a cute blue and white floral cotton that I got from Fabric Godmother a while ago, it was originally for another project but I think it works well for this top - and I'm happy with how the white bias binding works with the floral print, especially the pretty lace-edged binding I used on the sleeves.


Overall, another project I'm happy with! I wasn't 100% convinced when I first finished it so I put it on and wore it straightaway in the hope that that would help me make up my mind (otherwise it would have been likely to hang unworn in my wardrobe for months because I'd never have been sure about it!) and I'm happy to say that it worked - it's a definite thumbs up now, and I quite fancy making one of the dress versions of the Laurel pattern soon.

And now I'll finish with a plea for help - has anyone got any tips for taking photos of my dressmaking projects? Either in terms of the technical photography stuff or how not to feel (and therefore look) embarrassed while you're taking the photos...


I'm quite keen on photography but don't generally like pointing the camera at myself so any pearls of wisdom would be very welcome!