Wednesday 25 July 2018

McCalls 7714 Dress

Having said in my last sewing post that I don't buy sewing magazines that often, I then went straight out and bought another. Today's project is the pattern included with issue 55 of Love Sewing magazine (the current issue as I type) - McCalls 7714.


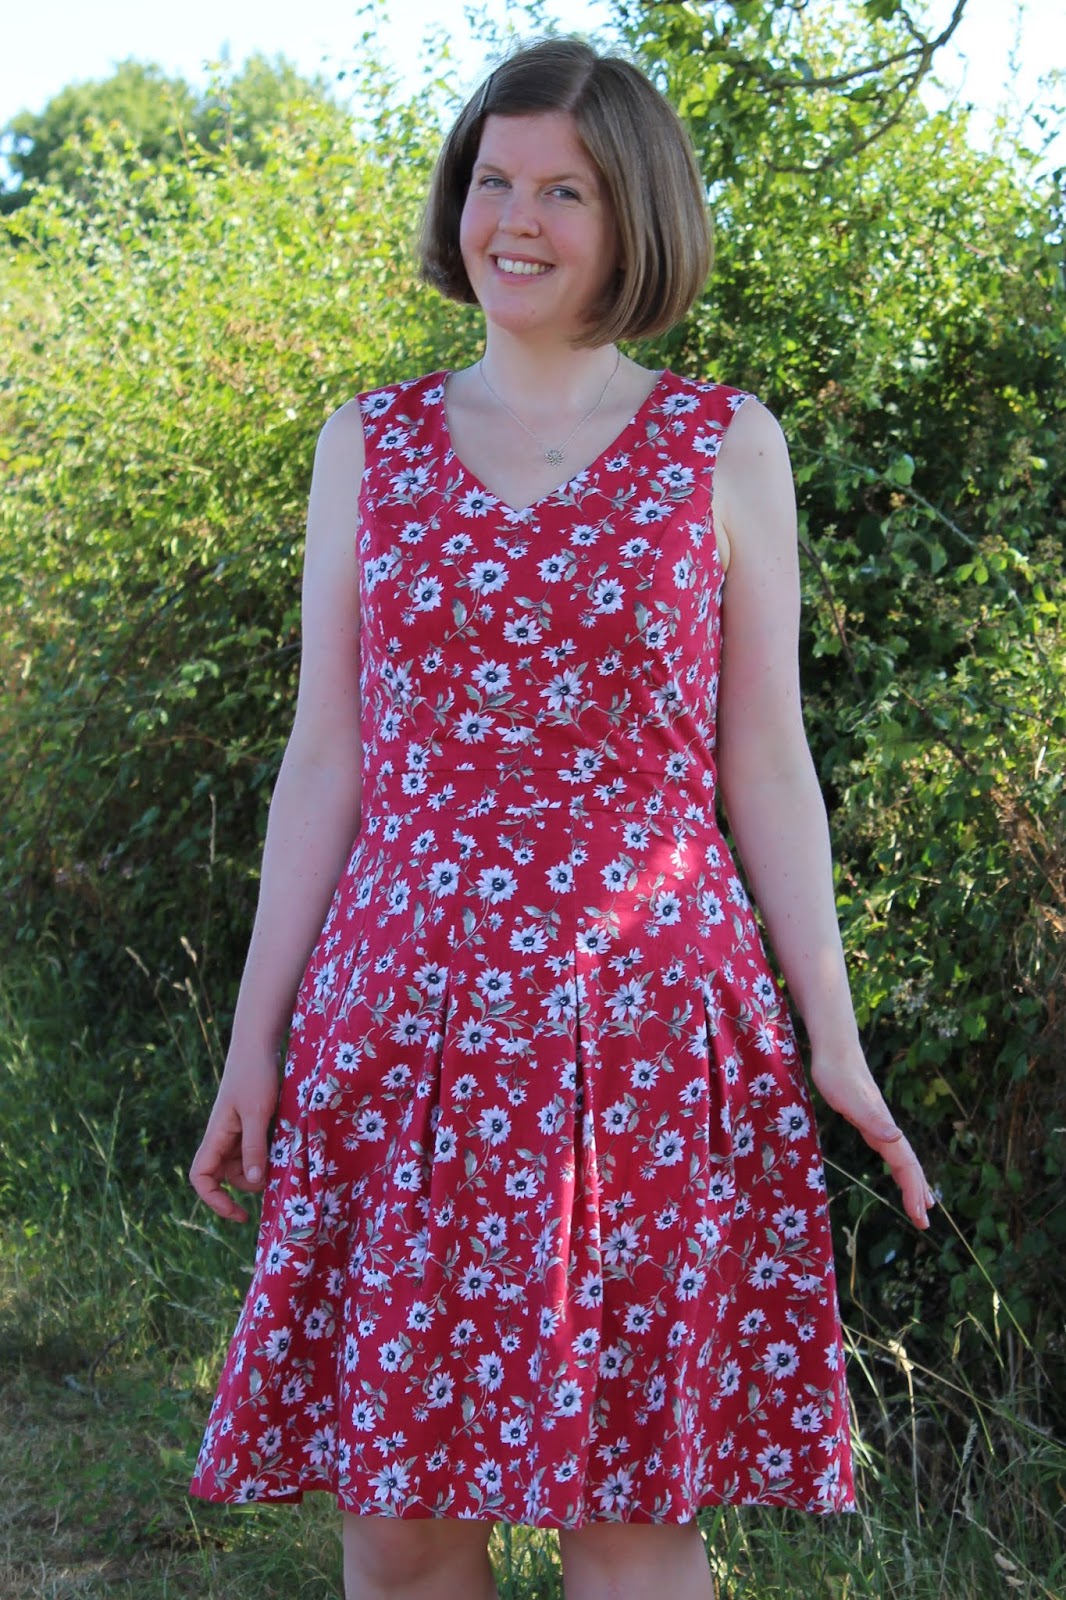
The McCalls 7714 pattern is for partially-lined dresses, with a fitted princess seam bodice, V-neck or rounded neckline options, and a straight or pleated, full skirt. It also has a separate waistband and the option of making it sleeveless or using short sleeves. I went for view A - sleeveless, V-neck and with the full, pleated skirt.


Based on the finished garment measurements (which are on the pattern tissue), I made a size 14 at the bust, blending out to a 16 at the waist. That's a size below what the pattern suggests for my measurements in both cases, but it's well known that commercial patterns tend to have a lot of ease built in.

The only alterations I made were to lengthen the bodice by an inch, and lengthen the skirt by 2.5 inches. Both of these are fairly standard alterations for me - I'm just over 5 ft 8", so not a giant by any stretch of the imagination, but slightly taller than most patterns are drafted for.


As with most commercial patterns, the instructions are fairly succinct but I found them clear. Although it has to be said that I've sewn a fair few dresses similar to this now so I didn't really need to follow the instructions in any particular detail. I did do my own thing a bit when it came to sewing the invisible zipper and used my preferred method (the one from the Emery dress), which eliminates the need to slipstitch the lining down the centre back.


One thing I found slightly odd is that the sample in Love Sewing magazine doesn't seem to have followed the instructions about stitching down the pleats at the top of the skirt. It doesn't make a major difference I suppose, but I think it would be better for the magazine to show the pattern as written otherwise it could be a bit confusing. I definitely went back and double-checked that I'd done what I was meant to when I noticed that my skirt was different. I actually really like the look created by the stitched down pleats though - it makes this a bit different from some of my other dresses.


The fabric for this one is another piece that's been sitting in my fabric stash for too long. It's a fairly lightweight and soft cotton that I found in a charity shop a couple of years ago. It was the middle of winter when I bought it, so I didn't have any immediate plans for it because it's definitely more of a summer weight, but at £4 for 3 metres, I couldn't say no!


All in all, I'm happy with how this dress turned out. It's fitted, but the lightweight fabric means that it's still breezy enough to wear in this hot weather that shows no sign of stopping. Let's hope it lasts long enough still for me to justify sewing up some more summer dresses!

Thursday 12 July 2018

Knitting: Spindrift Shawl

We've been basking under glorious sun and heatwave temperatures for the last couple of weeks so it's fair to say that the project I have to share today isn't particularly seasonal. I've still been managing to get a bit of knitting done though, and part of that knitting was finishing this Spindrift Shawl.


The Spindrift Shawl is a pattern by Helen Stewart of Curious Handmade. It's a one-skein, crescent-shaped shawl and is a really simple but effective design. The main part of the shawl is simple stocking stitch, complemented by a deep eyelet border and a picot edge. It's basically a great introduction to shawl knitting if you're a beginner, or a lovely relaxing knit if you've got a bit more experience. It's also available free if you sign up to the Spindrift Shawl email workshop, which is always good (doesn't everybody love a freebie?!).


I've been knitting a few of Helen Stewart's patterns this year because I signed up to The Handmade Sock Society to help improve my sock knitting skills, and I really like how her patterns are written. In case you're not familiar with them, they use the Curious Handmade Percentage Checklist Pattern format. This means that all of the rows are written out in a checklist together with the percentage of the pattern that you've completed. I find it quite addictive because I end up wanting to knit just a little bit further to make it to the next percentage marker! I think it helps me to get through the patterns quicker than I otherwise might because I'm not the world's speediest knitter.


The finished shawl is a lovely shape too I think. It's wide enough that it can definitely be wrapped around your shoulders as a small shawl, but long and narrow enough to also be able to be worn like a scarf too. Perfect if you like the idea of shawl knitting, but aren't sure whether you'd actually wear some of the bigger shawls.


The yarn that I used for this project is from Viking Yarns. It's the Super Merino Sock base in the Blue Fairy colourway, and was a joy to knit. I love the pale blue colour interspersed with bright multicoloured speckles, and I think it works really well with this pattern.


One of the side effects of getting into sock knitting for me has been going further and further down the rabbit hole of hand dyed yarn - there are so many pretty colours to choose from! I'm trying to be good and limit myself to buying yarn as I need it for projects though because, as I mentioned, I'm not a particularly quick knitter and it would be a shame for gorgeous skeins to be gathering dust waiting for me to get around to knitting them.


All in all, I'm really pleased with everything about this project. I really enjoyed knitting the shawl, I love the yarn and I'm pretty sure that it'll be worn a lot - once the temperatures have dropped a bit at least! I've got a growing list of shawl patterns that I'd like to cast on now - I think my next will be either a Minimania or a Salcombe Shawl. Or do you have any particularly good shawl patterns to recommend to me?

Wednesday 4 July 2018

Simply Sewing Magazine City Backpack

Are you a fan of sewing magazines? I used to buy them quite regularly, but then started to feel like I was seeing the same (or very similar) projects repeatedly so it's been a while since I picked one up. Simply Sewing magazine issue 43 caught my attention though - it included the Sew Over It Silk Cami pattern, a pattern for a dress/top that I could see myself making and a useful looking backpack.


The City Backpack pattern was the project that I wanted to make most out of the three. I enjoy bag making as a bit of a break from garment sewing every now and then but haven't done much recently, and a summery backpack is always useful for day trips.

The backpack has a feature main fabric, a contrast base panel and matching contrast details, adjustable webbing straps, and is fastened with D-rings and webbing. It's also fully lined and has a zipped pocked on the inside. Press fasteners on either side of the side seams at the top of the bag are used to stop it gaping open.


I try to use bag making as an opportunity to use up bigger pieces of fabric left over from my dressmaking adventures, but I didn't have anything that was quite the right weight and print for the main fabric. I wanted something that had a bit of interest, whilst still being neutral enough not to clash horribly with too many of my dresses/tops. This lovely 'Relaxing on the beach' cotton canvas from Sew Me Sunshine fit the bill perfectly!


The base and contrast details are some denim from my stash left over from an unknown past project, and the lining is a piece of cotton twill which came from the remnant box in John Lewis ages ago (I knew that as it was a neutral spotty print it would come in useful for lining something at some point!). The hardware, notions and webbing were a mixture of things I had in stash or purchased from Jaycotts or Sew Hot.


The backpack was fairly straightforward to sew, but there were a few things about the pattern that I found slightly annoying. The main thing was that the seam allowances are 5 mm - for someone used to 1.5 cm or 1 cm in dressmaking, that seemed teeny tiny and fiddly on some steps.

I also thought it was a bit odd that the pattern had you cut out the iron-on wadding to be bigger than the pieces that you fuse it to, and then cut it down after it is fused. I'm far more used to garment sewing than bag making so maybe that's not uncommon, but I haven't had to do that in any other bags I've made, and having the wadding bigger than the fabric made it difficult not to get it stuck to either my ironing board or the iron.


There were also a couple of occasions where I felt like the pattern was relying on you having some vague idea about bag making. For example, it didn't give you any indication of how big to leave the turning gap when sewing the lining. That's the kind of thing that I would have wanted to have been given details about if this were the first bag I was making.


Having said all that, the bag turned out nicely and, as you can see, it has already been taken on its first outing on a day trip to the seaside (with my seaside print Emery dress, naturally!). I'm pleased to report that it was comfortable to wear and had plenty of space for all the essentials.

I've also already sewn up a Silk (or viscose in my case) Cami from the magazine, so I'm glad I bought this issue of Simply Sewing. Magazines can seem expensive at times, but they're worth it if you're going to make a few of the projects, don't you think?