Friday 29 August 2014

Simple Sew Ruby Dress

Two finished garment posts within a few days isn't normal for me, but I had a weekend recently when I did very little other than sew (a good weekend!), so I got through a couple of projects quite quickly, including the dress I have to show you today. This dress wasn't planned. Not that I have a particularly detailed sewing plan, but I had told myself that I'd probably made enough summer dresses already this year. Then this month's copy of Love Sewing magazine arrived through my door with the pattern for the Ruby dress from Simple Sew on the cover. It was just my style, and then I spotted some fabric on ebay that I thought would make a nice Ruby, so really it would have been silly not to put the two together and create a pretty dress wouldn't it? So that's what I did!


In my defence (not that I necessarily need one!), I have been thinking recently that I haven't made nearly enough polka dot items. I love polka dots, and I always tend to be drawn to them when I'm looking for sewing inspiration, but for some reason they seem to have not featured too highly on the list of things I've actually made. And blue and white is always a good combination for me, and fits in well with my cardigan collection so it's all good!


The Ruby dress has a fitted bodice with a bateau neckline and low V-shaped back, and a lovely full skirt. So this may be another fit and flare dress to add to my growing handmade collection, but it had some interesting details to make it different from the others that I've made before.

The pattern is described as being for an adventurous beginner, which I think is probably fairly accurate as it's all pretty simple (as the name of the pattern company would suggest!), as long as you're OK with inserting invisible zips. The instructions are clear and well-illustrated, although there are a couple of details missing that might confuse a complete beginner - the envelope doesn't tell you what type or length of zip you should be using (I used a 16" invisible zip), and I don't think it tells you what seam allowance to use (I used the standard 5/8" which worked fine for me) but maybe I just overlooked that bit! The envelope does promise full email support though, so that should sort out any queries.


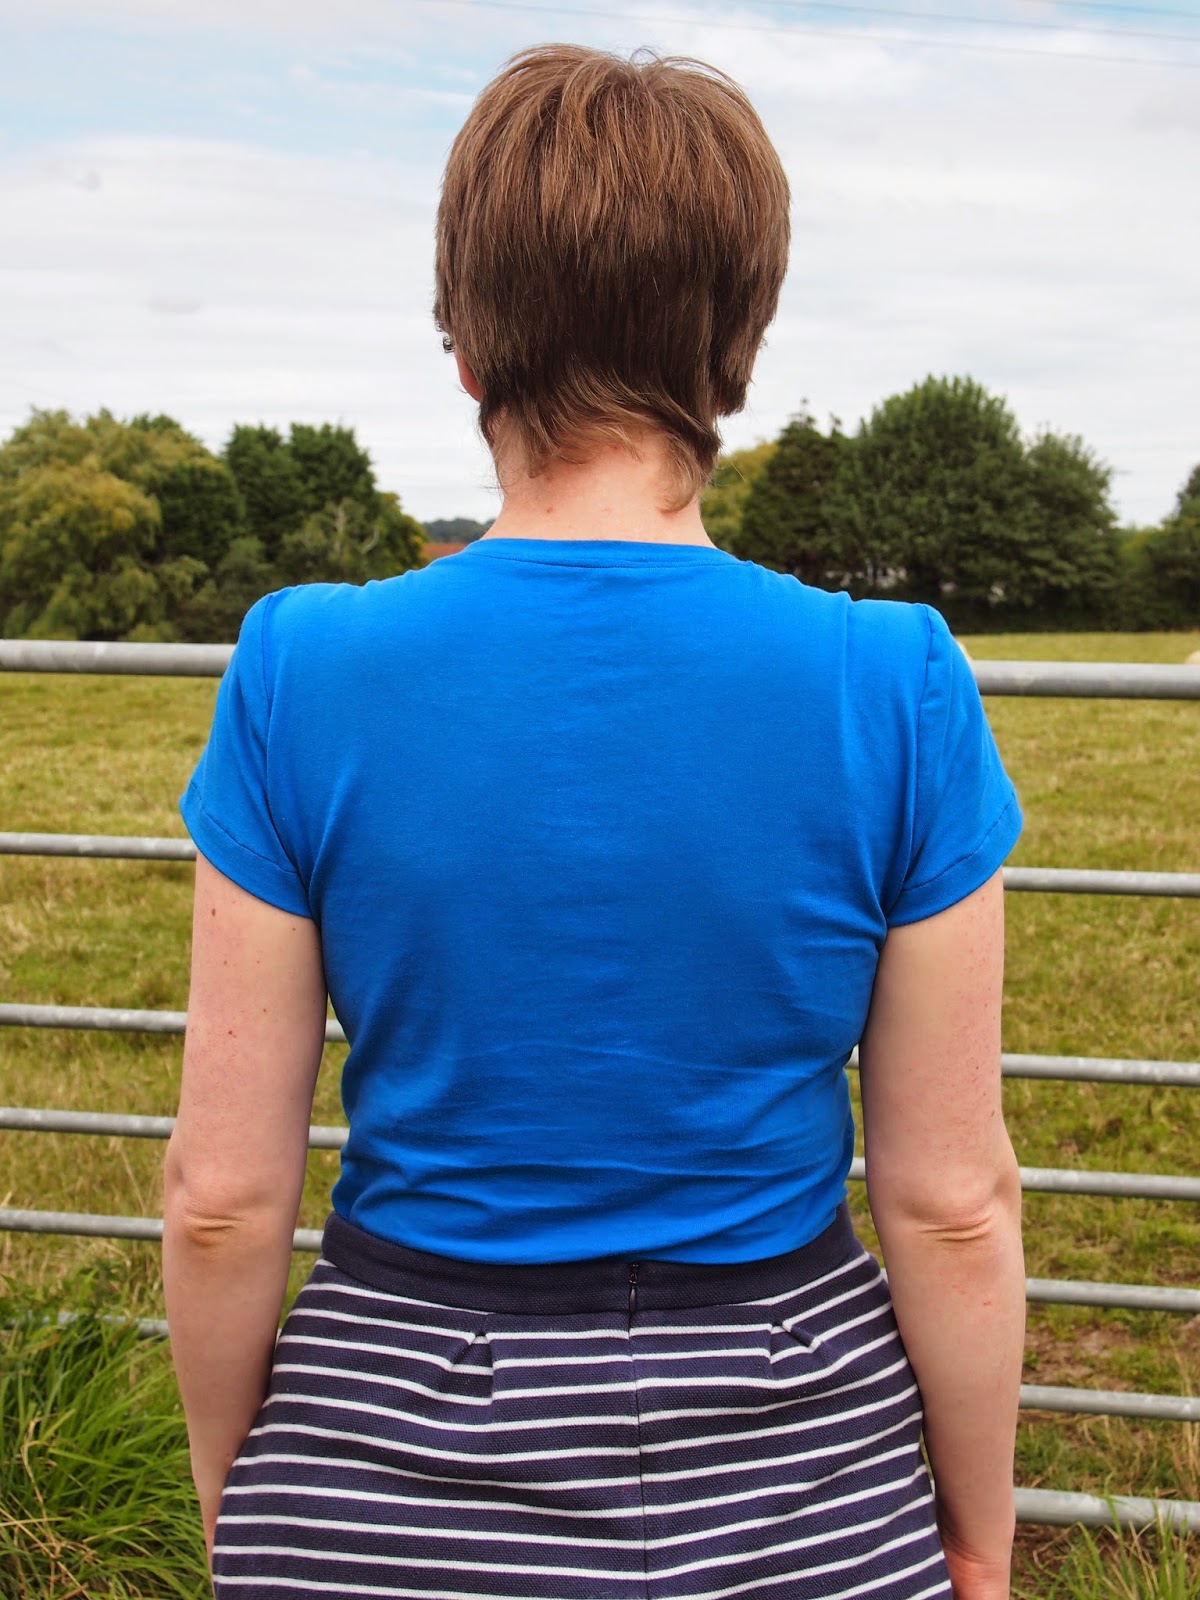
The neckline and armholes are finished together with one facing, which I prefer to having a separate neckline facing and armhole binding as it means there's no risk of the facing popping out at the neckline. If I make another Ruby dress though, I might try lining the bodice instead of using the facings, as I really like the lined bodices of my Lilou dresses.

I made a size 14, but added quite a lot of length. From the photos in the magazine, you can tell that this dress has been designed to be quite short, but I always think that dresses this shape look better if they're around knee length. If they're much shorter than that on me, I always feel like they look like they've been shrunk, but maybe that's just me being weird! I added 1.5 inches to the bodice, and 4.5 inches to the skirt. Lengthening the bodice is a standard adjustment for me, and I am probably on the taller side of average at 5 ft 8, but the skirt would have been really short on me without the extra length. I'm fairly happy with it as it is, but I might add an extra inch or two to the skirt next time.


Have any of you read Love Sewing magazine? I always get sucked in by the pretty covers of magazines, so I had to check this one out when it was first released a few months ago. It's a nice magazine, with plenty of modern sewing projects for accessories, home decor and simple clothes. I haven't actually made anything from the magazine itself yet, but I've enjoyed reading it. Plus there's the bonus of having a free pattern every month. If you're only interested in dressmaking, then it might not be the one for you but it's definitely worth keeping an eye out for it just to see if you want the pattern - this month's issue with the Ruby pattern should theoretically still be available, and next month there'll be a trouser pattern on offer.


I'm pretty happy with how this turned out, and even happier now that I've heard that there could be some more heat coming our way next week so I might get more of a chance to show it off. And if the sun doesn't appear again, well then that's what cardigans were made for! But maybe I should think about planning some more autumn-appropriate sewing. Are you sewing for summer still, or planning for autumn already?

Tuesday 26 August 2014

Jennifer Lauren Bronte Top - Repurpose, Reuse, Refashion

At the start of this year, the one sewing target that I set myself was to get to grip with knit fabrics. I started off quite well by making my Plantain top, but I hadn't done anything else about it since then. Not due to fear or anything, more just because I kept getting distracted by woven fabrics and patterns! Then Jennifer Lauren released the Bronte top, and it reminded me of an old favourite RTW t-shirt of mine so I knew I wanted to make one. It's taken me a couple of months since the release, but better late than never!


I was given the kick start to get sewing the Bronte when I saw that Amy of Sew Amy Sew was hosting Repurpose, Reuse, Refashion month this August. You see, a month or two ago I'd found this jersey maxi dress in one of my local charity shops for the princely sum of £1.75...


When I bought it, I knew I would never wear it as it was - I'm not a massive fan of strapless and Empire line isn't the most flattering shape on me. However, it was in good condition and didn't look like it had been worn much, I loved the colour, the jersey felt nice and soft and the advantage of the Empire line was that I knew the skirt pieces would be big enough for me to put the dress to good use somehow.

I was considering refashioning the dress by adding some straps and possibly extending the shirring round the bust down to waist level to make it more flattering for my shape, but the existing shirring went a bit saggy when I washed the dress so I decided just to cut that off and treat the skirt as a piece of material. There was just enough material for Bronte, so I took that as a sign that it was meant to be!


Anyway, back to Bronte! I really, really like this pattern. Like any knit top, it's obviously really comfy and easy to wear, but the 1940s-inspired shrug style shoulder detail makes it stand out from the crowd and be a little bit different. You might think this would make it more complicated to sew, but it's really not that difficult. The only difference from a normal knit top is that the front and back pieces are connected in a slightly different way, as the back wraps over the front, but although it is different I don't think it's any more complicated.


The neckline also gives you the opportunity to add a bit of extra interest by using a contrast binding or some pretty buttons to secure the shoulders. In my case, I had some star shaped buttons which I was planning to use, but when I tipped out the contents of my button jar this pack of bright buttons that I'd been given for my birthday fell out and I loved the way they looked with the blue so I changed my plans!

I made a straight size 14 with no adjustments. I was sort of treating this version as a (very!) wearable muslin, as given that the material cost me £1.75, I wasn't going to worry too much if it didn't turn out totally perfectly. As it is, I'm pretty happy with the fit so it's all good! I might consider trying to lower the neckline a little bit in a future version to make it even more like my old top, but I like it as it is.


If, like me, you're a bit of a newbie when it comes to sewing with knits, I'd definitely recommend giving the Bronte top a go. As I said above, it probably looks more complicated than it is, but it is actually fairly simple to sew. It's only the second time I've sewn with knits, and the only problem that I had was my twin needle deciding to break for no apparent reason! The instructions are nice and clear, and also include some really helpful tips on choosing your fabric, as well as hints about sewing with knits in general. Also, I don't have a serger/overlocker, so this is proof that you definitely can sew the Bronte using just a normal sewing machine.

As I mentioned in my last post about my Bellini, I do prefer paper patterns to PDFs (not least because my printer sometimes has a mind of its own and decides to print multiple copies of one page instead of printing the page range I'd asked it to, as it did in this case!), but this was another PDF that was no trouble to put together. I really like the fact that the individual pattern pieces are printed on separate groups of pages so you're dealing with manageable numbers of pages to stick together instead of covering the entire floor!


Sewing Bronte went really well and I'm definitely planning on doing more about my aim of sewing with knits now. There'll be more Brontes at some point in the future, and I've also got the Coco and Lady Skater ready to try - I just need to make my mind up about what fabric to use! Has anyone got any favourite sources of knits in the UK? It's always good to have recommendations!

Wednesday 20 August 2014

Capital Chic Bellini Blouse

I love the excitement of seeing new patterns released and imagining all the possible garments that could be created from them, so a whole new pattern company popping up all over my twitter feed and blog reader not so long ago was a particular treat! You've all heard of Capital Chic by now I'm sure (if not, check out the lovely patterns!), well here's my version of the Bellini blouse.


In some ways, I'm not the target audience of Capital Chic - the patterns are designed for work and cocktail wear, whereas I work from home and unfortunately have very few occasions that call for a cocktail dress (I should probably do something about that.....), and my slightly vintage-esque tastes are fairly well catered for by many of the other pattern companies out there. However, I love the idea of patterns that focus on slightly more advanced techniques, and the designs, while not all necessarily being completely my current style, are gorgeous and a bit different. Plus, the beauty of sewing is surely that you can put your own spin on patterns to make them suit your own tastes and lifestyle.


The Bellini is a loose-fitting blouse with cap sleeves, so could work really well for lots of different styles. It also has two different collar options (the cutaway one that I used here and a cute scalloped version), and Sally suggests embellishing the collar, which I'd definitely like to try at some point.

It's designed to be worn fully buttoned up, which I like in theory and on other people, but it suits me a lot better with the top button open.


I really enjoyed sewing the blouse. It uses French seams throughout, the armholes are bias-bound and there's a machine rolled hem. I'd never done a machine rolled hem before, but the instructions and diagrams were nice and clear, and easy to follow (as they were throughout the pattern) so it was no trouble. I think the whole finish of the blouse feels quite professional - my Mum was definitely impressed with how good it looked when I showed her (I'm never quite sure whether to be flattered when that happens or slightly insulted that people didn't think my skills were up to much before!).


Generally, I'm not a huge fan of PDF patterns, and if there's an option for a paper pattern version then I'll always pay more to go for that, but this PDF was the best one I've used so far. It was possibly helped slightly by the fact that being a top, there were way fewer pages than for a dress, but all the pages fit together perfectly, and there was no wasted space on the pages.

I cut a straight size 16 and didn't need to make any adjustments. I usually always make a toile of a new pattern, but as the Bellini is loose fitting I decided to live on the wild side this time, and just did some quick tissue fitting to check that everything looked OK.


Part of the reason why I did this was because I was using some material from my stash that, while really pretty, has definitely already been more than worth what I paid for it. I got somewhere in the region of 5m of it on ebay for less than £5 years ago, and it has been used for a huge variety of accessories and things for me and for presents, so I wouldn't have been heartbroken if this hadn't turned out completely right. Luckily for me, that wasn't a problem and the blouse fits me nicely.

I wanted to pick out the red in the print so used some cute little flower buttons from a local shop. Since I've finished the blouse I've also decided that I now need a red skirt to wear with it too, so expect to see one popping up here at some point soon!


There'll probably be another Bellini at some point as well - I got some pretty viscose a little while ago that I think would work nicely for version 2. Has anyone else tried a Capital Chic pattern yet? If not, I'd definitely recommended them based on the Bellini, and I quite fancy trying out the White Russian at some point too!

Thursday 14 August 2014

Two Lilou Dresses for the Price of One!

The glorious warm weather we were enjoying a couple of weeks ago may have been replaced with unpredictableness and dramatic rain showers lately, but today I'm going to try to tempt the sun to come back on a slightly more reliable basis by showing you another pretty sundress (you can't have too many of them, right?!). I mentioned in my post about my first Lilou dress that version 2 was already cut out, well now it's all sewn up and here it is!


Excuse the slightly wrinkled look here! I'd already been wearing it for most of a day at this point, but then came across a practically deserted little park which seemed like a good place to use as a background for some photos - I'm not the greatest person at posing for photos so the smaller the audience I have the better, but pretty places with not many people in them are few and far between.


I'm sticking by the glowing praise I gave this pattern, and Love At First Stitch in general, in my post on my first Lilou. It's a really lovely dress, and feels great to wear. While in this version it's the perfect dress for a summer day, it could work for lots of different occasions depending on what material you use and how you accessorise it. Without wanting to wish summer away, I have already been hatching plans for a version that I could wear on into the autumn and winter. 


For this version, I used the same adjustments as in my first one - size 6 at the bust, grading down to a 5 at the waist and back out to a 6 at the hips, and with 1.5 inches added to the length of the bodice and 2.5 inches added to the skirt. As I said before, I do have a little bit of extra space in the bodice, but it's only a teeny bit and I'm totally happy with the fit. Plus, you know, it's always good to have some space to breath!


The main fabric is a pretty berry print cotton poplin that I got from Abakhan. They have it listed in their craft section rather than dressmaking, but I think it works fine for the Lilou dress. It has less drape than the cotton sateen I used for my first version, which gives the skirt a little bit more body. I really like the colours in the print - I've always thought that yellow is such a happy colour but it just doesn't really suit my colouring (trust me, I tried it in my teenage technicolour phase!), but the small amounts of it in this print combined with blues, reds and pinks are perfect for the summer.

I'm a big fan of the contrast lining in my first version, so I thought I'd do the same for this dress. Plus, it's a great way to use up bits of the stash that aren't big enough for a whole garment. Or that are too see-through to be used on their own as is the case here! This one is a cute white and blue heart print, I suspect polycotton, that has been hanging around on my shelves for a while so I'm glad it's now been put to good use.


And here's the third Lilou that I've made! This one's for my Mum though. She really liked my first version so asked me to make her one as well. Thankfully we're pretty much the same size so I could just use the same pattern pieces as for my own version and didn't need to worry about fitting.

The cotton that I used here is from John Lewis (I think it's part of their 150 year anniversary collection). At £18 per metre, it's definitely on the pricey side for a cotton but it's great quality and was really nice to sew. I'm also assured that it's lovely to wear! I lined this one in some of the voile I had left over from lining my Cambie dress

It was really nice to do some unselfish sewing for a change, and I'm please with the final result - particularly the pattern matching that I managed to pull off down the centre front! My mum really likes it too, which is the main thing.


So yes, Lilou is a great dress - I'd definitely recommend it! 

According to my vague sewing plan, this was meant to be my last "summer" dress this year, but then at the weekend the new issue of Love Sewing magazine arrived, which comes with a pattern for a particularly pretty looking dress - I think it should be out in shops today so keep an eye out if you're a fan of fit and flare dresses! Surely leaving the pattern unloved on the shelf without trying it out would just be rude wouldn't it? So, in spite the questionable weather we've been "enjoying" this week, there will probably be another pretty summer dress on these pages in the not too distant future! And for now, I'll leave you with a twirling shot! See you soon!


Thursday 7 August 2014

Sewaholic Cambie Dress

Back when I first started making my own clothes last year, there was one pattern in particular that caught my eye that I knew I wanted to make at some point - to be honest the only reason that I didn't start making one there and then was because I knew my very novice skills wouldn't do it justice! While I'm by no means claiming that I've become an expert in the last year, I knew that I was now definitely up to the task so it was time to sew myself a Sewaholic Cambie dress.


The Cambie is rated as an intermediate pattern, which is what put me and my then-limited skills off last summer, and I think that is probably right as it is a bit more complicated than a standard beginner pattern due to the full lining. At the same time though, there's absolutely nothing scary about this and, as always with Sewaholic patterns, the instructions and diagrams are totally clear and easy to follow and everything came together really nicely.


The Cambie is such a gorgeous design and so flattering - or I think it is at least! The sweetheart neckline is really pretty and the gathered cap sleeves add an interesting bit of detail. I think having the separate waistband also really helps to define the waist, which is always a good thing as far as I'm concerned. It's also probably no secret by now that I'm fairly fond of girly dresses with nicely fitting bodices and twirly skirts, and this definitely fits that bill - plus there's the added bonus of pockets in the skirt. That's not to say that I don't like view A with the A-line skirt though - that will be on my to-sew list at some point in the future.


Without wanting to tempt fate, I think I might have done a U-turn in my opinions on invisible zips! After completely losing faith in them when one broke on me a month or so ago, they now seem to be behaving themselves and I haven't had any trouble (touch wood...) with the last couple that I've sewn, and they do give a nice finish to a garment.


I cut a size 14 at the bust, grading down to a 12 at the waist and back out to a 14 at the hips, although I could probably have got away with using a straight size 12 for the skirt - it's lovely and full so there's plenty of room around the hips. Other than this, as normal I needed to add a bit of length to the bodice (an inch and a quarter in this case), and that gave me a toile that fitted really nicely. 

Once I came to try on the dress to check the length for hemming, I noticed that somewhere between the toile and the finished dress the sleeves seemed to have grown a bit and, even though the bodice fit me perfectly from the neckline down, I had extra material up around my shoulders. I fixed this by unpicking the seam between the front of the sleeve and the neckline, and then inserting more of the sleeve through the gap that is left there. This does mean that my shoulder seams are slightly further forward than they should be, but I don't think anyone other than fellow sewists would notice this, and it seemed like a much better option to me at that point than unpicking all of the lining to adjust the shoulder seams instead!


The fabric that I used is a John Kaldor cotton lawn that I got from Fabric Rehab, although unfortunately it looks like it's sold out now. It was lovely to sew and it's great to wear. As the shape of the Cambie is undeniably pretty girly, I quite liked the idea of using a more geometric, abstract print for this one, and the gorgeous shade of blue and white together are a good colour combination for me so choosing this fabric was pretty much a no-brainer. I intentionally cut the waistband with the print in the different direction to try to make it stand out more, which I think has worked. For the lining, I used some plain white cotton voile that I got from Abakhan - again it seems to have sold out (and I'm now wishing I'd ordered more!) but this is the same fabric in black, it works really well for lining summer dresses.


This might be quite a big statement to make, but I think this may possibly be my new favourite dress. I love the print and the colour, it's really flattering and it feels great to wear. 

I've come to the conclusion that one way to judge the success of a sewing project is to compare how easy it is to get decent photos of each garment - I always make far more weird faces and awkward-looking poses when I'm wearing things that I'm not entirely happy with, whereas with this one, while I'm definitely no supermodel, the main "problem" was not getting blinded by all the lovely evening sunshine - which isn't a problem I'll be complaining about any time soon because, after all, more sun equals more excuse for making pretty sundresses, yay!