Yay, it's the weekend! How's your week been? I've had a bit of an odd one involving masses of work, my washing machine nearly catching fire and getting part of my sewing machine needle stuck in my finger (still don't know quite how that happened, as you can imagine it was pretty painful at the time but nothing too serious and thankfully my machine, needles and hands have been getting on again nicely since then!), so I'm glad it's time for a couple of days off. This will probably be a fairly quick post, but I wanted to share my latest knitting project with you.
One of my aims for this year was to try out some sort of colour work in knitting. I've got a couple of Fair Isle and intarsia cardigan and jumper patterns that I want to knit, but I thought I'd start with something a bit more low key so I gave this cushion cover pattern a try. Knitting a cushion cover might seem like a lot of work when I could sew one in next to no time, but I thought it would be a good practice project because I wouldn't mind if the results were less than perfect, whereas if I made a slightly dodgy jumper or cardigan, I probably wouldn't wear it much so all the work would go to waste.
For anyone who isn't familiar with it, intarsia involves knitting one colour at a time, with separate mini balls of wool for each individual patch of colour, which are then twisted around each other to prevent holes where the colours join. I'm probably not explaining it very well, and it all sounded a bit scary to me before I tried it, but it's actually fairly easy to get used to. I'm glad I did use this as a practice project though, because you can definitely see my technique getting better as I went through the cushion. The spot above is one of the later ones that I knitted, and it's not perfect still as the tension's a bit off on the left-hand side, but it's not too bad and definitely better than the earlier spots.
If you're thinking of giving intarsia a go, I'd definitely recommend getting some bobbins for winding the individual yarn colours around (I used these). I started off just winding little "butterflies" of yarn but I found that they just got into a tangled mess. There was still a bit of tangling when I used the bobbins, but much less, and it was much easier to sort out.
The pattern is from a random knitting magazine I got a while ago that's just full of cushion patterns - it was part of one of those magazine series where the first one is 99p and you get loads of free stuff and then the others are all massively more expensive. This was the first one in the series and for 99p it was a pretty good deal!
It's a straightforward pattern - just one long rectangle in stocking stitch with the intarsia polka dots in the middle and 3 buttonholes at one end, then when you've finished knitting you just fold the rectangle back on itself and sew up the sides to make an envelope, then add the buttons. Simple!
So there we go, that's my cushion. It's by no means perfect, but I'm pretty happy with how it turned out. It's in its new home next to the rainbow crochet cushion I made last year, so I have a chair full of colourful yarny fun! I'm now getting started on one of my intarsia jumper patterns - hopefully I'll manage to get it finished in time to get a bit of wear out of it this winter. Has anyone else got any good winter knitting projects on the go?
Showing posts with label Cushion. Show all posts
Friday, 17 October 2014
Sunday, 27 October 2013
"I want to ride my bicycle" cushion
I've got some slightly different sewing to show you today. Recently I was asked by a group of friends to create a bicycle-themed cushion for another friend's birthday. After a bit of consideration of different designs, this is what I came up with...
I had a look around online to make sure that a bike was actually the shape that I thought it was, then I used a combination of appliqué and embroidery to create the bike on the background material (purchased from a local shop).
The basic frame of the bike is made from some pretty floral bias binding folded in half widthways, which I then pinned and machine stiched into the frame shape.
I then embroidered the rest of the bike around the frame. For the saddle, I used satin stitch then a double line of chain stitch for the handle bars, a single line of chain stitch for the wheels and a simple running stitch for the wheel spokes.
When I'm doing embroidery, I tend to draw out my designs on paper then when I'm happy, I go over the final design with a black felt tip. Unless your material is really thick or dark, if you put the felt tip drawing under the material you can usually see it and trace it onto the material. I use Frixion pens to trace the design onto the material as you can see here...
The lines are really clear, and once you've done all the embroidery, they'll disappear when you iron the material. This does mean that you have to be careful if you're ironing as you go along (so I don't usually iron till the end - the excuse for the massive outline of the embroidery hoop in this picture!), but I don't find that a problem.
I completed the cushion by embroidering "I want to ride my bicycle" under the bike in simple back stitch, and I think the whole thing is quite effective. Thankfully the birthday girl like it and fellow present-givers approved, so it can't be bad!
I'm now off to hide away under a blanket on the sofa until the imminent storm passes. See you next time!
Linking up to:
Monday, 14 October 2013
Rainbow Granny Square Crochet Cushion
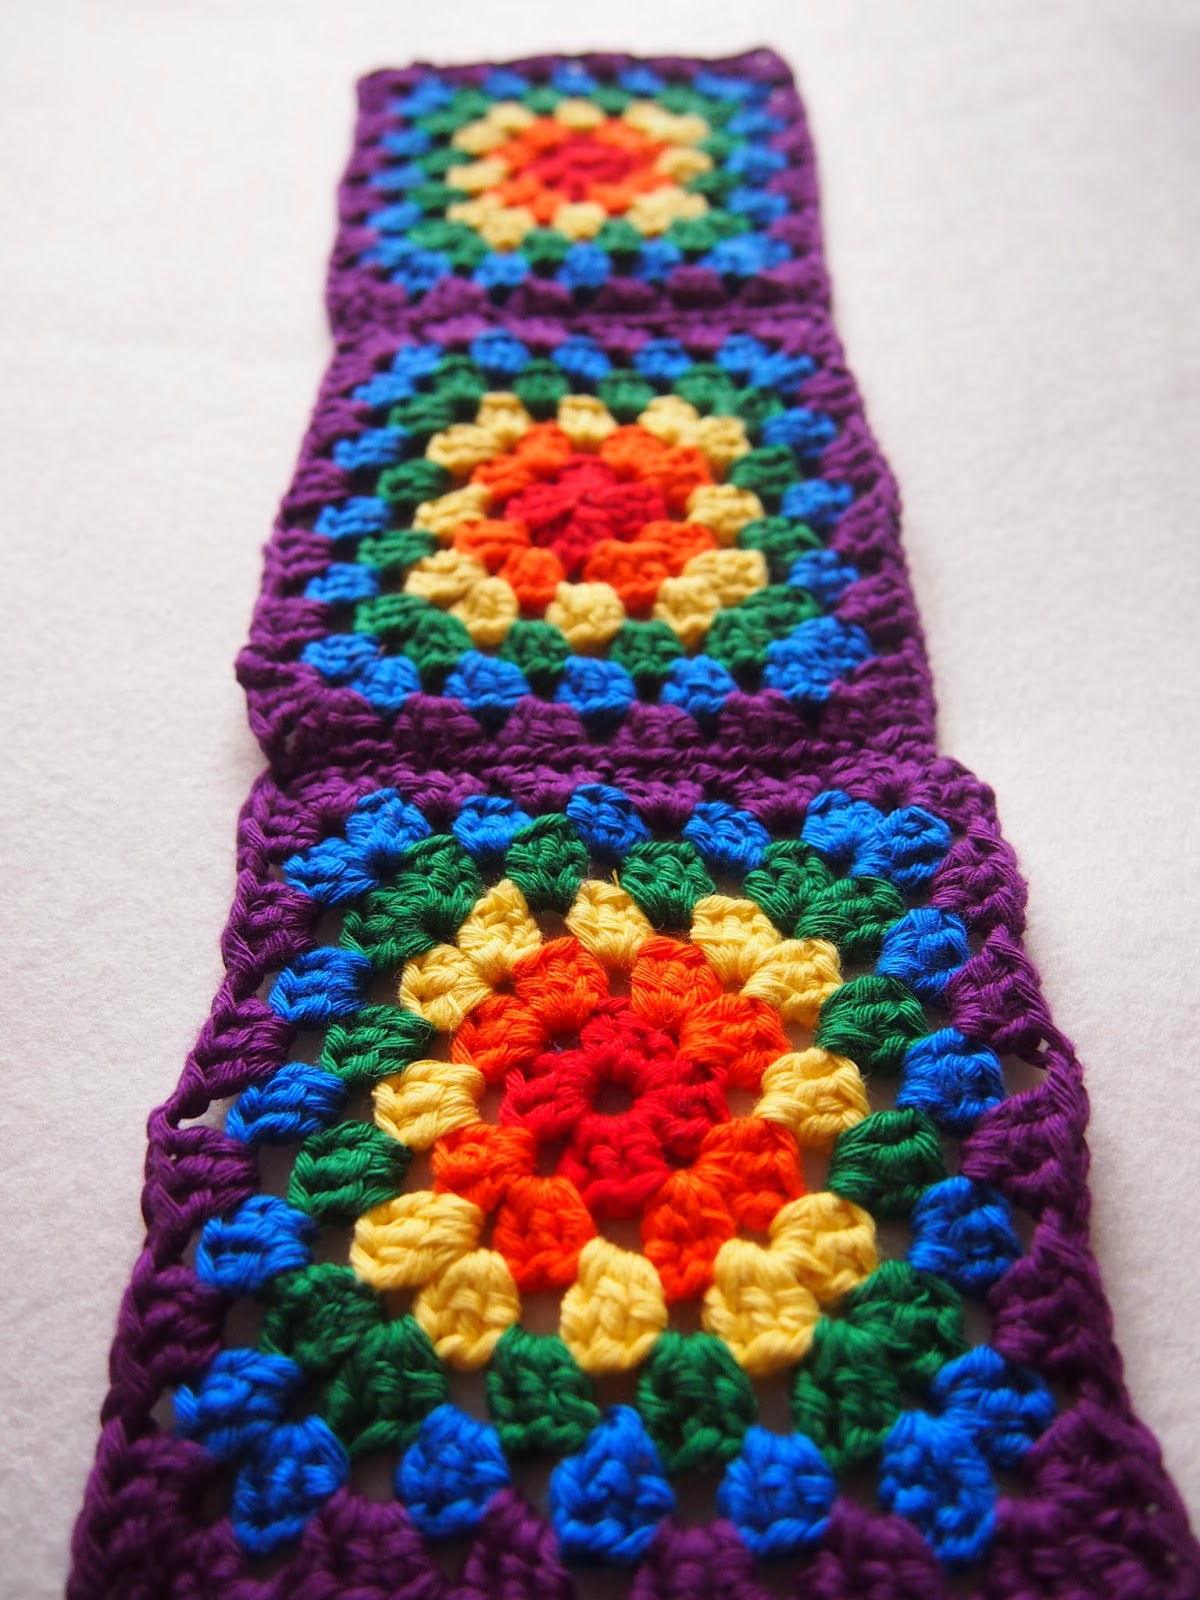
I had an enforced break from my current dressmaking craze last week while I was waiting for a new pattern to arrive, so I turned my attentions to some crochet instead and finally finished my rainbow-coloured granny square cushion. I first blogged about this project back in August, when it was just one lonely little square. That has now multiplied into 18, which have come together to create this little beauty that is now brightening up my living room...
I made up the 18 squares first (I used Rico Creative Cotton Aran), then spent a very dull evening fastening in all the ends. Lesson learned: for future projects like this, I will sort all the ends out as I go along to spread the boring job out a bit!
I then joined them up into six lines of three...
Then I joined three lines up to make a nine by nine square for the front...
For the back, I joined two lines together to form a two by three rectangle, attached this to bottom of the front and attached the last line of three separately to the top of the front to leave an opening a third of the way down the back of the cover. I popped the cushion pad inside, and threaded ribbon through the holes in the squares to fasten them together...
I finished it just at the right time as well, because the rainbow colours brightened up a very gloomy and rainy Sunday, and it's a lovely snuggly cushion because of it being crocheted. I've got a load of dressmaking plans that I want to put into action at some point, but I think there will be some more knitting and crochet going on too - it's nice to be able to snuggle up on the sofa with some wool now that it's getting a bit colder! I'll leave you with one last blast of colour, and I'll see you again soon...
Subscribe to:
Posts (Atom)