Monday, 15 May 2023

Forget-Me-Not Patterns Helmi Blouse

With the abundance of bank holiday Mondays that we have to enjoy with in the UK this May, I decided to spend one of them sewing and had an enjoyable day making the recently released Forget-Me-Not Patterns Helmi Blouse pattern.
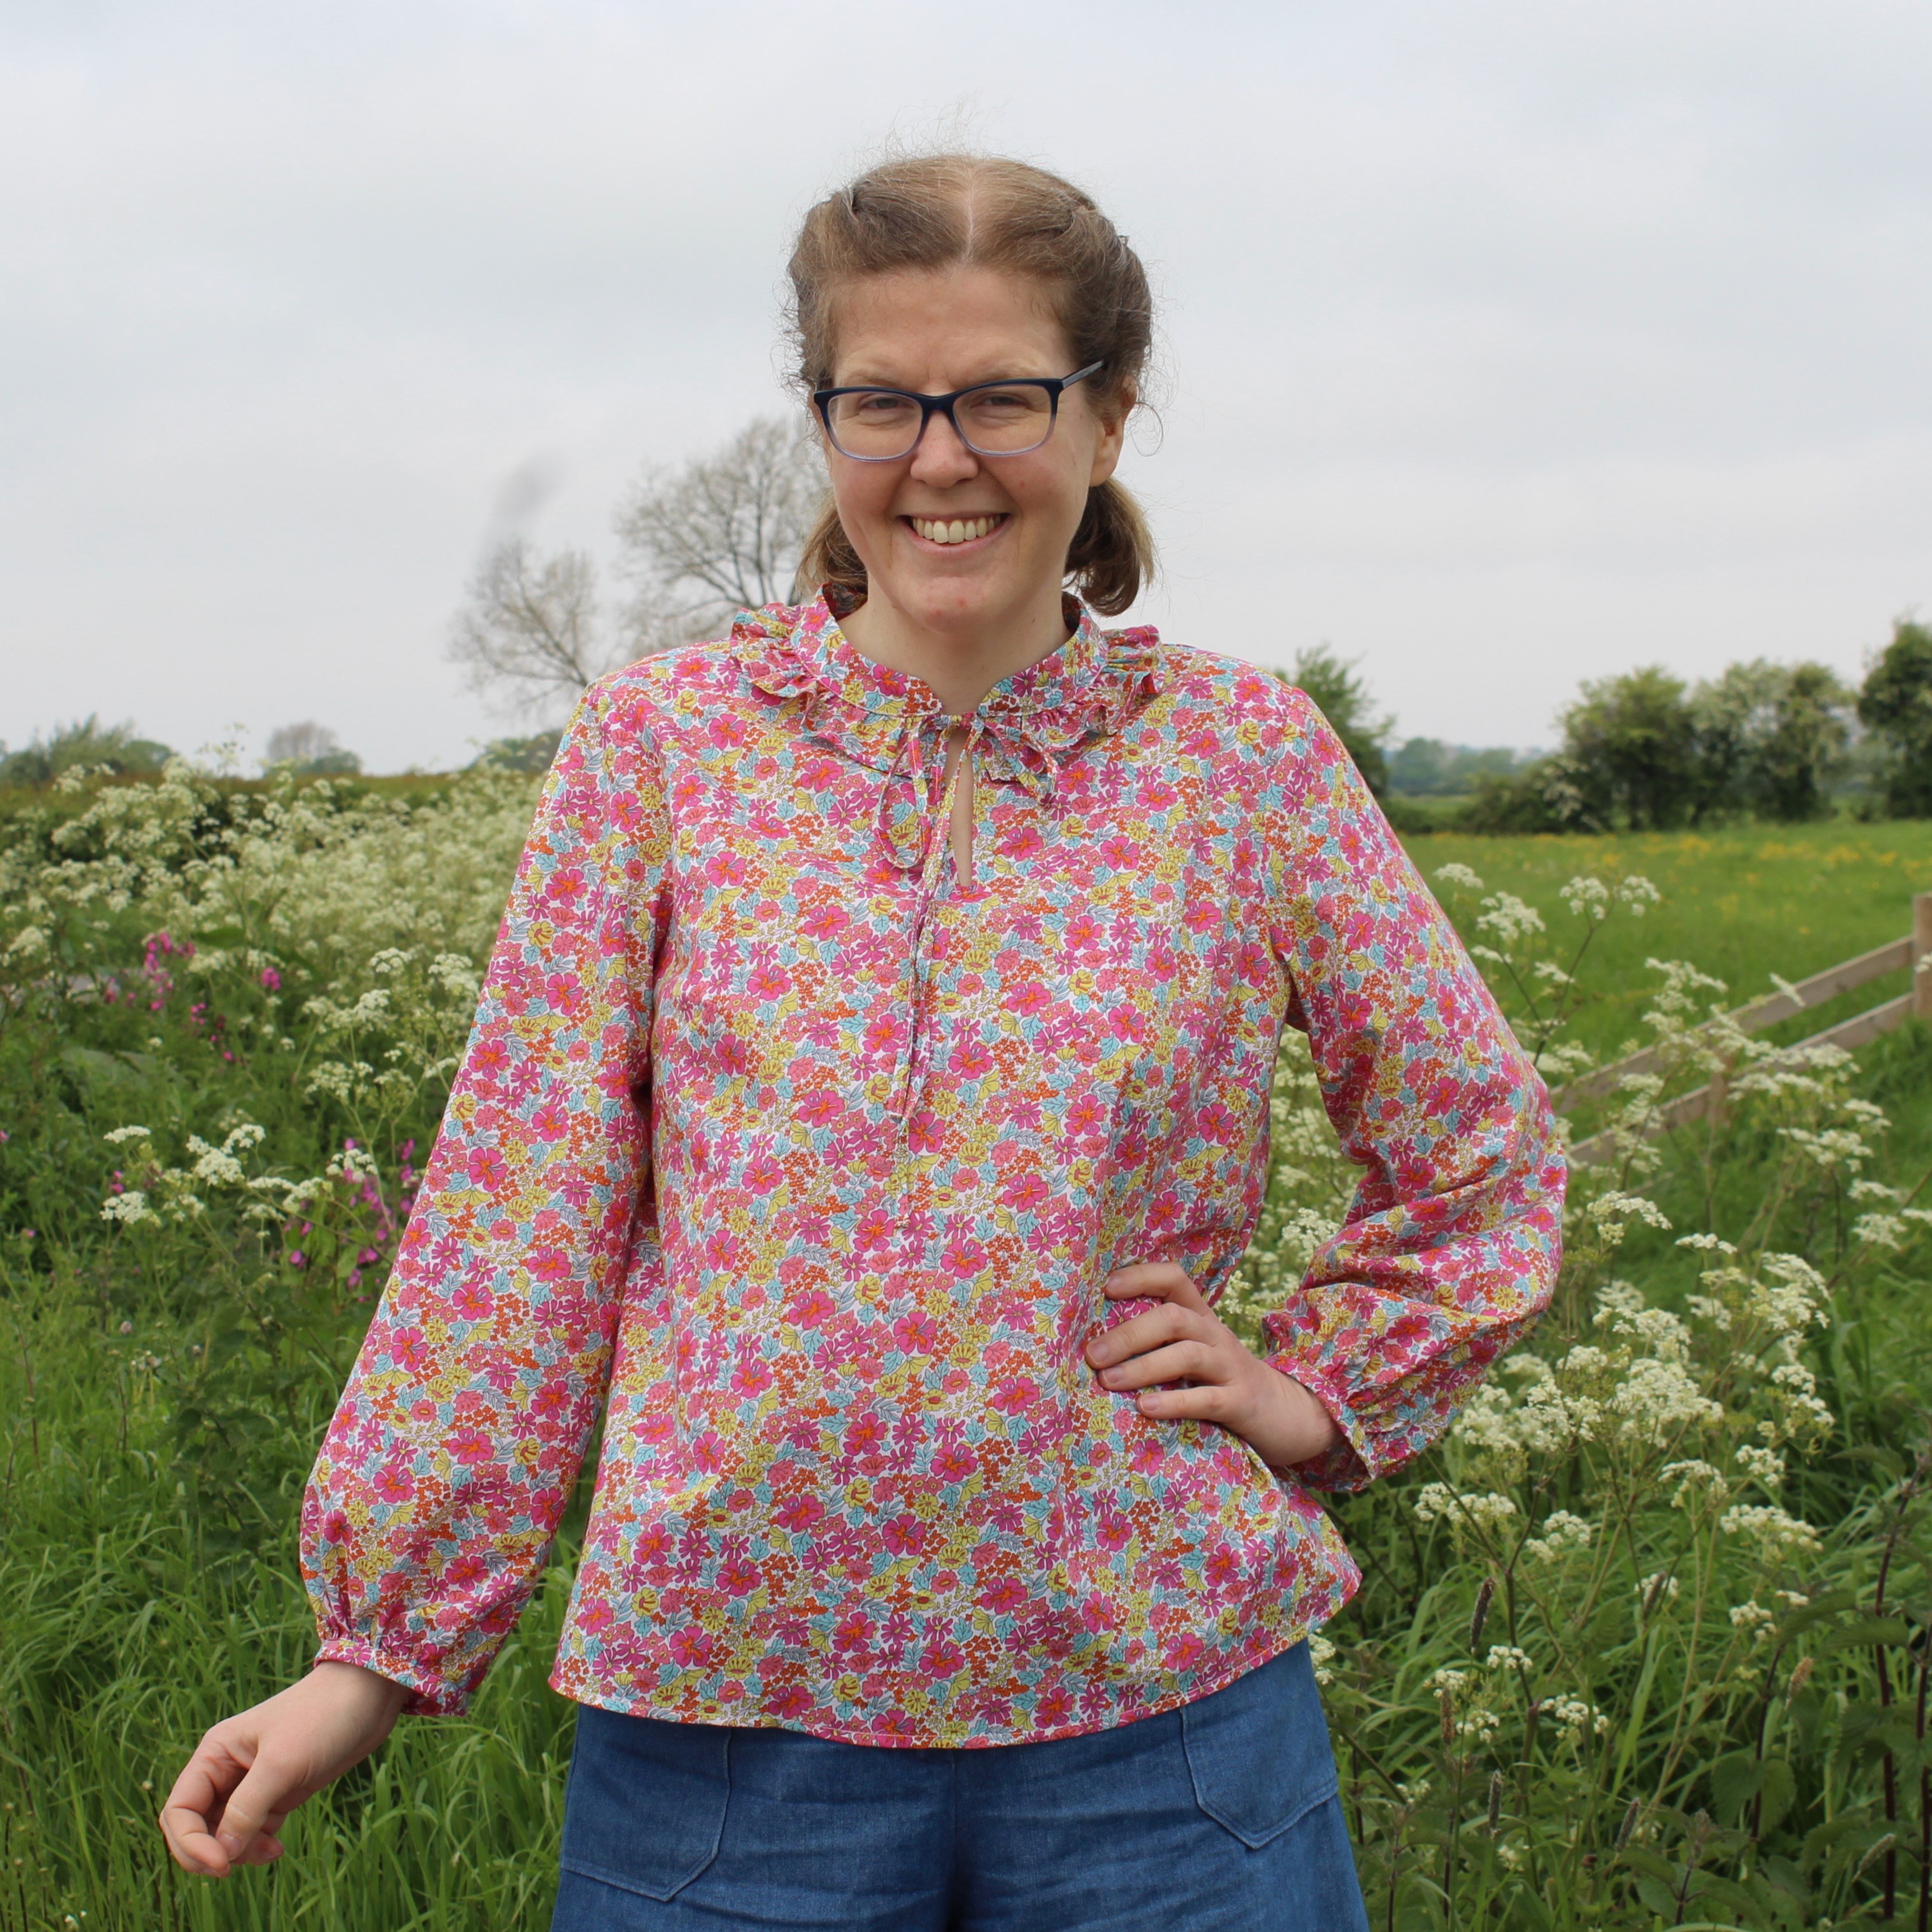
The Helmi is a semi-fitted, pull-on blouse designed for lightweight fabrics. It has bishop sleeves that can be made either three-quarter or full length and gather into a binding. The blouse also has either a Peter Pan or stand collar, with the neckline being fastened at the front using either ties or a button and loop. There are also optional ruffles for the neckline and shoulders. 

I used the full-length sleeves, stand collar, tie neck and neckline ruffle.

The pattern comes with separate pattern pieces for small, medium and large bust fits, which between them cover bust measurements from 27.5" to 58.5".

I thought the instructions for the Helmi blouse were excellent. They're very detailed without being too wordy, and they're accompanied by extremely clear diagrams. You do have to pay attention to the instructions because they use different seam allowances at different points in the pattern, but the seam allowance is always stated clearly for each section. I found the combination of the instructions and diagrams very easy to follow and didn't have any trouble sewing my blouse. 

The pattern is rated for intermediate sewers, which I would say is fair. The collar and the gathering of the sleeve into the binding mean that this is a slightly more involved project with quite a few steps to complete. For me, it was the perfect project to gradually work through over the course of a day. It would also be quite a good project to work on slowly in stages if you're fitting sewing into limited time.
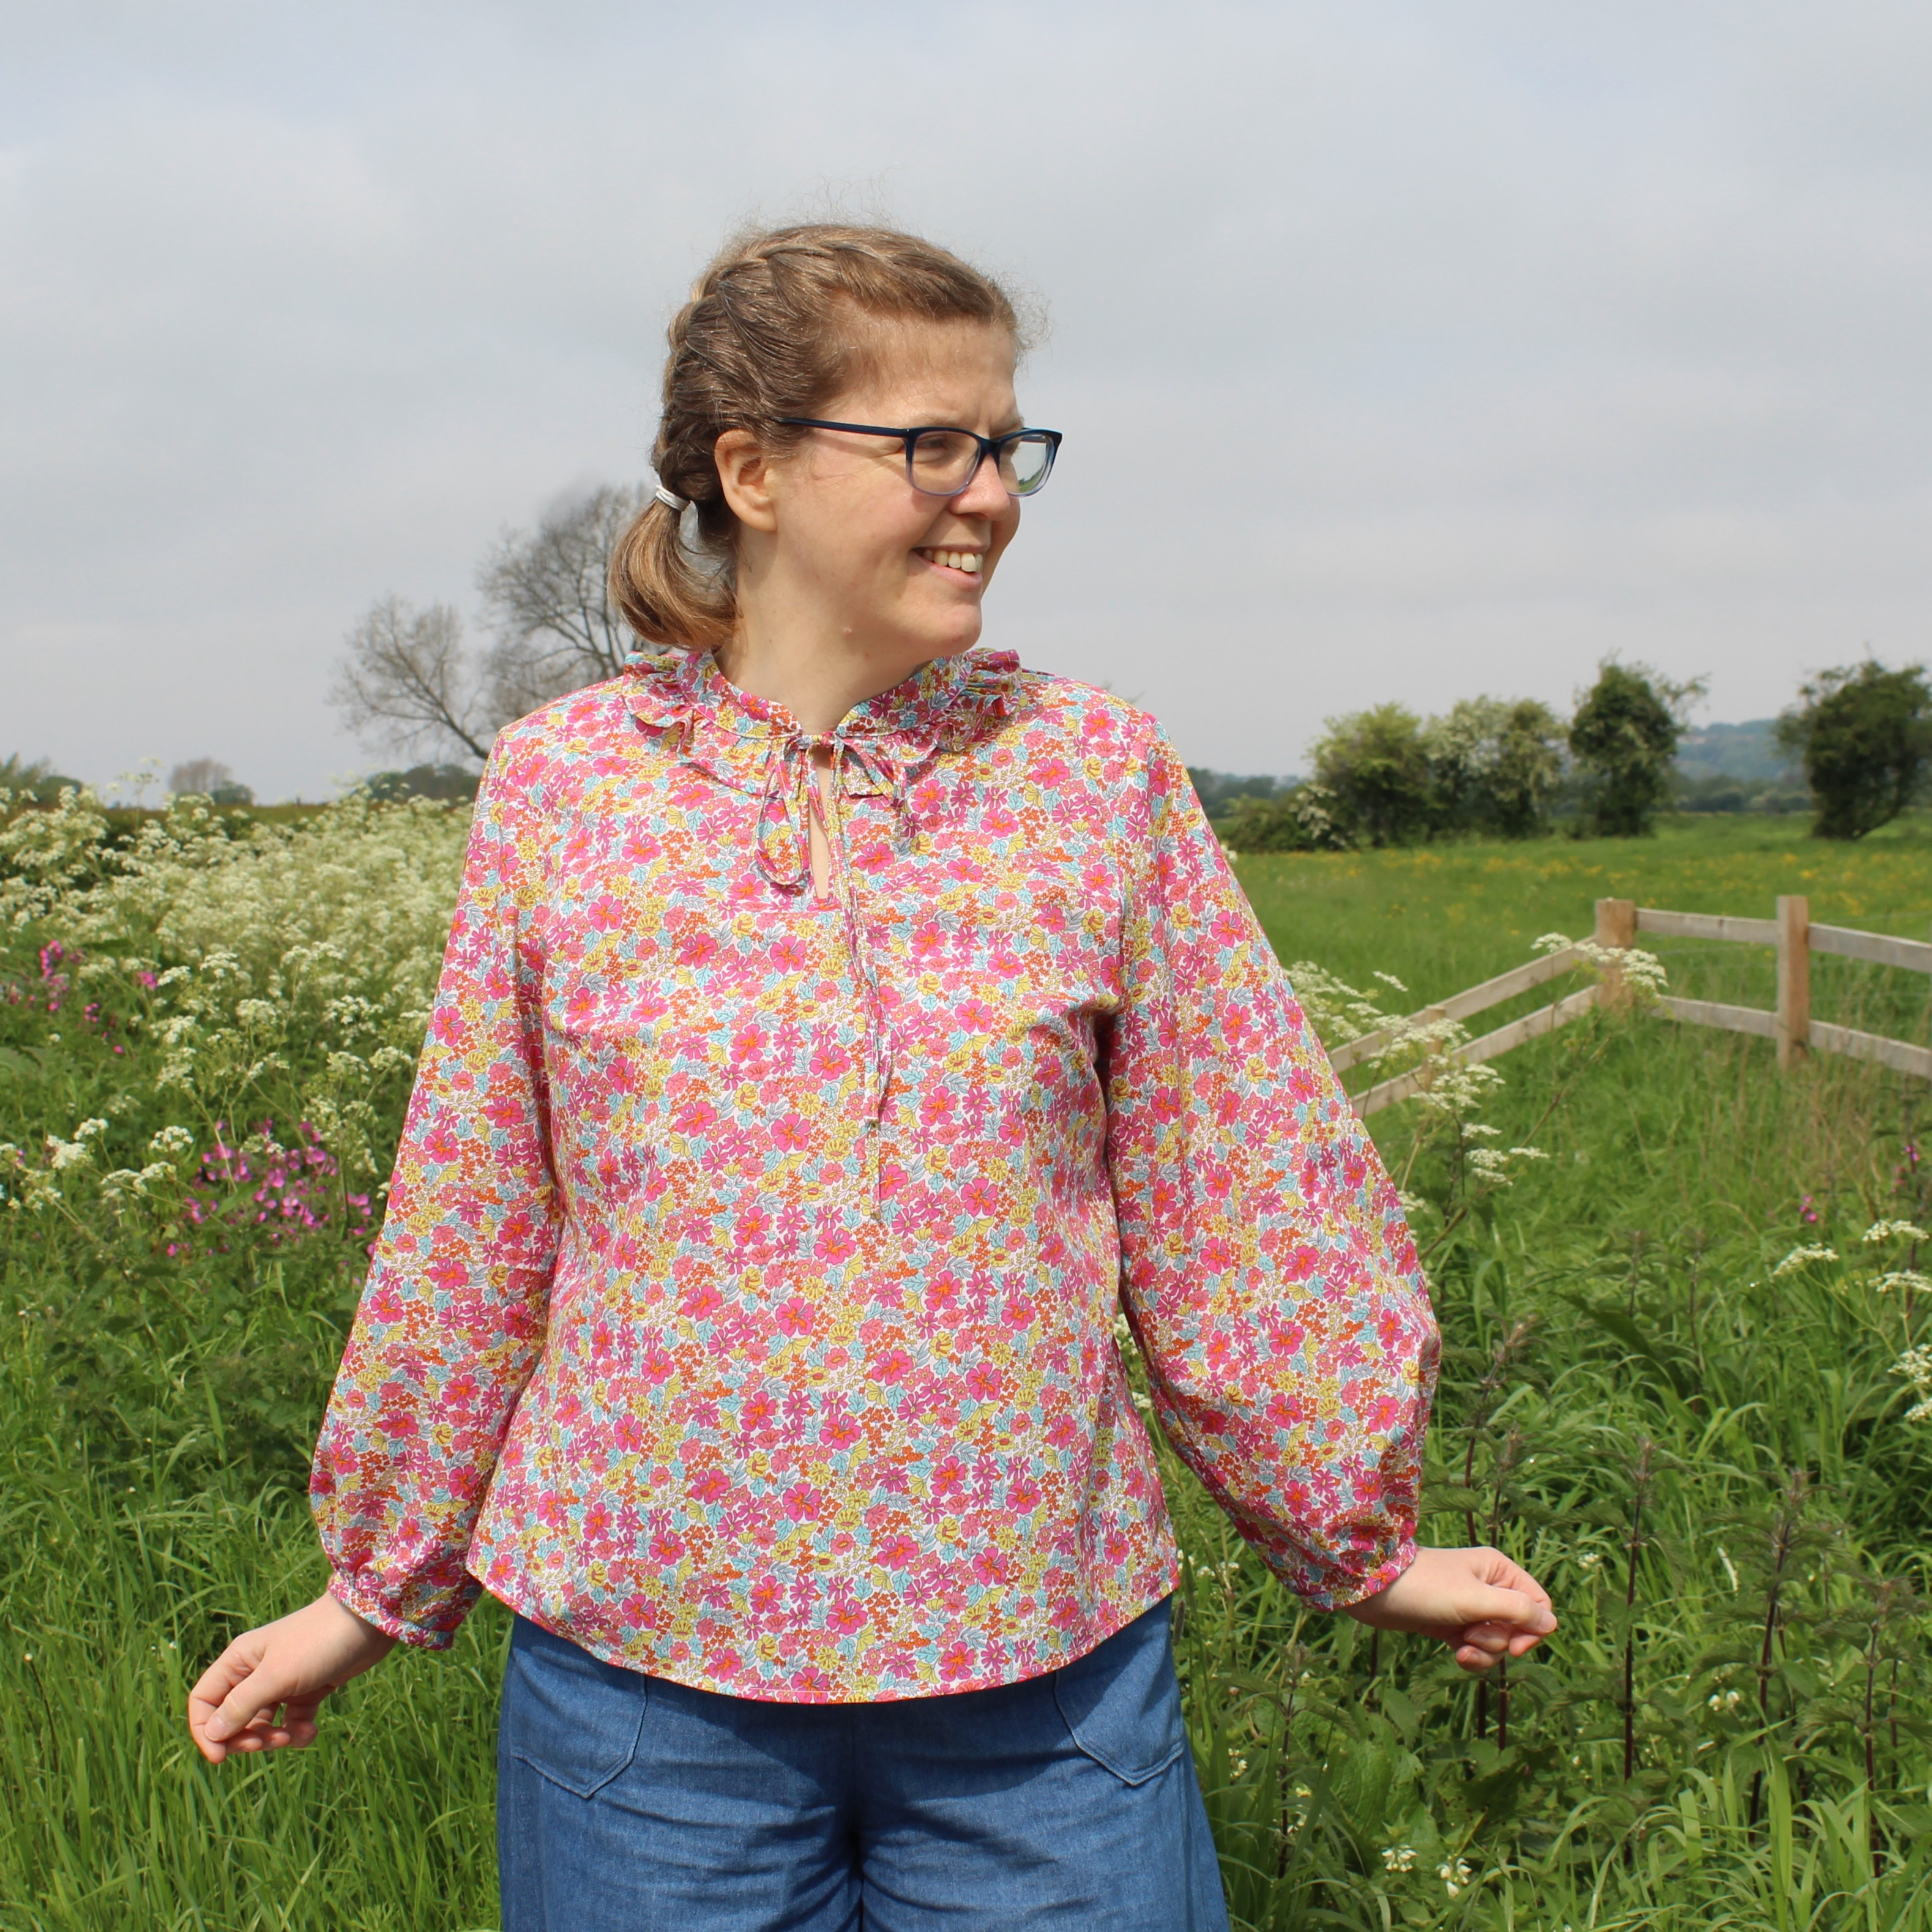
In terms of sizing, I used the medium bust pieces and blended out from a size 38 at the bust to a 40 at the waist. That's what's recommended for my current measurements and I think the sizing is just right. It's semi-fitted as intended and feels good to wear. I didn't make any alterations to the fit and I'm happy with how it turned out.

The fabric I used is a cotton lawn. I bought mine on a recent trip to Yandles - I can't see it on their website, but the same print is currently available at Jenny Stitches (a shop which I've ordered from a few times and would very happily recommend). It's a great quality fabric - it was a pleasure to sew, and I think it's perfect for the Helmi blouse.

One point I would mention about fabric is that I found the fabric requirements quite generous. For sizes 28 to 40, the pattern calls for 2.2 metres of 140 cm fabric, but I managed to cut my blouse out from just over 1.5 metres. 

All in all, I'm really pleased with my Helmi blouse. It was a really enjoyable project to sew and it's lovely to wear. The neckline makes it slightly different from other garments in my wardrobe which is nice - it's always good to try something new, isn't it?!

Tuesday, 2 May 2023

Simplicity 9376 trousers

My wardrobe is well (some would say too well!) stocked with dresses and skirts, but I don't have many pairs of trousers so there are a couple of trouser patterns in my sewing plans for the year. The first of those patterns that I've got round to making is Simplicity 9376. Here's my version...

Simplicity 9376 is a pattern for pull-on trousers with a flat front waist and elasticated back waist. There are options for waist ties or belt loops, and the hems either use a clean finish, cuffs or elastic. The fronts of the trousers feature either pleats or pin tucks. All of the versions have side front pockets.

The pattern covers hip sizes from 32.5" to 48".

I essentially made view D of the pattern (pleated fronts, cuffed legs and otherwise plain), but I omitted the cuffs and just hemmed the legs. I had thought about using the cuffs, but they're formed by folding back the leg and I think that would have left the trousers a bit short on me (for reference I'm 5'9").

Making the trousers was a fairly straightforward process. As is normal for commercial sewing patterns, the instructions were probably not as detailed as they would be from an indie company, but personally I found them perfectly clear and easy to follow. I didn't have any trouble sewing this pattern, although it has to be said that I was already familiar with all of the processes used to make the trousers.

I made a straight size 18, which is the size recommended for my current measurements. The only alteration I made was to widen the waistband pieces so I could use 4cm elastic instead of the 3.2cm called for in the pattern. I chose to do that because I was struggling to get any 3.2cm elastic, and I had 4cm elastic already so it seemed sensible to use that. Even though the change was a practical decision, I think the slightly wider waistband is actually quite nice and for me the slight added height at the waist is good.

I feel like the fit is fairly good around my waist and hips. The legs possibly turned out slightly baggier on me than they look on the pattern pictures, but I think they're OK and at the moment at least I don't feel the need to go back and alter them.

The fabric I used is a gorgeous needlecord that I bought from Croft Mill. It's such a pretty colour and it feels lovely. It shed pinky purple fluff all over the place as I was sewing, but thankfully that's stopped now that I've got the trousers sewn and all the seams are finished. 

I would say that I probably wouldn't want to use fabric any heavier than this for these trousers, and if I make the pattern again in a similar weight of fabric then I'd use a lighter fabric for the pocket lining and the waistband facing.

All in all, I'm pretty happy with how my Simplicity 9376 trousers turned out. They were no trouble to sew and they're extremely comfortable to wear. They're also a really pretty colour for spring, and will go with quite a few of my tops so I think I'll be wearing them a lot!

Monday, 17 April 2023

Sew Me Something Florence Dress Pattern Review

Have you ever had a sewing project that feels like it might be doomed? That was definitely the case for me with this dress as it involved lots of little niggles, but thankfully in the end it's maybe not entirely perfect, but definitely perfectly wearable! Here's my Sew Me Something Florence dress...

The Florence dress is a loose-fitting midi dress with two views. View 1 has a bound button placket on the front bodice and darted three-quarter sleeves, while view 2 (which I made) has a bias bound neckline with a keyhole back and gathered long sleeves. Both versions have a gathered skirt with cut away pockets.

The pattern comes in two size ranges, with 6-20 covering bust sizes from 77-110cm and 20-34 for bust sizes from 118 to 153 cm.

My problems with this project were mainly related to the fabric. I bought the fabric from Backstitch and it's a navy blue and white polka dot viscose. While it's described simply as viscose on their website, I'd actually call it a viscose twill - which was initially quite a pleasant surprise because I've had good experiences using viscose twill in the past. 

Unfortunately when I pre-washed the fabric the blue bled a bit, particularly around the selvedges, and some of the polka dots turned pale blue rather than white. As it was worst around the selvedges, I was able to avoid the most severely affected areas when cutting out my pattern pieces so there are some dots with a distinctly blue tinge on my finished dress, but it's not too noticeable from a distance. I'm a bit concerned about what might happen when I have to wash the dress though!

The fabric also snags fairly easily, and unfortunately chose to do so right up the front of the bodice when I was sewing the waist seam, leaving me with a very noticeable white line in the middle of a navy section. With a bit of patience, I was able to make it look a bit better but it's still visible close up. Maybe if the blue runs again when I wash the dress that'll help in this case!  You've got to look on the bright side, haven't you?!

Actually sewing the dress was mostly a fairly straightforward experience. The instructions are clear, but I would say maybe aren't as detailed as some indie patterns. For example, I may have been missing something, but I don't think they ever actually tell you to sew the two halves of the back skirt together - it's fairly obvious that you need to do that, but it should still be mentioned. 

It's a personal preference, but I'm not a huge fan of the way the keyhole neckline is finished (the centre back seams are just pressed and then topstiched) or of the exposed neckline binding. I also think it would be easier to press the folds into the binding before stitching it onto the neckline rather than sewing it on and then pressing. If I make the dress again, I'd be tempted to draft a facing for the neckline, or maybe to use binding but attach it so it's on the inside. 

When it comes to picking a size, I'd definitely recommend consulting the finished garment measurements (the pattern does advise you to do this too). My body measurements would suggest I should make a size 16, but when I looked at the finished garment measurements I could tell that would be bigger than I wanted. I actually made a size 12 and it's perfectly big enough for me - it's still loose-fitting, but it's not overly baggy. 

I lengthened the bodice by 2cm and the sleeves by 2.5cm (standard for me because I'm taller than average). I also made a slight mistake when cutting out my fabric, and that combined with avoiding some of the worst blue areas meant that I didn't have quite as much fabric as I needed, so my skirt is about 7.5cm shorter than it should be. Thankfully it's still plenty long enough.

While making this project wasn't the smoothest process, the finished dress has actually turned out surprisingly well! It's really comfy, and you wouldn't notice the slight problems with the fabric if you don't look too closely. I know I'll enjoy wearing it, and I'd definitely consider making another version in future. So thankfully my Florence dress turned out not to be doomed at all!

Thursday, 9 March 2023

Charlotte Emma Patterns Clove Vest

I love finding sewing patterns that are fun to make and will give you useful additions to your wardrobe. For me, the Charlotte Emma Patterns Clove vest is just that! As evidence of how much I like it, I've already made three versions - and I've got two of them to show you today.

The Clove vest is a knit vest top with V-neck or crew neck options and two hem lengths. The vest has tall hem bands sewn in two parts with a split at the sides. The V-neck option has a wide neck band, while the crew neck is finished with a facing. The armholes also use facings. 

It comes in two size ranges, with the B-cup range covering bust sizes from 32" to 46", and the D-cup range covering bust sizes from 44" to 60".

The pattern is intended for medium-weight knits and it's great for layering. I have a tank top that I knitted a few years ago that I like wearing in the colder months, so I thought a Clove vest would be a welcome addition to my wardrobe - with the added bonus of it being much quicker to sew a top like this that it would be to knit one!

This was my first time using a pattern from Charlotte Emma Patterns, and I was impressed. The instructions were really good - clear, easy to follow and nicely set out. They have just the right level of detail and I didn't have any trouble sewing up my Clove vests. It has to be said that I haven't tried the V-neck and that's probably the slightly trickier of the two neckline options, but having had a brief look at the instructions, it didn't look like it would be too complicated.

The instructions result in a nice finish too. I've never used facings with knit fabric before and I was slightly concerned about how they'd turn out, but they actually work really well. They're also all topstitched in place, so there's no danger of them flipping out onto the right side of the vest and they look nice and neat.

I made a size 16 - my measurements currently put me just below a 16 but above a 14, and having looked at the finished garment measurements I thought the 16 would give me more of the fit I wanted. Given that it's intended for layering, you don't want the vest to be too closely fitted. I didn't make any alterations, and I'm happy with the fit of the vest.

Initially, I made the full length version in plain navy blue French terry from Dalston Mill (the one I ordered no longer seems to be available). When I tried it on, it looked OK but I thought it would probably fit in with my wardrobe better if I'd made the cropped length. I was about to cut the extra length off but then I realised that I had enough fabric left (I was sent a VERY generous one metre - it was more like 1.5 metres) to cut another cropped version. So my mum was very happy to take the full length one off my hands, and I made myself a cropped version.

I then realised that I hand enough of the floral French terry (which I bought in a closing down sale a few months ago) left from making a dress recently to make myself a second cropped version. 

The vest really doesn't use that much fabric at all - particularly if you're using leftovers and have a main chunk of fabric that you can use for the front, back and waistbands and some smaller pieces that would fit the facings.

I think this is probably the quickest that I've ever made three versions of the same pattern, and that's a fairly good indication that the Clove vest gets a big thumbs up from me! And I might not be finished yet because I've found some other leftovers that might be just about big enough to squeeze a vest out of. Watch this space!

Thursday, 26 January 2023

Homer + Howells Ingrid Dress Pattern Review

Hello there! It's been a while since I last posted, but I've got what I think is a good project to share to break the silence. It's the  Homer + Howells Ingrid dress - a pattern that I liked as soon as I saw it, and have now finally sewn for myself.

The Ingrid is a gathered panel dress with asymmetric seams and a centre front bust tuck. It comes with options for a midi or mini length dress or a top, and also has the choice of a classic tee sleeve or gathered cuff sleeve. I used the midi length and tee sleeve.

The pattern is drafted for bust sizes from 31½" to 48⅞" and hip sizes from 34¼ to 52".

Ingrid appealed to me because the asymmetric seam lines make it a bit different from the (many!) other dress patterns that I've made.

This is the first time that I've made a Homer + Howells pattern, and I wasn't disappointed. I bought the printed pattern and the envelope, instruction booklet and printed pattern are all really good quality, which is always a nice start! 

Sewing the dress was no trouble at all - the instructions have just the right level of detail and are easy to understand. It's the kind of pattern where you do need to keep track of which piece is which, and make sure that you cut everything out right, but there's clear information about that on the pattern pieces so as long as you follow that you should be fine. 

I would say it's a slightly more time-consuming dress to make than some others because you have to sew the two front and two back panel pieces all separately rather than making one bodice and attaching it to one skirt, but it's still not particularly complicated. 

It's worth taking time to make sure the bust tuck lines up across the centre front seam - I actually hand basted the two front pieces together across the tuck, then sewed the seam in two stages - first going from the bust tuck up to the neckline and then from the bust tuck down toward the waist.

The sizing seams good - it's intended to be a relaxed fit, and it achieves that without feeling baggy and shapeless. I made a straight size 14 (which is what is recommended for my current measurements) with no alterations, and I'm very happy with the fit. It's a really comfy dress to wear.

The fabric that I used is a lovely needlecord that I bought from Sew Much Moor. These photos aren't entirely doing it justice - the drab January weather is making the colour less saturated than it is in real life. The photos on the Sew Much Moor website are a much better reflection of it.

I really enjoyed sewing my Ingrid dress, and I'm happy with how it turned out. I don't think it'll necessarily be a pattern that I make over and over again - I tend to do that more with simpler dress styles that look different depending on the fabric you use, whereas the unique design of Ingrid makes the dress itself stand out (if that makes sense?!). I think a summery version in chambray would be nice though, so something along those lines may find its way onto my sewing table!