

When I started sewing, I never intended do develop a fabric stash. I would buy the fabric that I needed for each project as I was getting ready to make it and that worked well for me. I'd see pictures and hear stories of the fabric stashes that more seasoned seamstresses had accumulated and wonder how they'd managed it - now I know very well quite how easily fabric will multiply!
Between the temptations of picking up bargains in sales, being over-ambitious about how many projects I'll get through in one season then not want to sew up super summery fabric in winter, and online purchases not being quite what I expected them to be therefore not being suitable for my original intended project, this little collection has gradually been growing in the crafting corner of my flat.

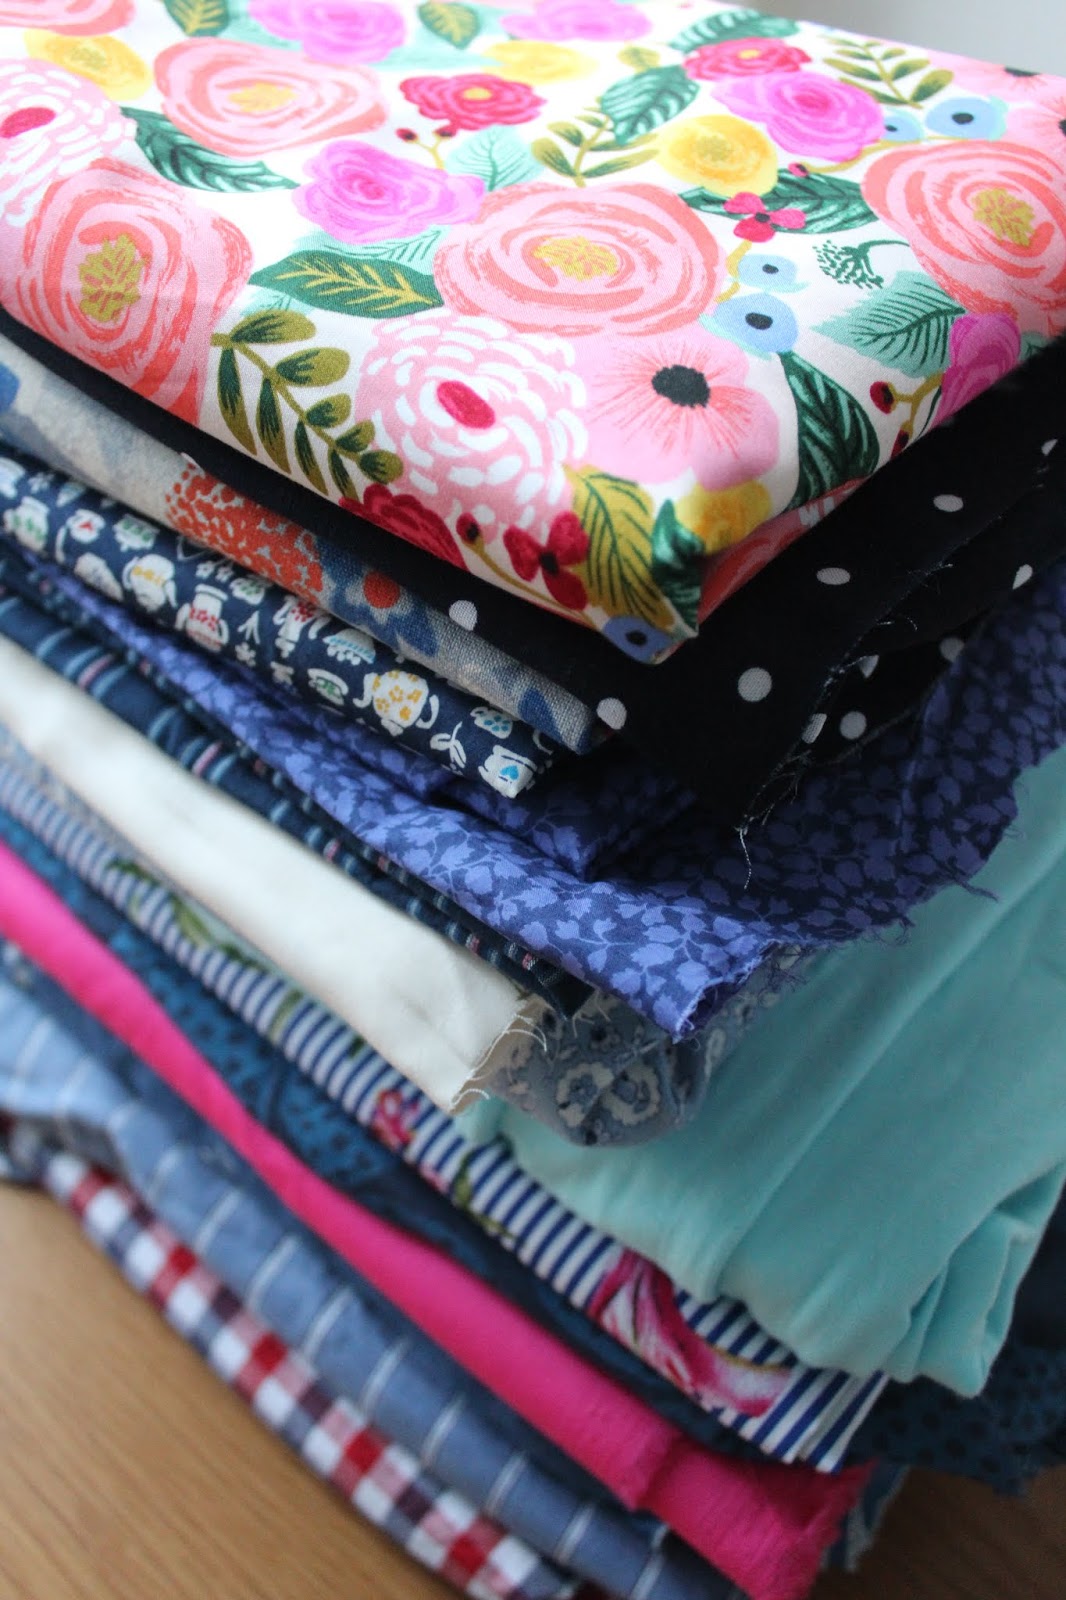
The stack of fabric that you can see in these photos is the vast majority of the lengths of fabric that I have that are big enough for a Ruth-sized garment of some kind (there are a couple of other pieces but they're packed neatly in a bag and I didn't want to disturb them!). Compared to some fabric stashes, this is fairly small but it's bigger than I want it to be.

Don't get me wrong, there's nothing wrong with having a voluminous fabric stash if that makes you happy and helps fuel your creativity. For most of us, sewing is a hobby and when it comes to hobbies I'm firmly of the belief that you should do what works for you. Personally though, I've realised that having a mound of fabric waiting to be used doesn't act as a source of inspiration for me, and instead it feels like a never-ending to-do list. And not in a good way!

So I'm now going to make a concerted effort to try to sew some of these pretties. That really won't be too much of a hardship because I do like each and every one of these pieces, but in some cases I do need to work out exactly what project they want to be used for.
I'd also like to try to make a bit of a dent in my leftover bits of fabric - some of which you can see above. These are all too small for garments, but hopefully will make some pretty bags, pouches and other small projects.
I'm being realistic - I'm not going to say that I'm not going to buy any fabric. For a start, my stash is mostly woven cottons, so if I want to sew a pattern that calls for stretch fabric or something fabulously drapey then I'm probably going to need to go shopping.
Also, sometimes you just see something that's so beautiful that it needs to come home with you (case in point: the Rifle Paper Co rayon on the top of the pile that I picked up recently at the launch party for Like Sew Amazing's bricks and mortar shop in Bristol).
And finally, if I say that I'm not going to buy any fabric at all, it's only going to make all the pretty things that flood my email inbox and Instagram feed on a daily basis seem even more tempting than they already are.
However, I am going to try to go back to how I purchased when I started sewing - fabrics for specific projects. I'll order swatches to avoid online purchasing mishaps. And I'll only buy things in sales if I would have wanted them at full price, not just be sucked in by bargains.

I'm not setting myself any deadlines for using my stash, but hopefully over the coming months you'll start to see some of these fabrics appearing here transformed into finished projects, and I'll start to feel like I'm ticking off some items on the fabric to-do list!
How about you? Do you have a bounteous and beautiful stash, or do you prefer to buy the perfect pieces for your projects as and when you're ready to use them?


