

There are many great belt tutorials out there already (such as Tilly's bow belt and A Beautiful Mess's fabric belts), but I have a RTW belt (you can see it in my post about my Winifred dress) that I wanted to recreate and I couldn't find any tutorials that were quite what I wanted, so I decided to make my own. This is a great project for using up long, thin pieces of material (as a guide, the piece I used was 105 cm long x 12 cm wide), and the finished belts are a brilliant way to jazz up a plain outfit.

To make the belt, you'll need basic sewing kit, your material, a belt buckle and elastic the same width as your belt buckle. I got both my buckle and elastic from Tailor Mouse (belt buckle here and elastic here), but there are plenty of other places you can find them.
First, you need to cut your elastic and fabric to size. The best way to do this is to put your elastic round your waist so that it fits snugly but is still comfortable - cut it at this point and measure.
For the fabric, you'll need 1.5 times the length of your fabric (this creates the slightly gathered effect and allows the fabric to move when the elastic stretches), and the width will need to be twice the width of the elastic plus twice the seam allowance you want to use. For example, I cut my elastic at 70 cm, it was 5 cm wide, and I used a 1 cm seam allowance, so my fabric was 105 cm (70 x 1.5) long by 12 cm wide ((5 x 2) + (1 x 2)). If that all sounds a bit complicated, don't worry - it's very simple from here on in!

Once you've cut your fabric, fold it in half, right sides together, so that the two long edges match up and pin in place.

Sew along the long edge using your chosen seam allowance, remembering to back stitch at either end to secure.

Turn the fabric tube right sides out. You might find using a chop stick helpful here.
Press the fabric tube, and at the same time press about 1 cm at either open end under to the inside of the tube.

Put one end of the elastic into the middle of the fabric tube at one open end, and start pushing it through.

When the other end of the elastic reaches the start of the fabric, use a pin to secure it in place underneath the pressed-under edge of the fabric. Then continue pulling the elastic through the tube until it reaches the other end and secure that in the same way.

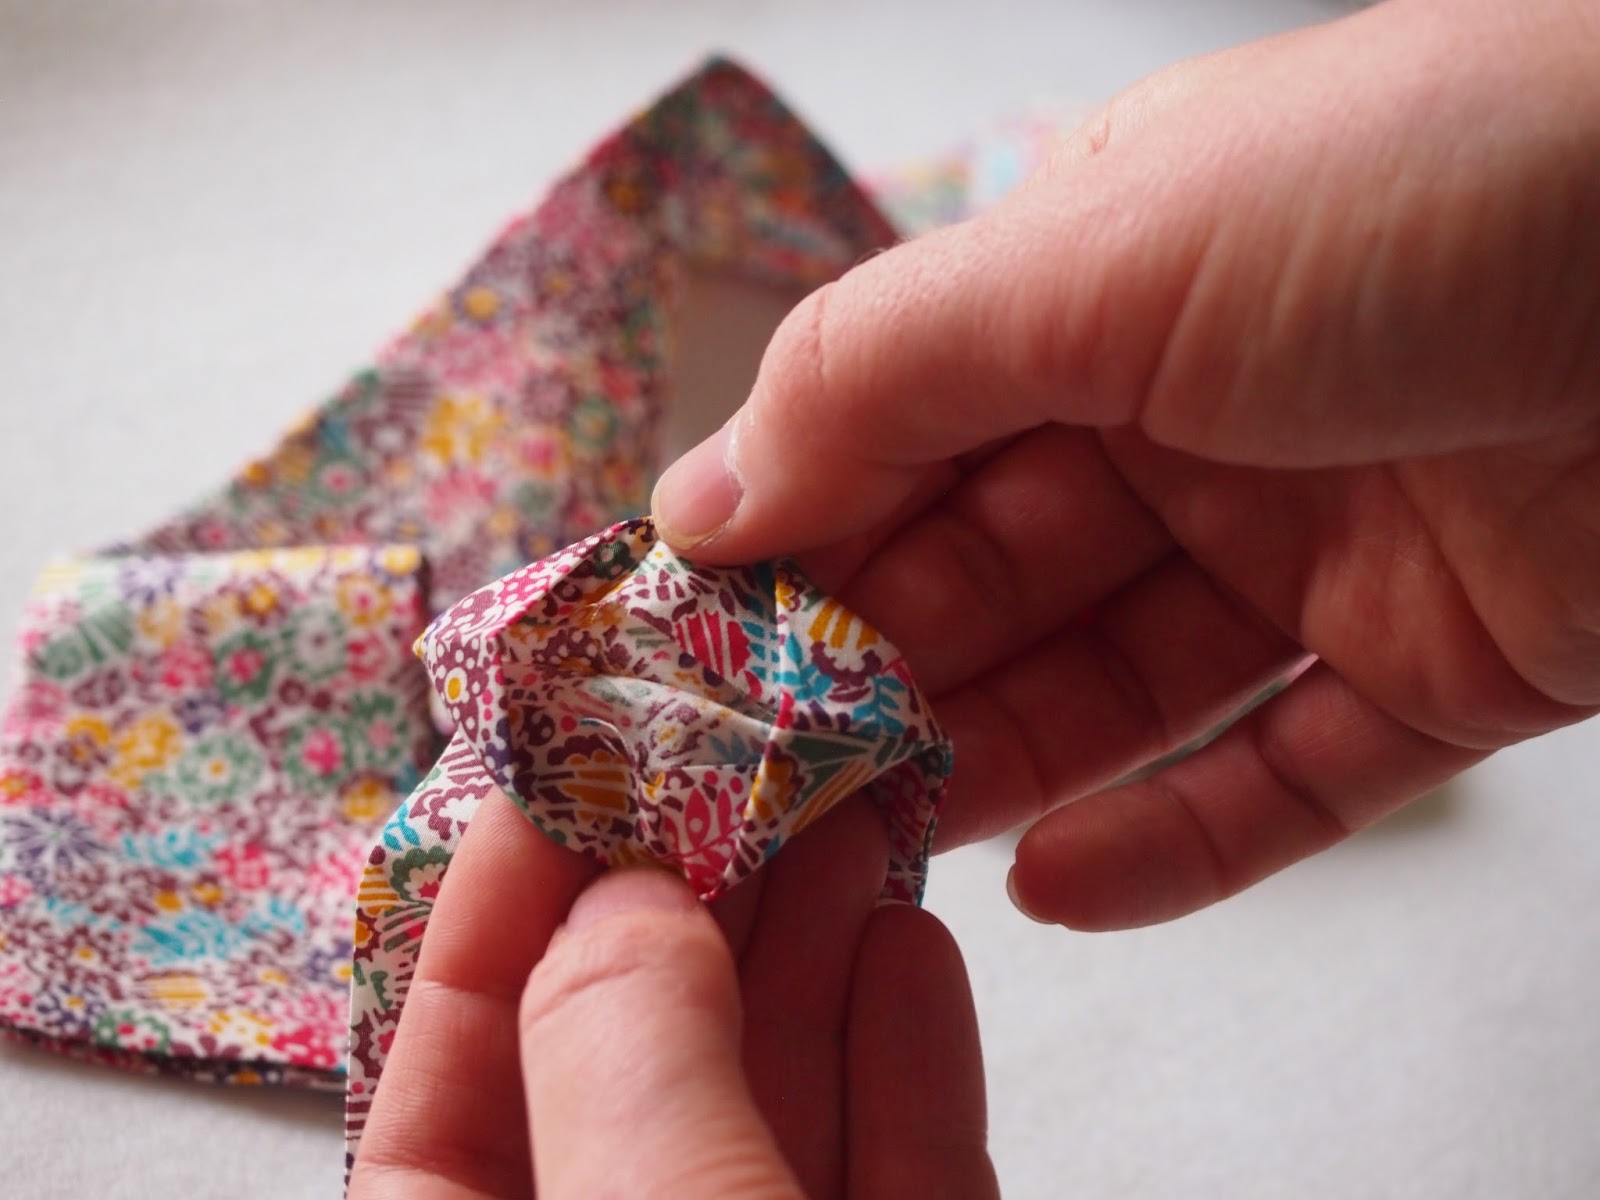
Take one half of the belt clasp. Pass one end of the fabric/elastic tube through the front of the clasp...

...fold it back on itself to enclose the clasp, then pin to the fabric on the side of the back of the clasp. Making sure that the fabric/elastic isn't twisted, repeat these steps using the other half of the belt clasp and the other end of the fabric/elastic.

Sew the two ends in place - use a zig zag or lightning bolt stitch, and sew a couple of lines close together to secure.

And you're done!
If you've got any questions about making the belt, or anything in the tutorial isn't clear, just ask and I'll try to help. And if you make a belt, I'd love to see it! How's your fabric scrap collection? Have you got any recommendations for my scrap busting project?
I love this, can I ask what width elastic you used and where you would buy the clasps from?
ReplyDeleteThanks Claire! Sorry, I should have made those details easier to spot in the tutorial - I used 50mm elastic, and I got that and the clasps online from Tailor Mouse (belt clasp: http://www.tailormouse.co.uk/store/Fasteners/Buckles/50mm-nurse-belt-buckle-%E2%80%93-silver__p-50-76-314.aspx, and elastic: http://www.tailormouse.co.uk/store/Fasteners/Buckles/50mm---2-woven-elastic__p-50-76-28.aspx), but I know there were a couple of other places that sold them online when I was looking for them. Hope that helps!
DeleteThank you
DeleteGorgeous belt, Thank you for the tutorial, I now need to make one to match every dress!
ReplyDeleteYou're welcome! I know the feeling about needing one for every dress!
DeleteWow that looks amazing, I am going to give it a go
ReplyDeleteThank you! I hope you enjoy making yours!
Delete