Monday, 30 June 2025
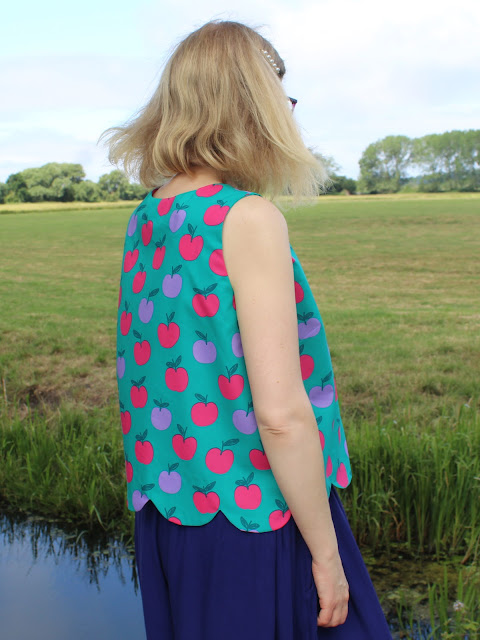
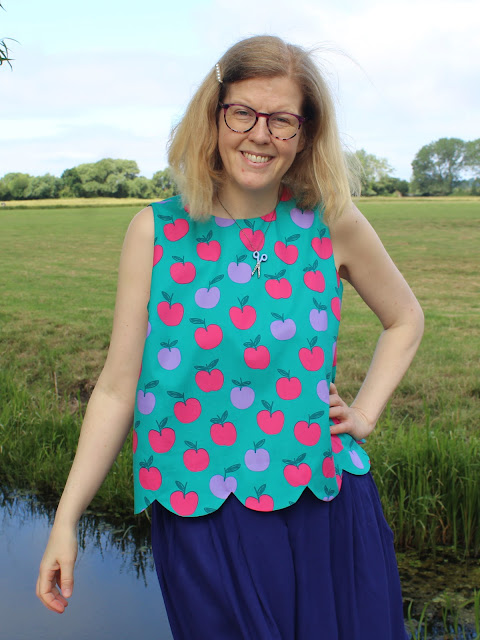
Sew Hello St Mawes Top
Thursday, 19 June 2025
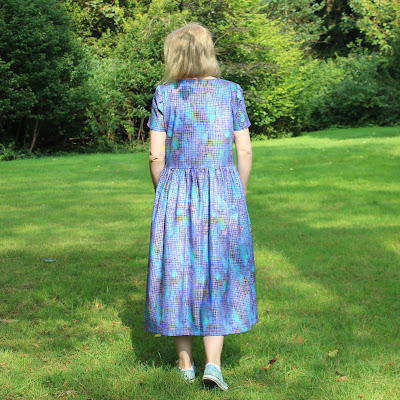
Simplicity 8384 dress
I enjoy hunting out bargains in charity shops, and always keep an eye out for sewing patterns. A couple of months ago I stumbled upon a box of patterns and treated myself to a couple of them, one of which was Simplicity 8384. I particularly liked the look of view A, which is what I've sewn here.
Simplicity 8384 is a shirt dress or top with various length options. All the views have a collarless rounded neckline, and buttons at the centre front of the bodice. There are sleeveless, short sleeve and three-quarter sleeve options. The dress has a handkerchief hem for the knee and mid-calf lengths, and a straight hem for the ankle length and peplum top versions. The back of the waistline is cinched in slightly with elastic.
The pattern covers bust measurements from 30.5" to 46".
I enjoyed sewing my dress. The neckline/collar band in particular turns out really nicely and was very satisfying to sew.
The instructions in Big 4 sewing patterns often get a bad reputation, but I usually find them clear and easy to follow. They maybe don't hold your hand as much as indie patterns and they're generally a lot more concise, but that's not necessarily a bad thing. I had no problems while I was making my dress.
That said, I did take a slightly different approach to inserting the elastic in the back of the waistline. The instructions call for you to sew the edges of the seam allowances together to make a channel and insert the elastic into that. I thought that might be irritating to wear because the seam allowance could move about. Instead, I pressed the seam allowance up and made my channel by stitching the seam allowance to the back bodice to anchor it in place. It worked nicely, and isn't irritating at all (although, to be fair, I don't have any evidence that the version from the pattern would have been irritating either!).
Another thing that Big 4 patterns are renowned for is having lots of ease, and that's very much true for this pattern. It's definitely always best to look at the finished garment measurements (on the pattern paper) – I think in this case the pattern includes 5" of ease.
That would have given me a dress that was looser than I wanted, so I went down a couple of sizes. I made a straight size 14, whereas my measurements would put me between a 16 and an 18.
I lengthened the bodice by an inch, which is normal for me (I'm 5'9"), and actually shortened the skirt by 3". Those skirt pieces are long! It's intended to be ankle length, but it would have been on the floor if I hadn't shortened it, and I'm a bit taller than average.
It's also worth mentioning that if you have a non-directional print/plain fabric without nap, you can definitely get view A out of less fabric than the pattern suggests. It calls for 3.4 metres for size 14, but I managed to cut my dress out of just over 2.5 metres.
Talking about fabric, this is a cotton poplin that I bought from Minerva but I can't seem to find it on their website now – sorry!
My finished Simplicity 8384 feels lovely to wear – the elastic in the back waist cinches it in nicely to give it some shape, but it's still really comfortable. It's a bit different from my other dresses, which is nice. I'm glad that I found the pattern in that charity shop box!
Thursday, 24 April 2025
Pauline Alice Nautic Set Blouse
The Pauline Alice Nautic set appealed to me as soon as I saw sneak peeks of it on Instagram, so I was fairly quick to purchase the pattern when it was released. I already had some fabric that was just right for the blouse, so it jumped to the top of my sewing list.
The Nautic set includes a blouse, skirt and shorts. The blouse, which I've made here, has a sailor collar, short sleeves, decorative binding/ribbon and front buttons. The shorts have an elasticated waist, slanted pockets and contrasting bias binding, while the skirt has an elasticated waist and gathered tier.
The pattern covers bust sizes from 31½" to 47¼" and hip measurements from 34" to 49½".
I enjoyed sewing my Nautic blouse. The instructions and accompanying diagrams are easy to follow. They maybe don't hold your hand quite as much as some instructions do, but they're still perfectly clear and I didn't have any trouble sewing my blouse.
The pattern is rated as beginner level, which I'd say is probably fair. You probably wouldn't want to sew the blouse as your very first pattern, but if you've made a couple of projects and are looking for something to build your skills a bit, this could be a good option.
You need to be quite careful and accurate when sewing the decorative ribbon/binding, but other than that it's a fairly simple blouse.
In terms of sizing, my bust is currently 39" but I made a size 42, which is intended for a 38" bust. I could tell from the finished garment measurements that it would be big enough, and that the next size up would probably be bigger than I wanted.
After making a toile, the only adjustment I made was to lower the bust dart by an inch.
Rather than lengthening the pattern (I'm just under 5'9"), I simply used a smaller hem. I used a total of 1" for my hem, whereas the pattern calls for you to use 2⅝".
Another non-fitting change that I made was to interface the facing pieces. This isn't included in the instructions, but I just thought that it would give a better finish.
I also used 5 buttons instead of 3. It's a personal preference, but I just felt like 3 buttons wouldn't be quite enough and might result in gaping.
The main fabric that I used is a lightweight cotton that I bought in a charity shop a few months ago, and the white that I used for the collar is part of an old sheet. So this was a pretty thrifty project! I bought the ribbon and the buttons locally, and I love how they highlight the little pops of pink in the fabric print.
I'm really pleased with how my Nautic blouse turned out, and I like the fact that the collar makes it a bit different to other blouses in my wardrobe. I'd definitely like to try making the skirt from the set too, so there may well be more Nautic projects in my future!
Thursday, 13 March 2025
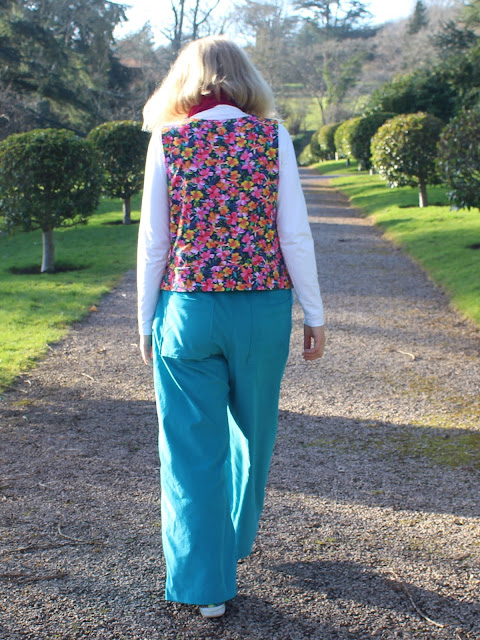
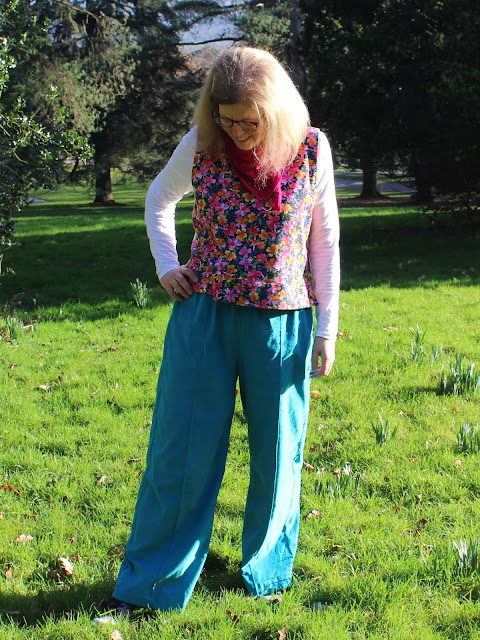
Konfetti Patterns Erna Top
Tuesday, 25 February 2025
Chalk and Notch Reya trousers
Thursday, 22 August 2024
Tilly & the Buttons Nell Dress
I like a sewing pattern that gives you plenty of options (always good to get your money's worth!), so the Nell blouse and dress that was released by Tilly & the Buttons earlier this summer appealed to me straightaway. I particularly liked the two-tone gingham dress shown in the pattern photos, so that's the version that I chose to make first.
Nell is a mix and match blouse and dress pattern, with options for a straight or peplum blouse or knee-length or midi-length dresses with gathered skirts. It also gives you the choice of short, bracelet-length, flutter or puff sleeves, and a button front closure or faux bow ties with hidden snaps. Last but not least, there are optional patch pockets that can be added to the bodice or skirt.
My version uses the short sleeves, midi skirt and skirt pockets.
The pattern size range covers bust measurements from 30 to 60" and hips from 33" to 61".
I enjoyed sewing my Nell dress and it seemed to come together quite quickly. The instructions are very detailed and illustrated with clear photos. I found them easy to follow, and I didn't have any trouble at all when making my dress.
If I had one complaint, it's that the pattern doesn't include the full skirt pieces - it gives you the pattern piece for the peplum for the blouse with instructions on how much extra length to add for the knee-length or midi skirts. It's a small point in some ways and I understand the argument about saving paper, but I just feel like if you're buying a paper pattern, you shouldn't have to draw out your own pieces - even if drawing them out is fairly simple.
When it comes to sizing, I think Nell comes up on the large side. It is described as having a relaxed fit bodice, but when I looked at the finished garment measurements I was fairly sure that making the recommended size would give me a dress that would be too oversized for my liking. My measurements put me between a 5 and 6 at the bust and hips and pretty much a 5 at the waist but I actually made a straight size 4. That's given me a very comfy and relaxed fit, and I think any larger would have felt too big for my taste.
I made a quick toile of the bodice and it came out unusually short. I do generally have to lengthen bodices because I'm slightly taller than average (about 5'9"), but the Nell bodice was particularly short on me - it was closer to empire line than waist length. I added 3" and that sorted the problem! The midi skirt is a good length though, and my skirt is the measurements recommended in the pattern.
The only other alteration I made was to use an extra button due to my added length.
The fabric that I used is a Robert Kauffman quilting cotton that I bought recently from Rainbow Fabrics. I really love the combination of blues, purples and greens in the print, and the gold grid over the top makes it a bit different to other fabrics. I know some people don't like using quilting cottons for garments, but I think they work fine for some patterns - including the Nell dress. It was a breeze to sew, and feels nice to wear.
All in all, Nell was an enjoyable pattern to sew and I'm pleased with the finished dress. It's very comfortable and easy to wear, and I think it'll be a useful addition to my wardrobe. I may well make more versions in the future too - I should probably try some of the other options after all!
Thursday, 25 July 2024
Vintage New Look 6560
I debated whether or not to post this project, firstly because it's really simple so there's not too much to say, and secondly because it uses a vintage sewing pattern that's not readily available so people might not be interested in a review. In the end, I decided it deserved a post anyway because it's always nice to have a record of what I've made.
The vintage version of New Look 6560 (not to be confused with the current New Look 6560 top pattern!) features three variations of a long, full skirt. Views 1 and 2 have flat waistbands with zip closures and are shaped using pleats (view 1) or gathers (view 2). View 3, which I've made here, has an elastic waist.
The pattern sizing is fairly limited and covers waist sizes from 24 to 34 inches. If you're slightly above the upper end of this range, view 3 could definitely still work for you as there's plenty of ease - you'd just need to cut your elastic to fit your waist.
It's a pretty simple pattern, and you could draft something similar relatively easily but I found my copy of the pattern in a charity shop for 50p and you can't go far wrong for that price. As I'm writing, there is a version available on ebay here - I have to say I wouldn't bother buying this pattern for the £18 they're asking for it! There's a photo of the pattern below in case you want to check it out.
Sewing the skirt was easy. The front and back of the skirt are both made up of two panels with a centre seam. There are in-seam pockets that are anchored into the waistband at the top so they don't flap around, which is a nice touch. There's a separate waistband, and the elastic is inserted by leaving a gap in the inner side seam of the waistband that is then slip stitched closed.
My waist is currently about 32.5", which would put me between a size 18 and size 20. I actually made a size 16 - I measured the waistband pattern piece and could tell that this would still give me plenty of ease. The waist is the only area that needs to fit for this pattern, and as the view that I sewed has an elastic waistband, it's easy to get the right fit.
One downside of this pattern is that it's quite fabric hungry (using almost 3 m for my size), and the cutting layout that it uses for 60"/150cm fabric relies on using a non-directional fabric. Thankfully my dotty fabric fits the bill! It's a lovely viscose that I bought from Sew Sew Sew. The navy colourway that I used is currently out of stock, but it's also available in blue, red and teal. I made a dress in the red colourway a while ago and it's wearing really well, so I have high hopes for this skirt.
All in all, I'm really pleased with my skirt. It was a quick and easy project to sew - if anything I think cutting it out was more difficult than sewing because of having to wrangle fairly large pattern pieces! The finished skirt will be a useful addition to my wardrobe - it'll go with lots of tops and, most importantly, it's beautifully swishy to wear!


