

According to By Hand London's own description, "Sarah is a button-up swing shirt with plenty of ease that clings and skims in all the right places." It has options of long, billowy or short, cuffed sleeves, and rounded or pointed collars. It's definitely no ordinary shirt, and is very feminine and fun.
The version of the pattern that I used is the one that was included with Simply Sewing magazine a while ago. I assume that it's the same as the version directly from By Hand London, but I thought I'd mention it just in case there are any differences.
I enjoyed sewing the Sarah shirt. There were steps that I was familiar with from sewing other patterns, such as the lined yoke and bound cuffs, but also some slightly different features. The collar construction is quite interesting as there's no facing, so when the under collar is attached it simultaneously finishes the neckline.

The instructions are very thorough and mostly easy to follow. I had to read the instructions for the collar attachment steps a couple of times to make sure I was doing the right thing, but I made sense of them in the end. I don't think that step was helped by the fact that the Simply Sewing version of the pattern has photographs of the construction rather than diagrams (as far as I remember from sewing BHL patterns in the past, they usually use diagrams) and the fabric used in the photos didn't have a particularly obvious wrong side.
If I made the Sarah shirt again, I would make a slight change from the instructions and press under the neckline seam allowance of the under collar and the seam allowance on the inner side of the cuffs before attaching the collar/cuffs to the shirt. It's not a major change, but I think it would be considerably less fiddly to do it that way.

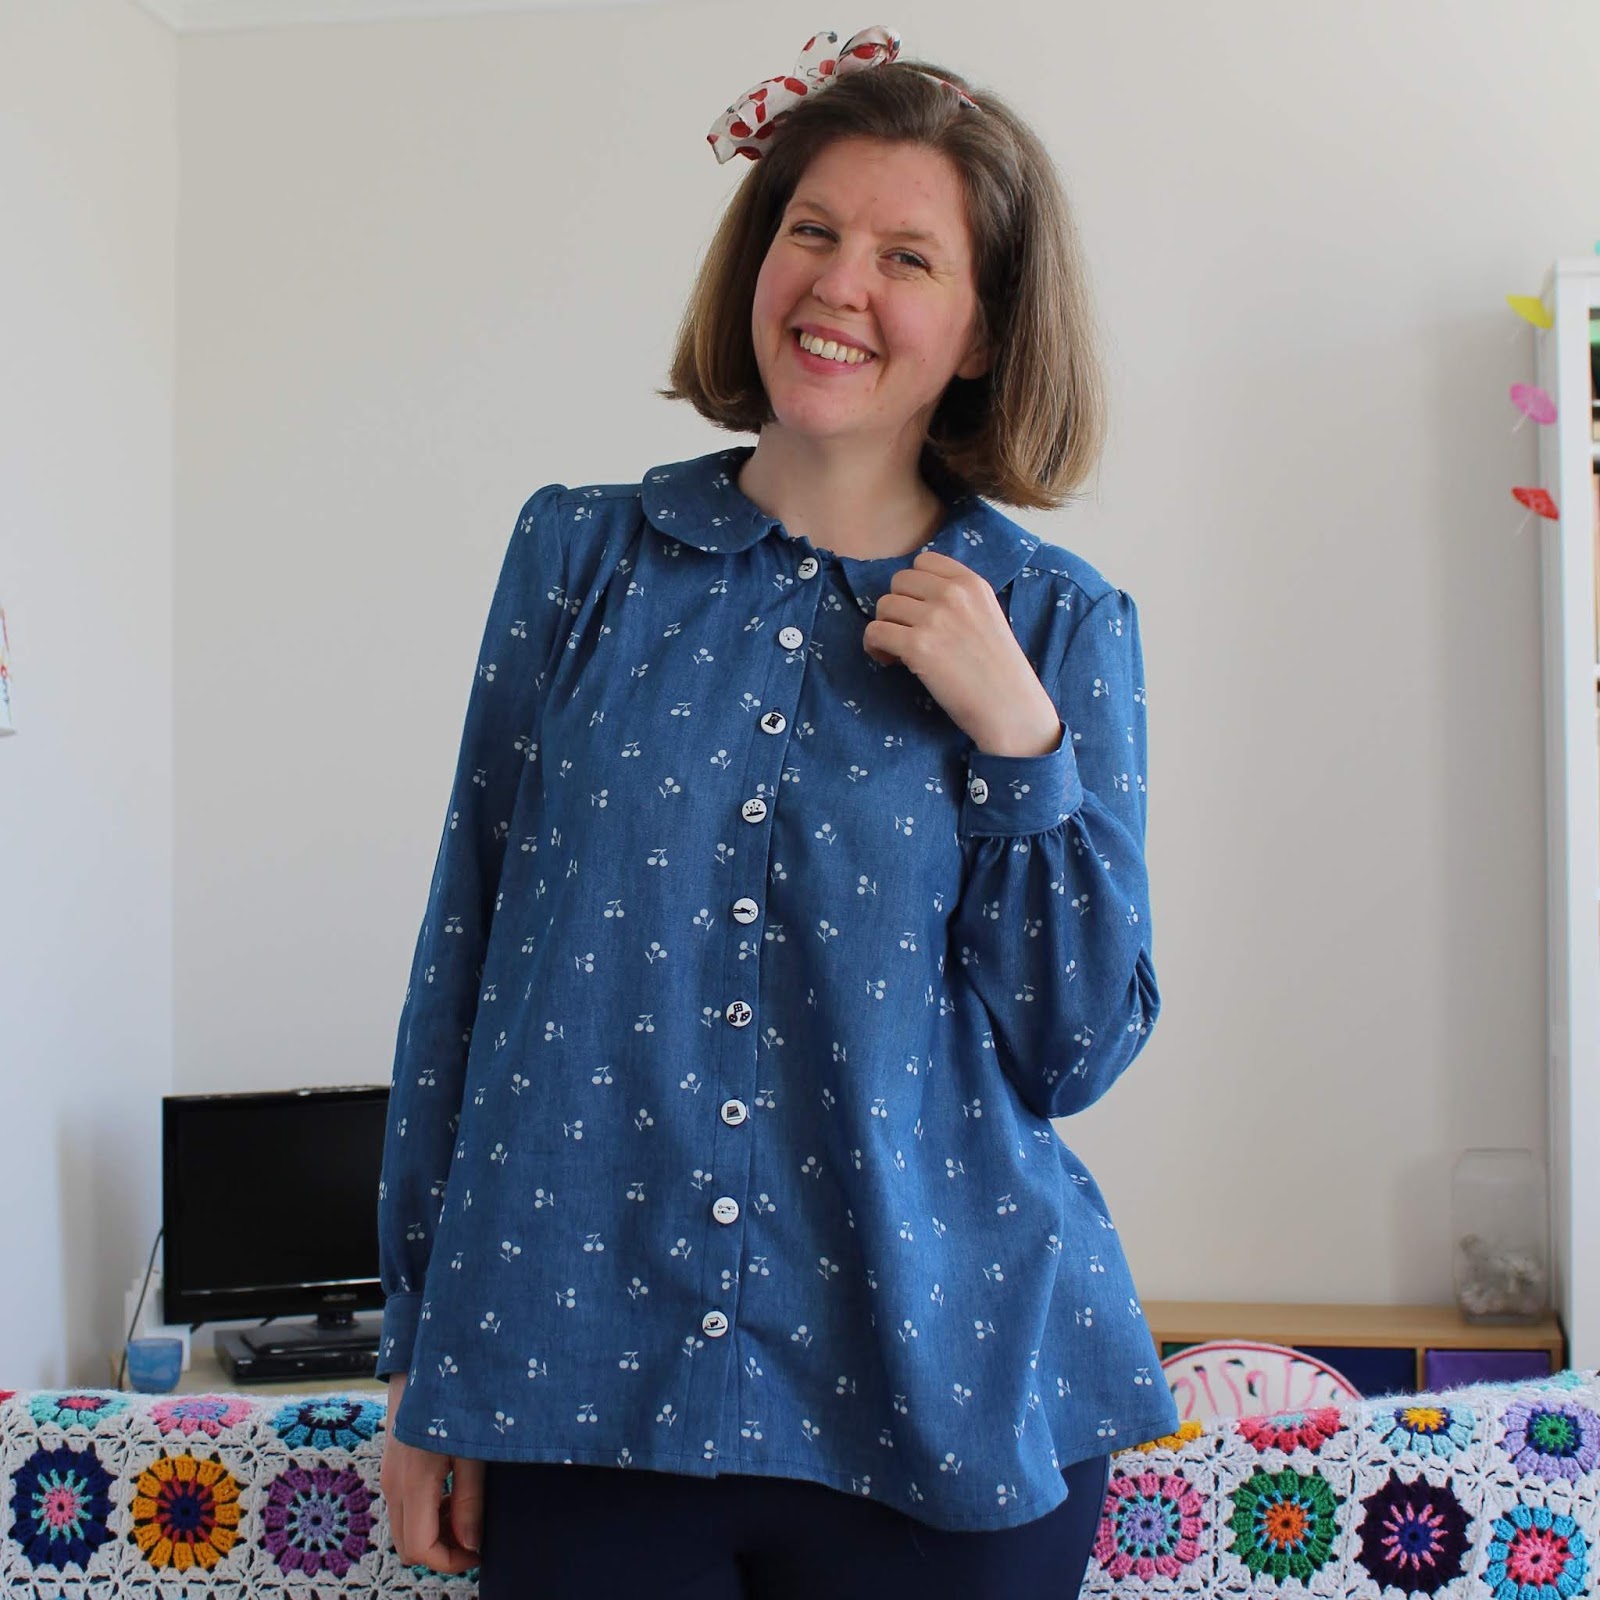
My measurements put me between a 14 and 16 at the bust, and in a 16 at the waist and hips. I decided to make a toile of a straight size 14 as I suspected that would be the best size for me as the main fitted area is the shoulders and my shoulders are proportionately smaller than the rest of me so I thought the smaller bust size would be best. Luckily I was right! The only alteration that I made to the pattern was to lengthen it by 2 inches (fairly standard for me - I'm 5'9"), and I'm pleased with the fit.

The fabric I used is probably the garment-sized piece that has been sitting in my stash the longest. I bought it a good few years ago from a shop that has long-since closed. It's a denim-look cotton and I ordered it with the intention of making a dress, but when it turned up it was far too lightweight and soft for what I was planning. It sat on my shelf and every now and then I'd pick it up thinking I'd found the perfect project for it, but then decide that it wasn't quite right and put it back. Thankfully I finally matched it with a pattern! Although I have a fairly sizeable chunk of it left so I might need another project too - I'm wondering about a pyjama top with some shorts made from a different fabric.

The buttons I used have also been in my button jar for a while. They're really fun because they have pictures of various sewing notions on them - and they're still available on Etsy. They're another thing that needed the right project, and again I think they're a good pairing for this fabric and pattern. I love that I have all different pictures running down the front of the shirt.

The instructions have you use poppers/press studs for fastening the cuffs, and I did that but added a decorative button too - partly to use more of the buttons and partly because I thought the cuffs looked a bit naked without buttons!

All in all, I'm happy with my Sarah shirt - it was fun to make and I'm very glad to have finally cut into this fabric. I'm not sure how many options other than these super-thick leggings (they're RTW from my pre-sewing days) I currently have in my wardrobe to show off the shirt in all its swingy glory, but it looks good under a pinafore or tucked into a skirt too so it will get worn one way or another. So a successful experiment really! Have you tried any new styles recently?
It is a brave but very successful blouse, looks good on you. It would look good with red on the bottom I think, say red skinny ginger jeans. There's a challenge! Jo xx
ReplyDeleteThanks Jo! I think you're right about it looking good with red - I'm not much of a fan of jeans so I'm not sure I'll be making any Gingers, but I've spotted a couple of trouser patterns designed to be made in ponte type knits so I might give one of them a try at some point!
DeleteOh my goodness, this is fabulous! Love the Peter Pan collar (no surprise there!) and the cuffs and buttons. That's very interesting about it not having a facing on the back, I don't think I've seen that before.
ReplyDeleteThanks Lynne! It was quite an interesting construction - a bit fiddly to do but it gives quite a nice finish!
Delete