Thursday, 29 June 2023

Friday Pattern Company Donny Shirt

When it was released, the Friday Pattern Company Donny shirt seemed like a nice enough pattern, but it wasn't one that I felt the need to buy instantly. Then I started seeing more and more lovely versions appearing in my Instagram feed, and I wanted to join the party so I purchased it and added it to my sewing queue.

The Donny shirt is a boxy, pull-on dartless top with a lapel collar, patch pocket and short sleeves. I omitted the patch pocket from my version.

The pattern is drafted for a dressmaker's B cup and covers chest sizes from 32"-60" and hips from 34"-63".

The pattern has great instructions. They are really detailed, easy to follow and have very clear diagrams. I didn't have any trouble at all making my shirt and enjoyed gradually working through the pattern. Some of the steps are the kind of thing that are best if you take your time to make sure you get a neat, precise finish, but there's nothing that I found too complicated and everything turned out nicely.

Alongside the main instructions, the booklet also includes a brief overview of the steps without as much detail, and I think that's a nice touch - if you're experienced or have made the pattern before and basically know what you need to do, it'd be quicker to refer to that than read through all the details. 

In terms of sizing, Donny is intended to have a boxy fit. I looked at the finished garment measurements and decided that the size recommended for my measurements would probably be a bit too boxy for my liking, so I went down a size and made an M instead of the recommended L. I like the fit that gave me - it's relaxed and comfortable to wear without feeling too big. 

The only alteration I made was to lengthen the top by 1", which is very standard for me.

If you're a regular reader of my blog, you may recognise the fabric that I used because it's the same one that I used for the Emporia Patterns Alice trousers that I made recently. It's a leopard print chambray that I bought from Dalston Mill. I intentionally bought enough to make a top to go with the trousers so I could have a co-ord set/fake jumpsuit. I'm looking forward to wearing the two of them together. 

I'm really pleased with my Donny shirt. It was an enjoyable project to sew, and it's a really nice top to wear. As an added bonus, it doesn't need too much fabric to make and I realised that the leftovers from my Helmi blouse are just big enough to cut out a Donny, so I'll be making a second version in the not too distant future!

Monday, 19 June 2023

Sew Liberated Joanie Top

When the Sew Liberated Joanie top was released not long ago, I'd already recently bought a couple of new patterns so I almost passed this one by but the more I saw photos of it on Instagram, the more it appealed to me. Eventually, I caved and bought the pattern and added it to my summer sewing plans.

Joanie is a button front top with a breast pocket and various sleeve, collar and length options. View A has a camp collar, split side seams that finish at high-hip length, and cuffed short sleeves. View B has a shawl collar, is tunic length with a shirt style hem, and has long sleeves with tower plackets. Both views have bust darts, a back yoke and back princess seams.

The pattern is drafted for dressmaker's cup size C and covers bust measurements from 31" to 58.5" and hip sizes from 33.5" to 61".

For my version, I essentially made view A, but used the shawl collar from view B. I also omitted the breast pocket. 

I've made a few shirts of various styles in the past and I've always found them to be satisfying projects, and the same was true for the Joanie top. The instructions were detailed and easy to follow, with very clear diagrams to help along the way. Like most collared shirts, it's a slightly more involved project with a few steps to complete. However, none of them are particularly complicated and I enjoyed gradually working through the stages.

I deviated slightly from the instructions when it came to the hem - instead of turning up the whole hem, I first turned the facing right sides together with the front of the shirt and sewed across the bottom to created the hem of that section, then turned it back right sides out. I then folded up the rest of the hem and stitched the whole way around, including top stitching down the facing. It's a technique I've learned from other patterns, and I think it produces a cleaner finish at the centre fronts than simply turning up the whole hem.

I liked the fact that the pattern doesn't include button markings and instead instructs you to position the first buttonhole based on your bust point and then space the rest of the buttonholes evenly working from the bust point buttonhole. I usually do that anyway because I often have to lengthen tops so button placement from the pattern doesn't work, but I also think it helps to prevent gaping.

The sizing of the Joanie top seems good to me. It's intended to have a comfortable fit and I think it achieves that. I made a 14 at the bust and blended out to a 16 at the hips as recommended for my measurements. The only alteration I made was to lengthen the top by 1", which is a very normal adjustment for me. I'm pleased with how the top has turned out - it's comfortable to wear but still has nice shaping from the bust dart and back princess seams.

The fabric I used is a lemon print cotton that I bought from Oh Sew Crafty. It's a nice crisp cotton and was a pleasure to work with. I also got it on sale for £5 which made it even better - it's always good to find a bargain! It was a really nice fabric to use for a shirt as it's very easy to handle. 

I would also like to make a Joanie in something lighter like a cotton lawn because there's a tutorial for a cute puff sleeve hack on the Sew Liberated blog that I'd love to try, but I thought this cotton would have too much body.

Obviously I had to pose with the lemon tree in my lemon print top!

The Joanie top was a really successful sewing project for me. It was a lovely pattern to make and I'm really pleased with the finished top. What more could you want?!

Tuesday, 13 June 2023

Emporia Patterns Alice Trousers

Welcome to the latest instalment in my on-going quest to add more trousers to my wardrobe. This time I've made a pair of Emporia Patterns Alice trousers, a pattern which I was lucky enough to win in a giveaway the Emporia Patterns held on Instagram last year.

The Alice trousers are a loose-fitting pair of trousers with cut away pockets, an elasticated waist and elasticated ankles. It's a fairly simple pattern that makes a nicely relaxed pair of trousers.

The pattern covers hip sizes from 38" to 50".

Alice was a nice, easy project to sew and the trousers came together quickly. The instructions are clear and I found them easy to follow, although beginners might not find them as detailed as some other indie pattern company instructions. It's a relatively straightforward pattern with no zips, buttons or any particularly complicated steps though, so there's nothing that really needs a lot of explanation.

One thing that wasn't included that I thought would have been helpful was some guidance on how long to cut the elastic for the ankles and the waist. I've used elastic in waistbands quite a bit so I had a good idea what to do there, but I wasn't sure how long to cut the elastic for the ankles to ensure that were gathered enough to look right without cutting off circulation to my feet! In case it's helpful, I cut my elastic to match the circumference of my leg at my ankles, so it ended up slightly shorter than that measurement once I'd sewn the ends of the elastic together. 

I made a size 14, which is the size recommended for my current body measurements. The only alteration I made was to lengthen the legs by 1.5" (relatively standard for me as I'm 5'9"). As the Alice trousers are designed to be loose, they're fairly forgiving in terms of fit. I'm pleased with how my trousers turned out - they're loose without feeling big and baggy.

The fabric that I used is a leopard print chambray that I bought from Dalston Mill. It's a nice quality fabric and a good weight for the Alice trousers. I think this is a good print for trousers for me - it's more interesting than a solid colour, but still kind of neutral enough (I count most blue and white prints as semi-neutral!) to be worn with lots of patterned tops. You'll be seeing this fabric again here in the not-too-distant future because I intentionally bought enough to make a matching top.

The recommended fabrics for Alice also include viscose, and I think I'd like to give that a try at some point. It would be nice to see how they work on me in a drapier fabric, and I think a viscose pair would be really great for summer.

I'm really happy with my Alice trousers. They were an easy, quick pattern to sew and they're really comfortable to wear. I'll be keeping my eye out for the right fabric to make another pair!

Thursday, 25 May 2023

Jennifer Lauren Handmade Emmie Tee

I always like to find interesting ways to use leftover fabric, so it didn't take me long to click 'Add to cart' when Jennifer Lauren Handmade released the Emmie Tee pattern recently. Luckily, I had the perfect combination of leftovers sitting in my stash to make myself a fun new t-shirt.


The Emmie tee is a relaxed fit t-shirt with grown-on short or long sleeves. The thing that really caught my eye about the pattern is the slashed and pieced bodice front of view 1 - it's perfect for using up leftover pieces of fabric. If that's not your bag though, view 2 is a regular, single-fabric top. The tee also has regular and full lengths.

Between the original and curve size ranges, the pattern covers A/B, C/D and E/F bust sizes and bust measurements from 29.5" to 61.5".


The instructions for the Emmie tee are really good, with very clear illustrations. It has to be said that I've made a fair few t-shirts by this point so I was familiar with all of the steps other than piecing together the front. The way the front pieces are sewn together is very straightforward and I found it easy. 


I deviated from the instructions slightly by sewing the side seams and then sewing the sleeve cuffs in the round, rather than sewing the cuffs flat and then sewing the side seams. There's nothing wrong with what the instructions tell you to do, but personally I prefer the finish you get when you sew the cuffs after the side seams.


I used the C/D cup pattern pieces and made a 14 at the bust blending to a 16 at the hips. The difference between my upper/full bust measurements falls just below the C cup range but definitely above the B cup and I decided it would be better to have too much space than not enough. The 14/16 blend is what's recommended for my current measurements. I think the fit is fairly good and I didn't make any adjustments. 

I used the long-line hem length and that's good for me. I'm about 5'9" and I think the regular length might not have been quite long enough for my liking.


The fabrics that I used were all left over from other projects. They're all cotton jerseys of roughly the same weight so happily they played nicely together while I was sewing up the tee!


I really enjoyed sewing my Emmie tee, I love the fact that the fabric was kind of free (and that it's taken fabric out of my stash), and I think I'll wear it a lot. It probably won't surprise you that I've dug through my leftovers again and come up with a little collection for a second version of the tee!

Monday, 15 May 2023

Forget-Me-Not Patterns Helmi Blouse

With the abundance of bank holiday Mondays that we have to enjoy with in the UK this May, I decided to spend one of them sewing and had an enjoyable day making the recently released Forget-Me-Not Patterns Helmi Blouse pattern.

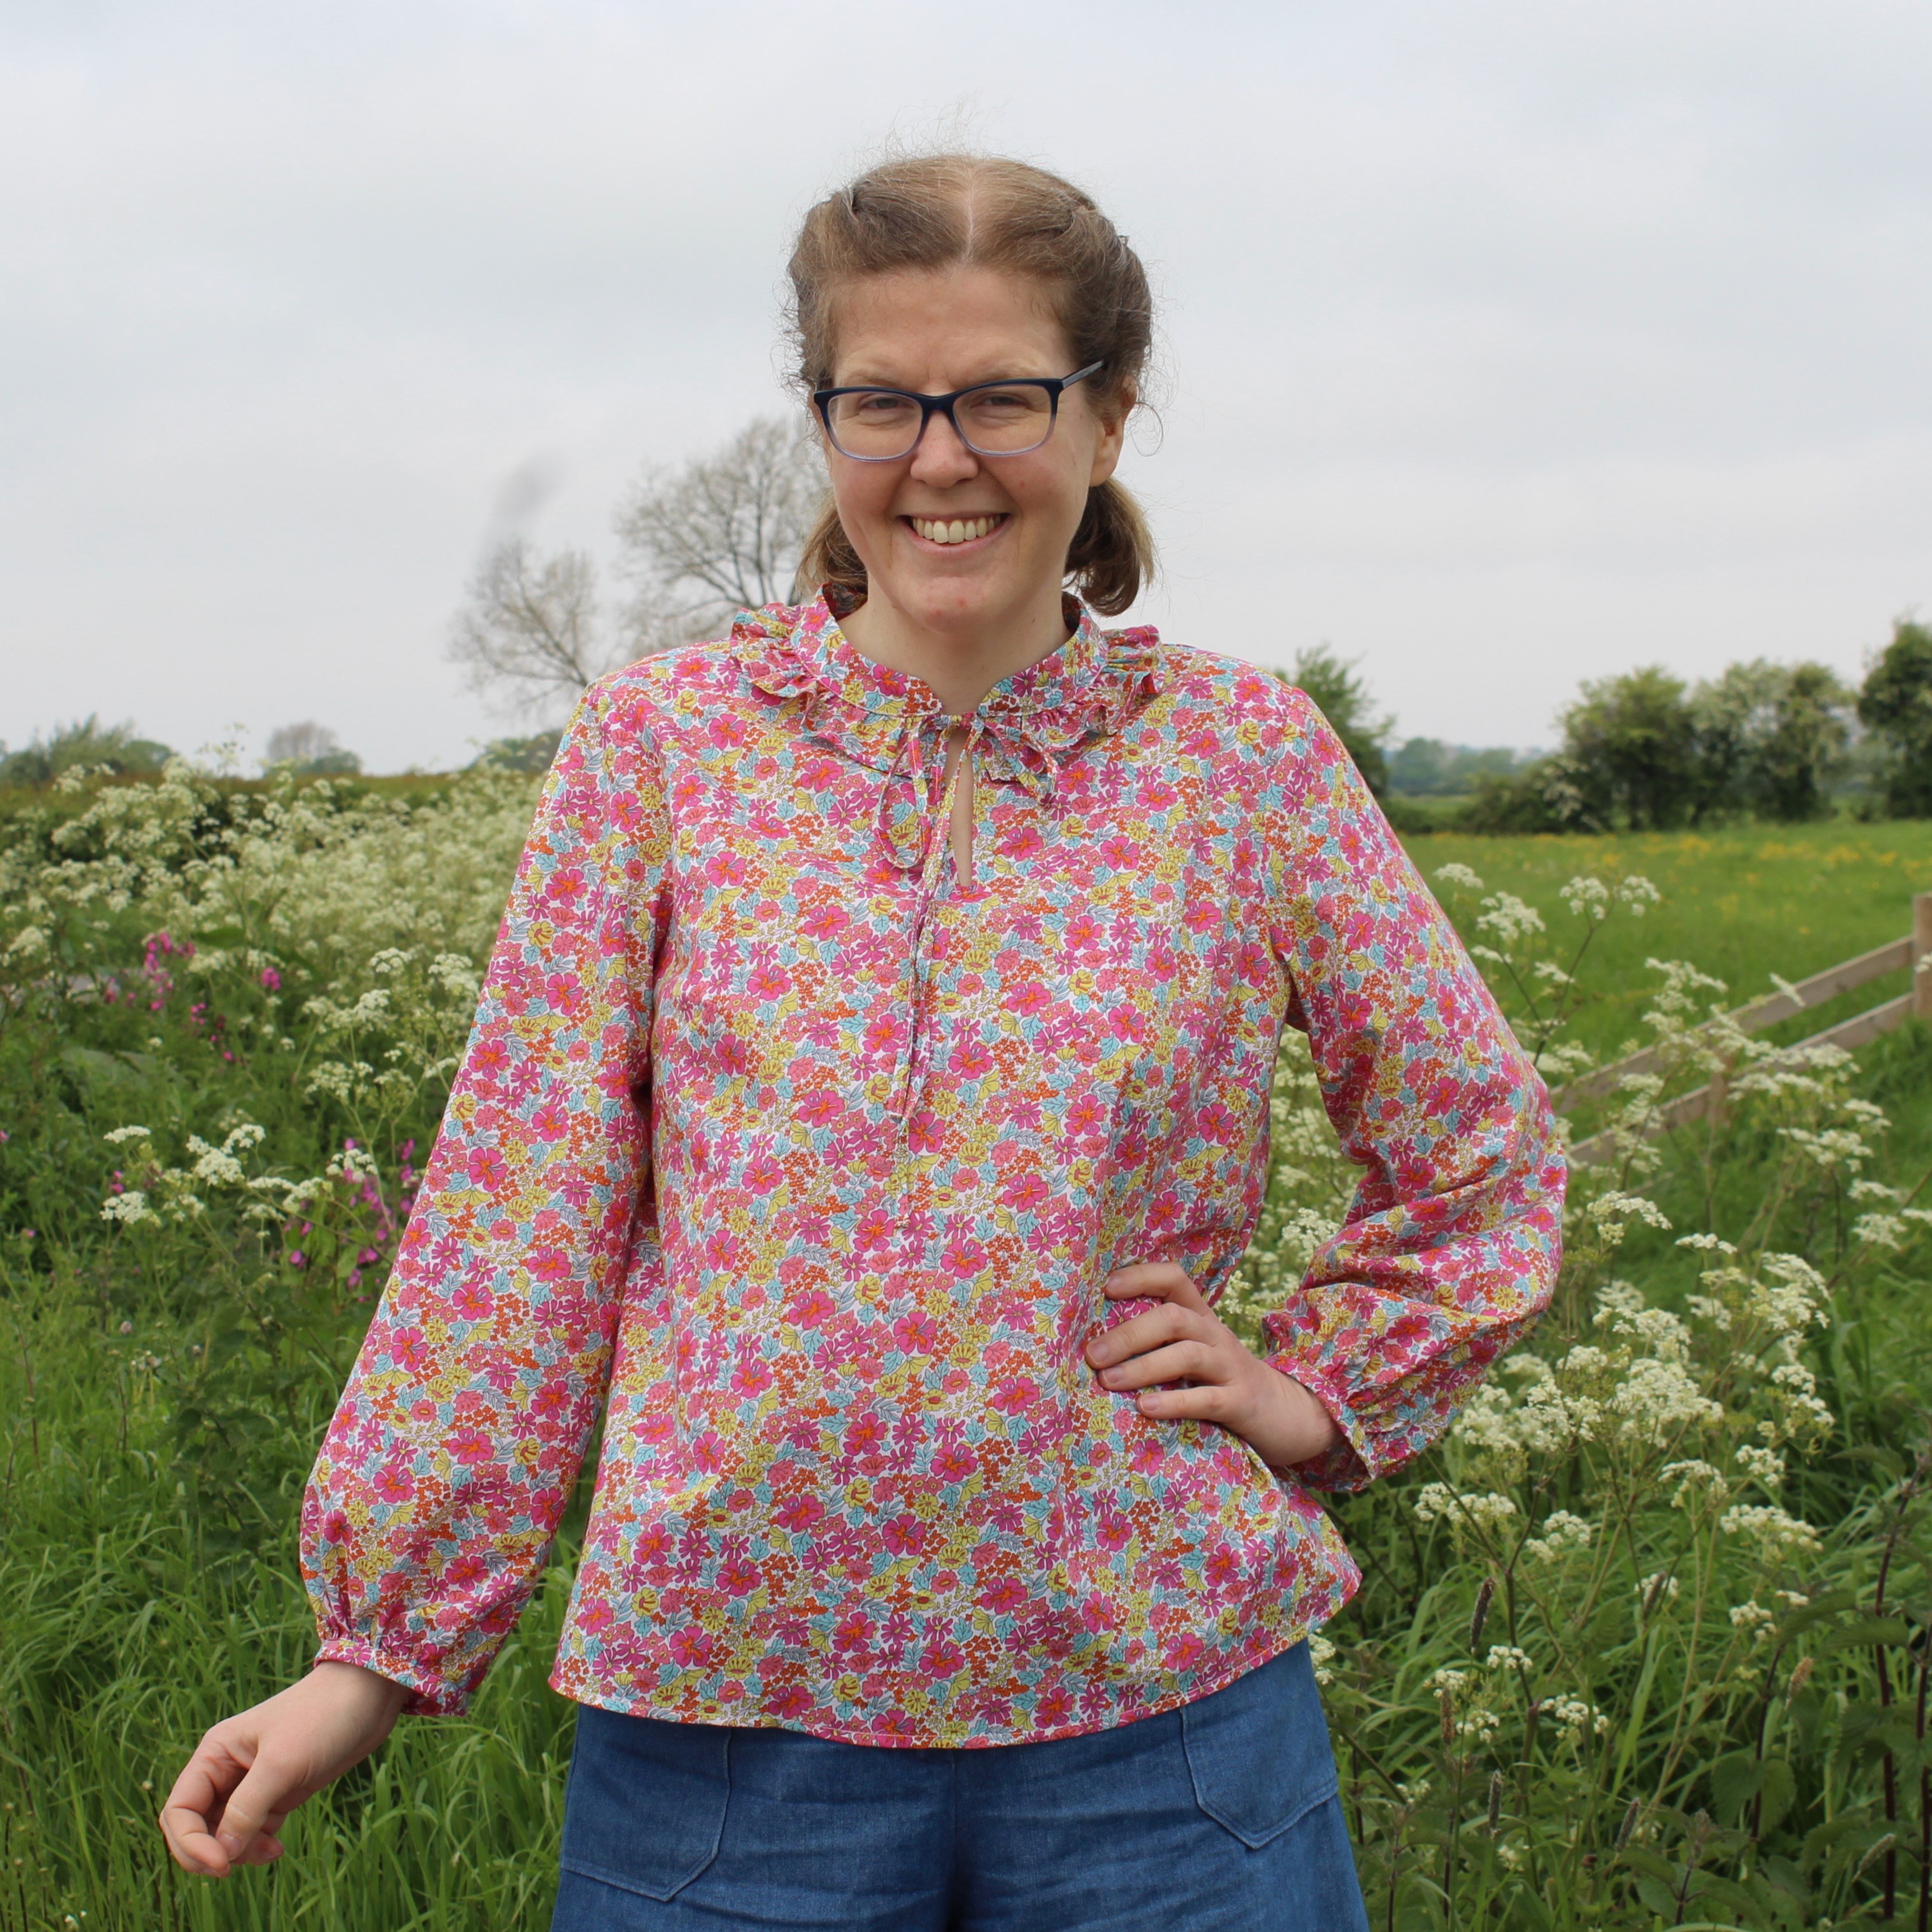
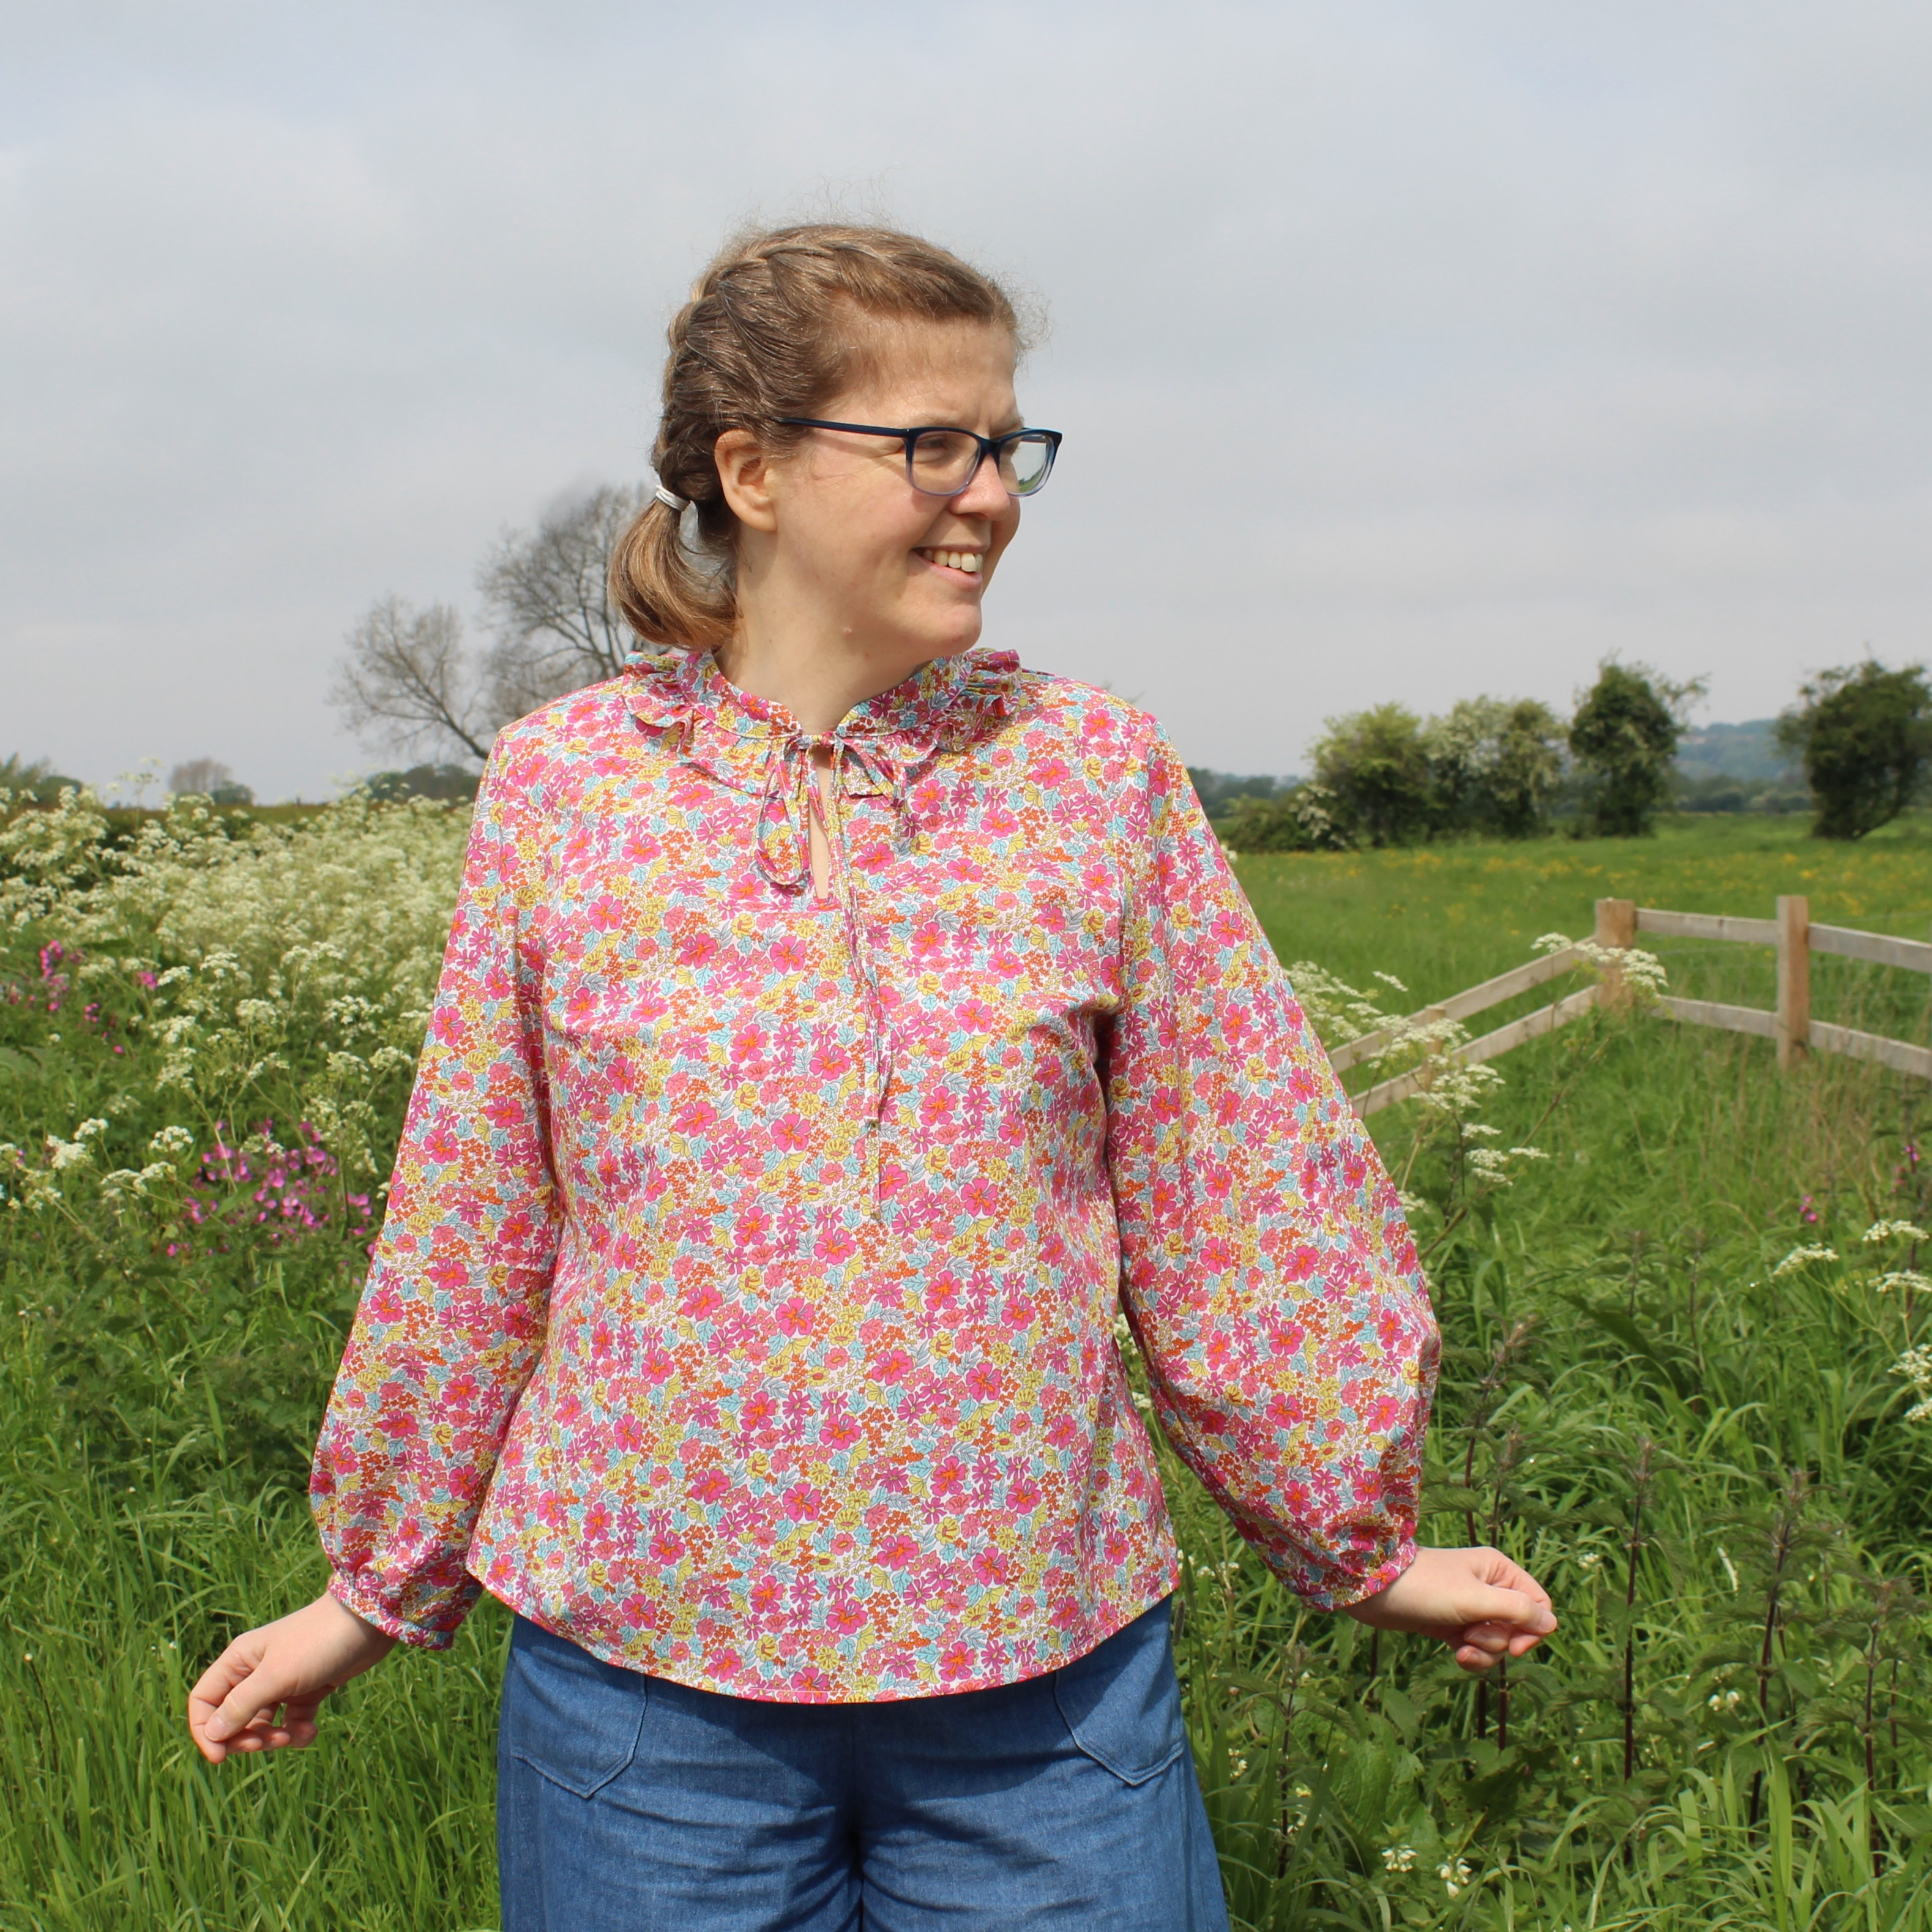
The Helmi is a semi-fitted, pull-on blouse designed for lightweight fabrics. It has bishop sleeves that can be made either three-quarter or full length and gather into a binding. The blouse also has either a Peter Pan or stand collar, with the neckline being fastened at the front using either ties or a button and loop. There are also optional ruffles for the neckline and shoulders. 

I used the full-length sleeves, stand collar, tie neck and neckline ruffle.

The pattern comes with separate pattern pieces for small, medium and large bust fits, which between them cover bust measurements from 27.5" to 58.5".

I thought the instructions for the Helmi blouse were excellent. They're very detailed without being too wordy, and they're accompanied by extremely clear diagrams. You do have to pay attention to the instructions because they use different seam allowances at different points in the pattern, but the seam allowance is always stated clearly for each section. I found the combination of the instructions and diagrams very easy to follow and didn't have any trouble sewing my blouse. 

The pattern is rated for intermediate sewers, which I would say is fair. The collar and the gathering of the sleeve into the binding mean that this is a slightly more involved project with quite a few steps to complete. For me, it was the perfect project to gradually work through over the course of a day. It would also be quite a good project to work on slowly in stages if you're fitting sewing into limited time.

In terms of sizing, I used the medium bust pieces and blended out from a size 38 at the bust to a 40 at the waist. That's what's recommended for my current measurements and I think the sizing is just right. It's semi-fitted as intended and feels good to wear. I didn't make any alterations to the fit and I'm happy with how it turned out.

The fabric I used is a cotton lawn. I bought mine on a recent trip to Yandles - I can't see it on their website, but the same print is currently available at Jenny Stitches (a shop which I've ordered from a few times and would very happily recommend). It's a great quality fabric - it was a pleasure to sew, and I think it's perfect for the Helmi blouse.

One point I would mention about fabric is that I found the fabric requirements quite generous. For sizes 28 to 40, the pattern calls for 2.2 metres of 140 cm fabric, but I managed to cut my blouse out from just over 1.5 metres. 

All in all, I'm really pleased with my Helmi blouse. It was a really enjoyable project to sew and it's lovely to wear. The neckline makes it slightly different from other garments in my wardrobe which is nice - it's always good to try something new, isn't it?!