Wednesday, 29 August 2018

Butterick 6563 Shirt

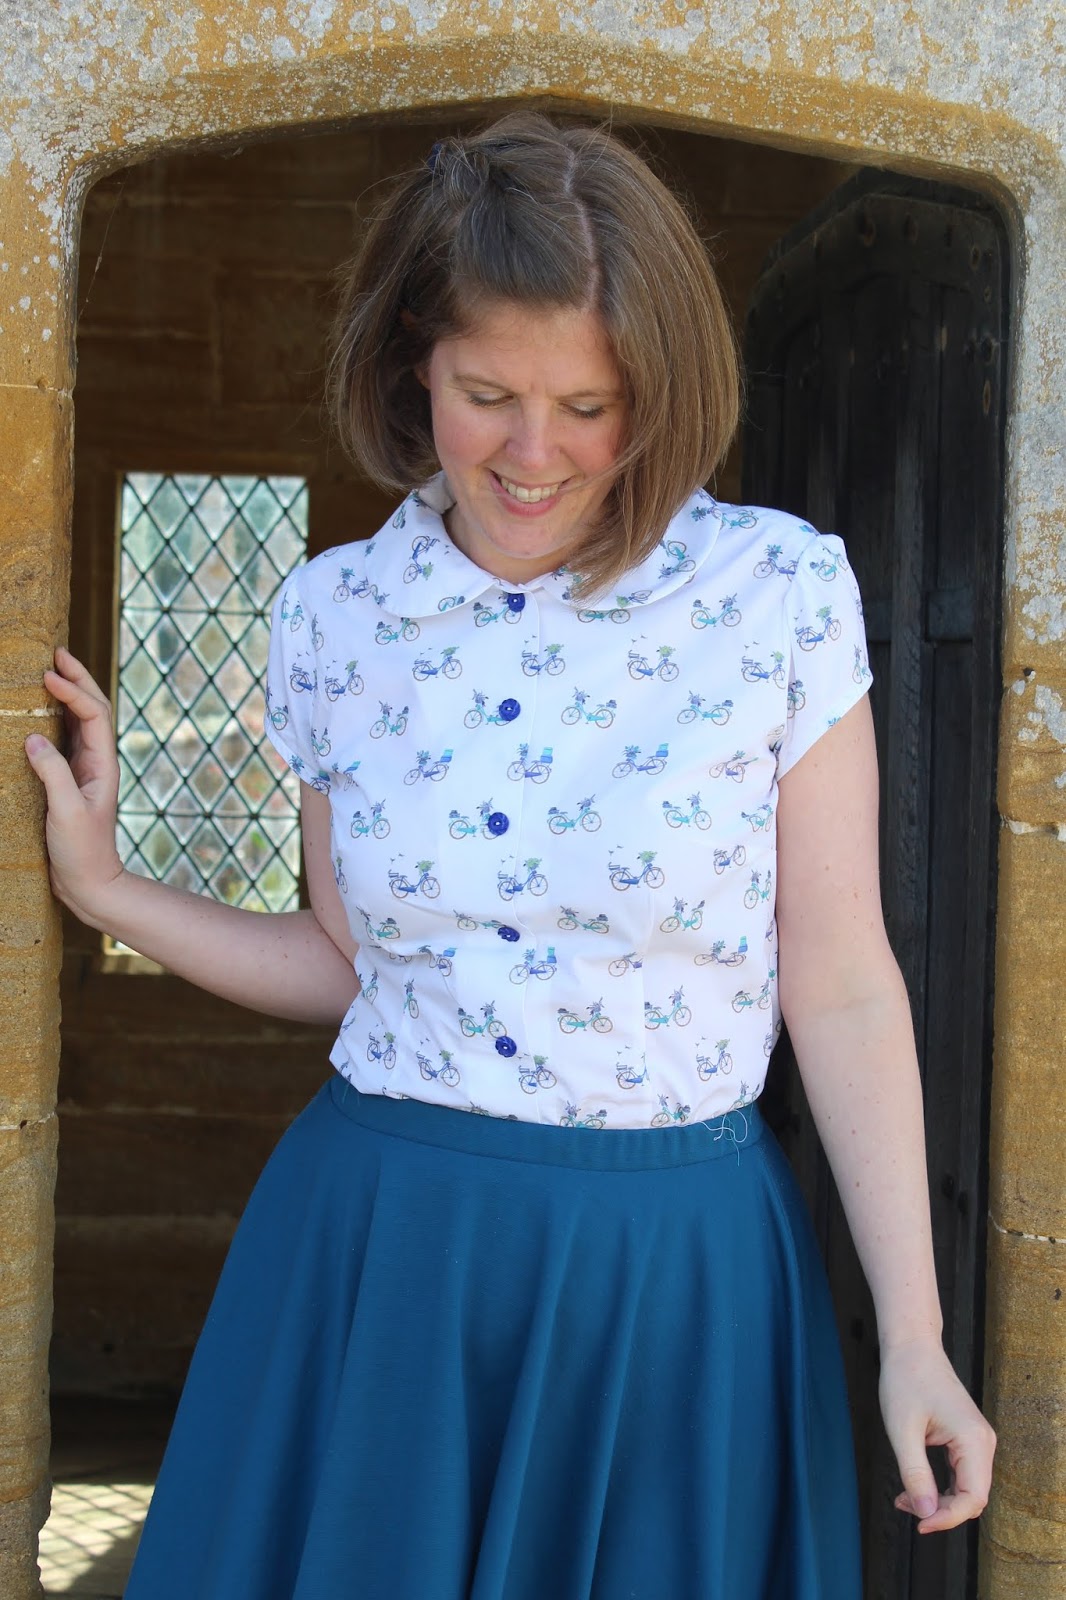
Some projects start with a pattern, and some start with fabric. Today's garments definitely fall into the second category. I've been trying to sew through some stash fabrics recently, but when I saw this cute bicycle print cotton lawn (which now seems to be out of stock, but is available in black) from Fabric Godmother I just had to treat myself to enough to make a top. Butterick 6563 had fairly recently caught my eye, and seemed like it would be the perfect partner for my newly acquired fabric.


Butterick 6563 is from the Patterns by Gertie line, and is for a loose-fitting button front top with shaped hemline featuring collar and sleeve variations. For both of the versions that I made here, I combined the cap sleeves of view B with the Peter Pan collar of view C. While the shirt isn't closely fitted, long waist darts in the front give it a flattering shape.


As the bicycle print lawn was so pretty, I wanted to make sure that I was using it for the right project so I decided to use some fabric from my stash to make a trial version first (thus also partly keeping up my aim of using stash fabric too!). The check shirting I used for my first B6563 came from Sew Loco, and is really lovely. Full disclosure: Lucy from Sew Loco was kind enough to include this as a little extra with some fabric I ordered from her a while back, but it didn't come with any requirement to blog about it attached, and it honestly is great quality fabric.


Based on the finished garment measurements, I made the shirt in a straight size 14. This is a size down from the size recommended for my bust measurement, and two sizes down from my waist/hip measurements. I'd definitely always recommend checking the finished garment measurements to get the fit that you want for commercial patterns in particular. I was happy with how my first version turned out so it was time to cut into the bicycle print.


Thankfully, the pattern was fairly straightforward and I enjoyed sewing the first one, so was only too happy to make another version immediately afterwards. As with most commercial patterns, the instructions were succinct but perfectly clear and I didn't feel the need to do anything differently after sewing my first version. There are some nice features in the pattern such as a sleeve facing (essentially a bias strip), and a self-facing on the front of the shirt which keep the pattern fairly easy to sew whilst giving it a nice finish on the inside.


One thing that I initially wasn't sure about was the size of the Peter Pan collar. I tend to wear shirts with the top button open, and when I did that with B6563 the collar looked comically large, but I think that it looks just fine with the top button done up. And I like the look of the top button done up a lot more than I do on other shirts, so it's all good!

All in all, I'm really happy with these two shirts. They were both fun projects to sew, and will be lovely shirts to wear in warmer weather without being so summery that they can't also be worn under a cardigan when things get cooler. And I managed to buy new fabric whilst still also sticking to my goal of using up my stash, so it's a win all round don't you think?!

Wednesday, 15 August 2018

New Look 6483 & The Great Big Pattern Swap

A little while ago Alice @the.polka.dot.palace and Emma @thezipperfoot announced The Great Big Pattern Swap on Instagram. The concept was simple - offer some patterns that you're willing to swap, check out other people's patterns to find something that appeals to you and then sew it up. I knew I had some patterns languishing in my stash that would be better off with someone else, so I jumped on the bandwagon. One of the patterns I received in return (from Gillian - thank you again!) was New Look 6483, which I used to make both of today's tops.


One of the reasons that New Look 6483 appealed to me among all the pictures of patterns being offered for swaps on Instagram was that it's a simple top, but has an interesting variety of necklines. It also doesn't use too much fabric, so I thought that it could be a good candidate for using some reasonably sized pieces of Liberty tana lawn that I have left over from other projects.


While those pieces of tana lawn are leftovers so sort of freebies, I didn't want them to go to waste on an untested pattern, so I bought some cheap and cheerful strawberry print cotton lawn from The Textile Centre to make a hopefully-wearable toile.


Thankfully the toile turned out pretty well. I made view E - a vest top with a boat (I think?) neck. I cut a 14 at the bust, blending out to a 16 at the waist. In both cases, that's a size below recommended for my body measurements, but I was fairly confident that it was the size I'd want based on the finished garment measurements.

The fit is fine, and my only real problem with the top is that the lawn is on the sheer side so you can see the seam allowances at the neckline and armholes. It's not too noticeable in the photos, but you can see it in real life. I don't think it'll stop me wearing the top on casual days though!


As I was happy with the fit of my strawberry top, I felt ready to cut into some Liberty loveliness - in this case in the Suzy Elizabeth print, which is left over from the Doris dress I made last year. This is possibly my favourite fabric print ever, although it would be a tough call on whether I prefer this pink or the navy colourway (which I used here and here).


While I didn't make any changes in terms of fit, I did change the construction slightly from what is recommended in the instructions. The sleeveless tops in New Look 6483 have an all-in-one facing, which gives a nice clean finish. However, the instructions end up with you having to slipstitch the shoulder seams of the facing closed. Having just made the Raine dress, which also has an all-in-one facing, I knew that I could sew all of the seams by machine. While some of the steps are a little fiddly, I think that it's easier to get a really neat finish that way.

Not sure what the weird rippling in the back is in this photo - it's not there in real life!
The back of the top has a centre back opening, secured with the thread loop (or loop of thin elastic stitched into the facing in my case!) and button. Part of me was tempted to omit that and just sew the centre back seam closed (I can get it over my head without undoing the button), but in the end I decided to keep the opening because it's quite a pretty detail.

I'm definitely planning to make some more of these tops in future - I need to try out some of the other necklines for a start. I'd also like to try the sleeved version, and I'm tempted to try adopting the 'sweetheart' neckline from the Raine dress for the top as well.


I'm really glad I took part in The Great Big Pattern Swap. Four of my sadly neglected patterns have gone to good new homes - two in the UK, one in Sweden and one in Brazil - and I've found a great new-to-me top pattern and have two dress patterns that I'll hopefully be able to try out soon. Yet another example of what a wonderful place the online sewing community truly is, don't you think?

Tuesday, 7 August 2018

Jennifer Lauren Raine Dress

Sometimes a new pattern is serendipitously released just at the same time as I get my hands on some perfectly suited fabric. That's what happened for this project, when Jennifer Lauren introduced the Raine dress to the world just as Seasalt had a fabric sale and I picked up some pretty cotton voile (sadly no longer in stock).


The Raine dress is a 1940s inspired dress with a gently curved waistband, sweetheart or scooped neckline, slanted pockets, and a gathered or pleated skirt.

I particularly like the sweetheart neckline - it's a little more angular than sweetheart necklines often are, which I think makes it look slightly more contemporary whilst still retaining a vintage influence. I also like the fact that the curved waistband (which I'm hoping you can see more clearly in the photo below than in the photos of me wearing the dress where it's pretty much camouflaged!) makes it a bit different to other patterns I own, so I snapped it up pretty much as soon as I saw it.


Another nice feature of the Raine dress is that it comes with multiple bust cups (A to D), which should help to eliminate some fitting adjustments.

Having said that, the bust cups and general body measurements did make me a bit unsure about what size to pick - I'm firmly an A cup (or if anything, less than an A according to the measurements in the pattern!), but my actual bust measurement (38") put me between a size 14 and 16 for the A cup bodice measurements. My waist and hip measurements both put me in a 14, so I decided to go with the A cup bodice in a 14 and see what happened when I made a toile.


Thankfully, my toile fit fairly well so I think that was the right choice! I just needed a fraction more room around the bust, so I resewed the side seams with a 1cm seam allowance instead of 1.5cm. I also adjusted the shoulder seams by the same amount, because I felt like I needed a tiny bit more space in the sleeves/armhole.

I also did my standard bodice lengthening adjustment (this time by 2cm), and cut the skirt at the length for the biggest size, which effectively lengthened it by a couple of centimetres (for reference, I'm about 5ft 8"). If I make this again (and I'd definitely like to!), I'd probably lengthen the skirt just a tad more, but I'll happily wear the skirt this length in this version.


The Raine dress is rated as being for intermediate to advanced sewists, and I think that's probably fair. There are a couple of steps that are slightly trickier than an average unlined dress, such as the all-in-one facing and the side zip. The instructions are really clear and thorough though, so if you've got a couple of dressmaking projects under your belt and you feel like a challenge then just take it slowly and you should be OK.


I really like the finish on the inside of the dress - the all-in-one facing and a facing/lining inside the waistband mean that I'd say that it's the neatest looking non-lined bodice that I've ever made.


The instructions do also call for you to topstitch around the waistband and neckline, which I elected not to do mainly because I couldn't find quite the right shade of blue thread, and when I tried white topstitching it looked a bit too prominent for my liking.

I also deviated slightly from the instructions when it came to gathering the skirt. The instructions call for you to gather the whole skirt including the pockets, but my pockets completely refused to gather so I gave in and just gathered the front skirt in the middle between the pockets. It's a bit different, but I think it looks fine.


All in all, I'm really pleased with my Raine dress. It was a pleasure to sew, and it's lovely to wear. The vintage inspired silhouette is really pretty, and the cotton voile is nice and breezy to wear in this glorious weather. What more could you want from a summer dress?!

Wednesday, 25 July 2018

McCalls 7714 Dress

Having said in my last sewing post that I don't buy sewing magazines that often, I then went straight out and bought another. Today's project is the pattern included with issue 55 of Love Sewing magazine (the current issue as I type) - McCalls 7714.


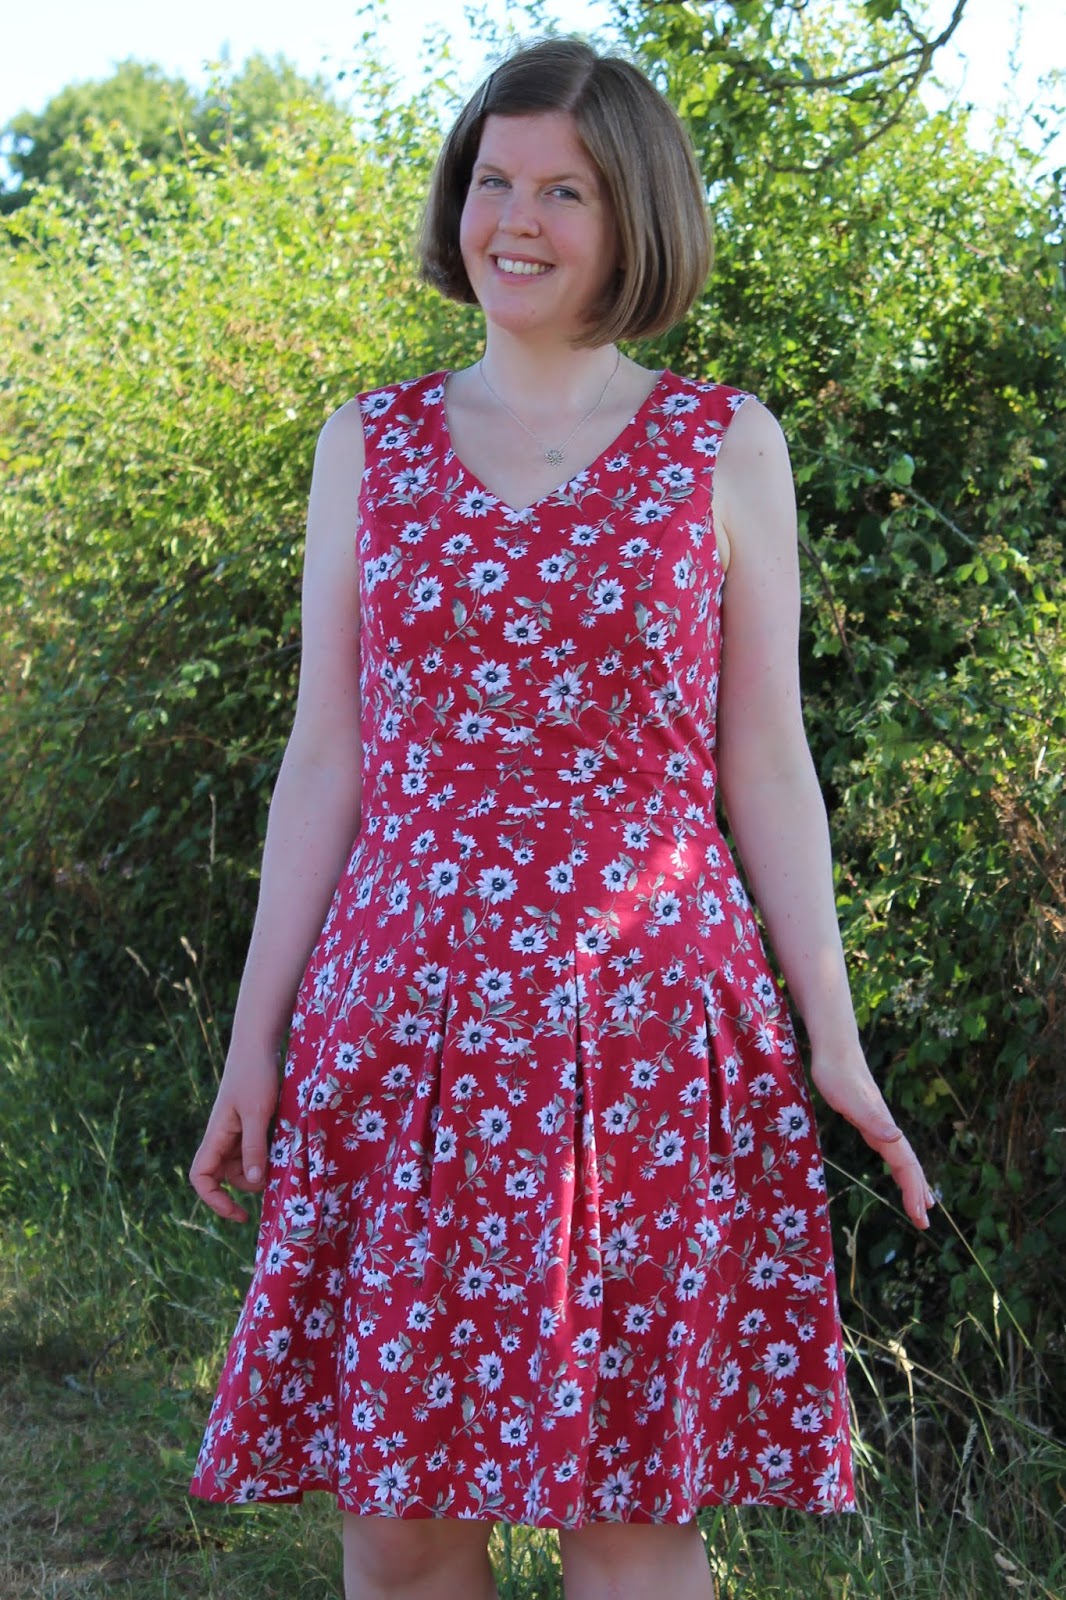
The McCalls 7714 pattern is for partially-lined dresses, with a fitted princess seam bodice, V-neck or rounded neckline options, and a straight or pleated, full skirt. It also has a separate waistband and the option of making it sleeveless or using short sleeves. I went for view A - sleeveless, V-neck and with the full, pleated skirt.


Based on the finished garment measurements (which are on the pattern tissue), I made a size 14 at the bust, blending out to a 16 at the waist. That's a size below what the pattern suggests for my measurements in both cases, but it's well known that commercial patterns tend to have a lot of ease built in.

The only alterations I made were to lengthen the bodice by an inch, and lengthen the skirt by 2.5 inches. Both of these are fairly standard alterations for me - I'm just over 5 ft 8", so not a giant by any stretch of the imagination, but slightly taller than most patterns are drafted for.


As with most commercial patterns, the instructions are fairly succinct but I found them clear. Although it has to be said that I've sewn a fair few dresses similar to this now so I didn't really need to follow the instructions in any particular detail. I did do my own thing a bit when it came to sewing the invisible zipper and used my preferred method (the one from the Emery dress), which eliminates the need to slipstitch the lining down the centre back.


One thing I found slightly odd is that the sample in Love Sewing magazine doesn't seem to have followed the instructions about stitching down the pleats at the top of the skirt. It doesn't make a major difference I suppose, but I think it would be better for the magazine to show the pattern as written otherwise it could be a bit confusing. I definitely went back and double-checked that I'd done what I was meant to when I noticed that my skirt was different. I actually really like the look created by the stitched down pleats though - it makes this a bit different from some of my other dresses.


The fabric for this one is another piece that's been sitting in my fabric stash for too long. It's a fairly lightweight and soft cotton that I found in a charity shop a couple of years ago. It was the middle of winter when I bought it, so I didn't have any immediate plans for it because it's definitely more of a summer weight, but at £4 for 3 metres, I couldn't say no!


All in all, I'm happy with how this dress turned out. It's fitted, but the lightweight fabric means that it's still breezy enough to wear in this hot weather that shows no sign of stopping. Let's hope it lasts long enough still for me to justify sewing up some more summer dresses!

Thursday, 12 July 2018

Knitting: Spindrift Shawl

We've been basking under glorious sun and heatwave temperatures for the last couple of weeks so it's fair to say that the project I have to share today isn't particularly seasonal. I've still been managing to get a bit of knitting done though, and part of that knitting was finishing this Spindrift Shawl.


The Spindrift Shawl is a pattern by Helen Stewart of Curious Handmade. It's a one-skein, crescent-shaped shawl and is a really simple but effective design. The main part of the shawl is simple stocking stitch, complemented by a deep eyelet border and a picot edge. It's basically a great introduction to shawl knitting if you're a beginner, or a lovely relaxing knit if you've got a bit more experience. It's also available free if you sign up to the Spindrift Shawl email workshop, which is always good (doesn't everybody love a freebie?!).


I've been knitting a few of Helen Stewart's patterns this year because I signed up to The Handmade Sock Society to help improve my sock knitting skills, and I really like how her patterns are written. In case you're not familiar with them, they use the Curious Handmade Percentage Checklist Pattern format. This means that all of the rows are written out in a checklist together with the percentage of the pattern that you've completed. I find it quite addictive because I end up wanting to knit just a little bit further to make it to the next percentage marker! I think it helps me to get through the patterns quicker than I otherwise might because I'm not the world's speediest knitter.


The finished shawl is a lovely shape too I think. It's wide enough that it can definitely be wrapped around your shoulders as a small shawl, but long and narrow enough to also be able to be worn like a scarf too. Perfect if you like the idea of shawl knitting, but aren't sure whether you'd actually wear some of the bigger shawls.


The yarn that I used for this project is from Viking Yarns. It's the Super Merino Sock base in the Blue Fairy colourway, and was a joy to knit. I love the pale blue colour interspersed with bright multicoloured speckles, and I think it works really well with this pattern.


One of the side effects of getting into sock knitting for me has been going further and further down the rabbit hole of hand dyed yarn - there are so many pretty colours to choose from! I'm trying to be good and limit myself to buying yarn as I need it for projects though because, as I mentioned, I'm not a particularly quick knitter and it would be a shame for gorgeous skeins to be gathering dust waiting for me to get around to knitting them.


All in all, I'm really pleased with everything about this project. I really enjoyed knitting the shawl, I love the yarn and I'm pretty sure that it'll be worn a lot - once the temperatures have dropped a bit at least! I've got a growing list of shawl patterns that I'd like to cast on now - I think my next will be either a Minimania or a Salcombe Shawl. Or do you have any particularly good shawl patterns to recommend to me?